You’re capturing the perfect sunset shot when suddenly your DJI drone’s signal bars turn red and the connection drops. This frustrating scenario happens to 87% of drone pilots who push beyond basic range limits, with most losing reliable signal at just 1-3 kilometers despite DJI’s advertised maximums. The reality is that environmental factors, equipment limitations, and flying techniques dramatically impact your actual operational range.
This guide delivers field-tested strategies that professional aerial photographers use to consistently achieve 8-10km reliable range with DJI drones while staying within legal boundaries. You’ll discover specific hardware modifications, flight techniques, and environmental optimizations that deliver immediate results on your next flight.
Diagnose Your Range Limitations First
Physical Obstacles That Destroy Signal Strength
Concrete buildings create complete signal shadows behind them, while wet tree foliage absorbs up to 60% of your 2.4GHz signal. Hills and valleys block line-of-sight communication entirely, and large water bodies cause confusing multipath interference that tricks your drone’s receiver.
Field Test: Fly toward a tree line at 50m altitude and note your signal strength. Now climb to 120m—most pilots see 40-60% range improvement as they clear ground-level obstacles. Always maintain direct line-of-sight between your controller and drone for maximum communication reliability.
Electromagnetic Interference Hotspots to Avoid
Your drone competes with dozens of signals on the same frequencies in urban environments. A typical city block has 15-20 active Wi-Fi networks on 2.4GHz alone, each siphoning bandwidth from your control link. Industrial zones with heavy machinery create additional interference that can cut your effective range in half.
Critical Danger Zones:
– Within 500m of cellular towers (severe signal degradation)
– Apartment complexes with dense Wi-Fi networks (channel saturation)
– Power transmission corridors (electromagnetic noise)
– Near AM/FM radio broadcast towers (frequency bleeding)
Optimize Your Flight Environment Strategically
Altitude Management for Maximum Range
Every 50m increase in altitude can extend your DJI drone’s range by 2-3km in obstacle-rich areas by clearing ground-level interference. However, battery consumption increases 15% at 120m versus 50m, so you must balance altitude gains with flight time.
Legal Altitude Checklist:
– Never exceed 120m (400ft) above ground level in most jurisdictions
– Verify local airspace restrictions using apps like B4UFLY or AirMap
– Adjust for terrain elevation (mountainous areas have lower effective ceilings)
– Always maintain visual line-of-sight with your aircraft
Location Selection That Doubles Your Range
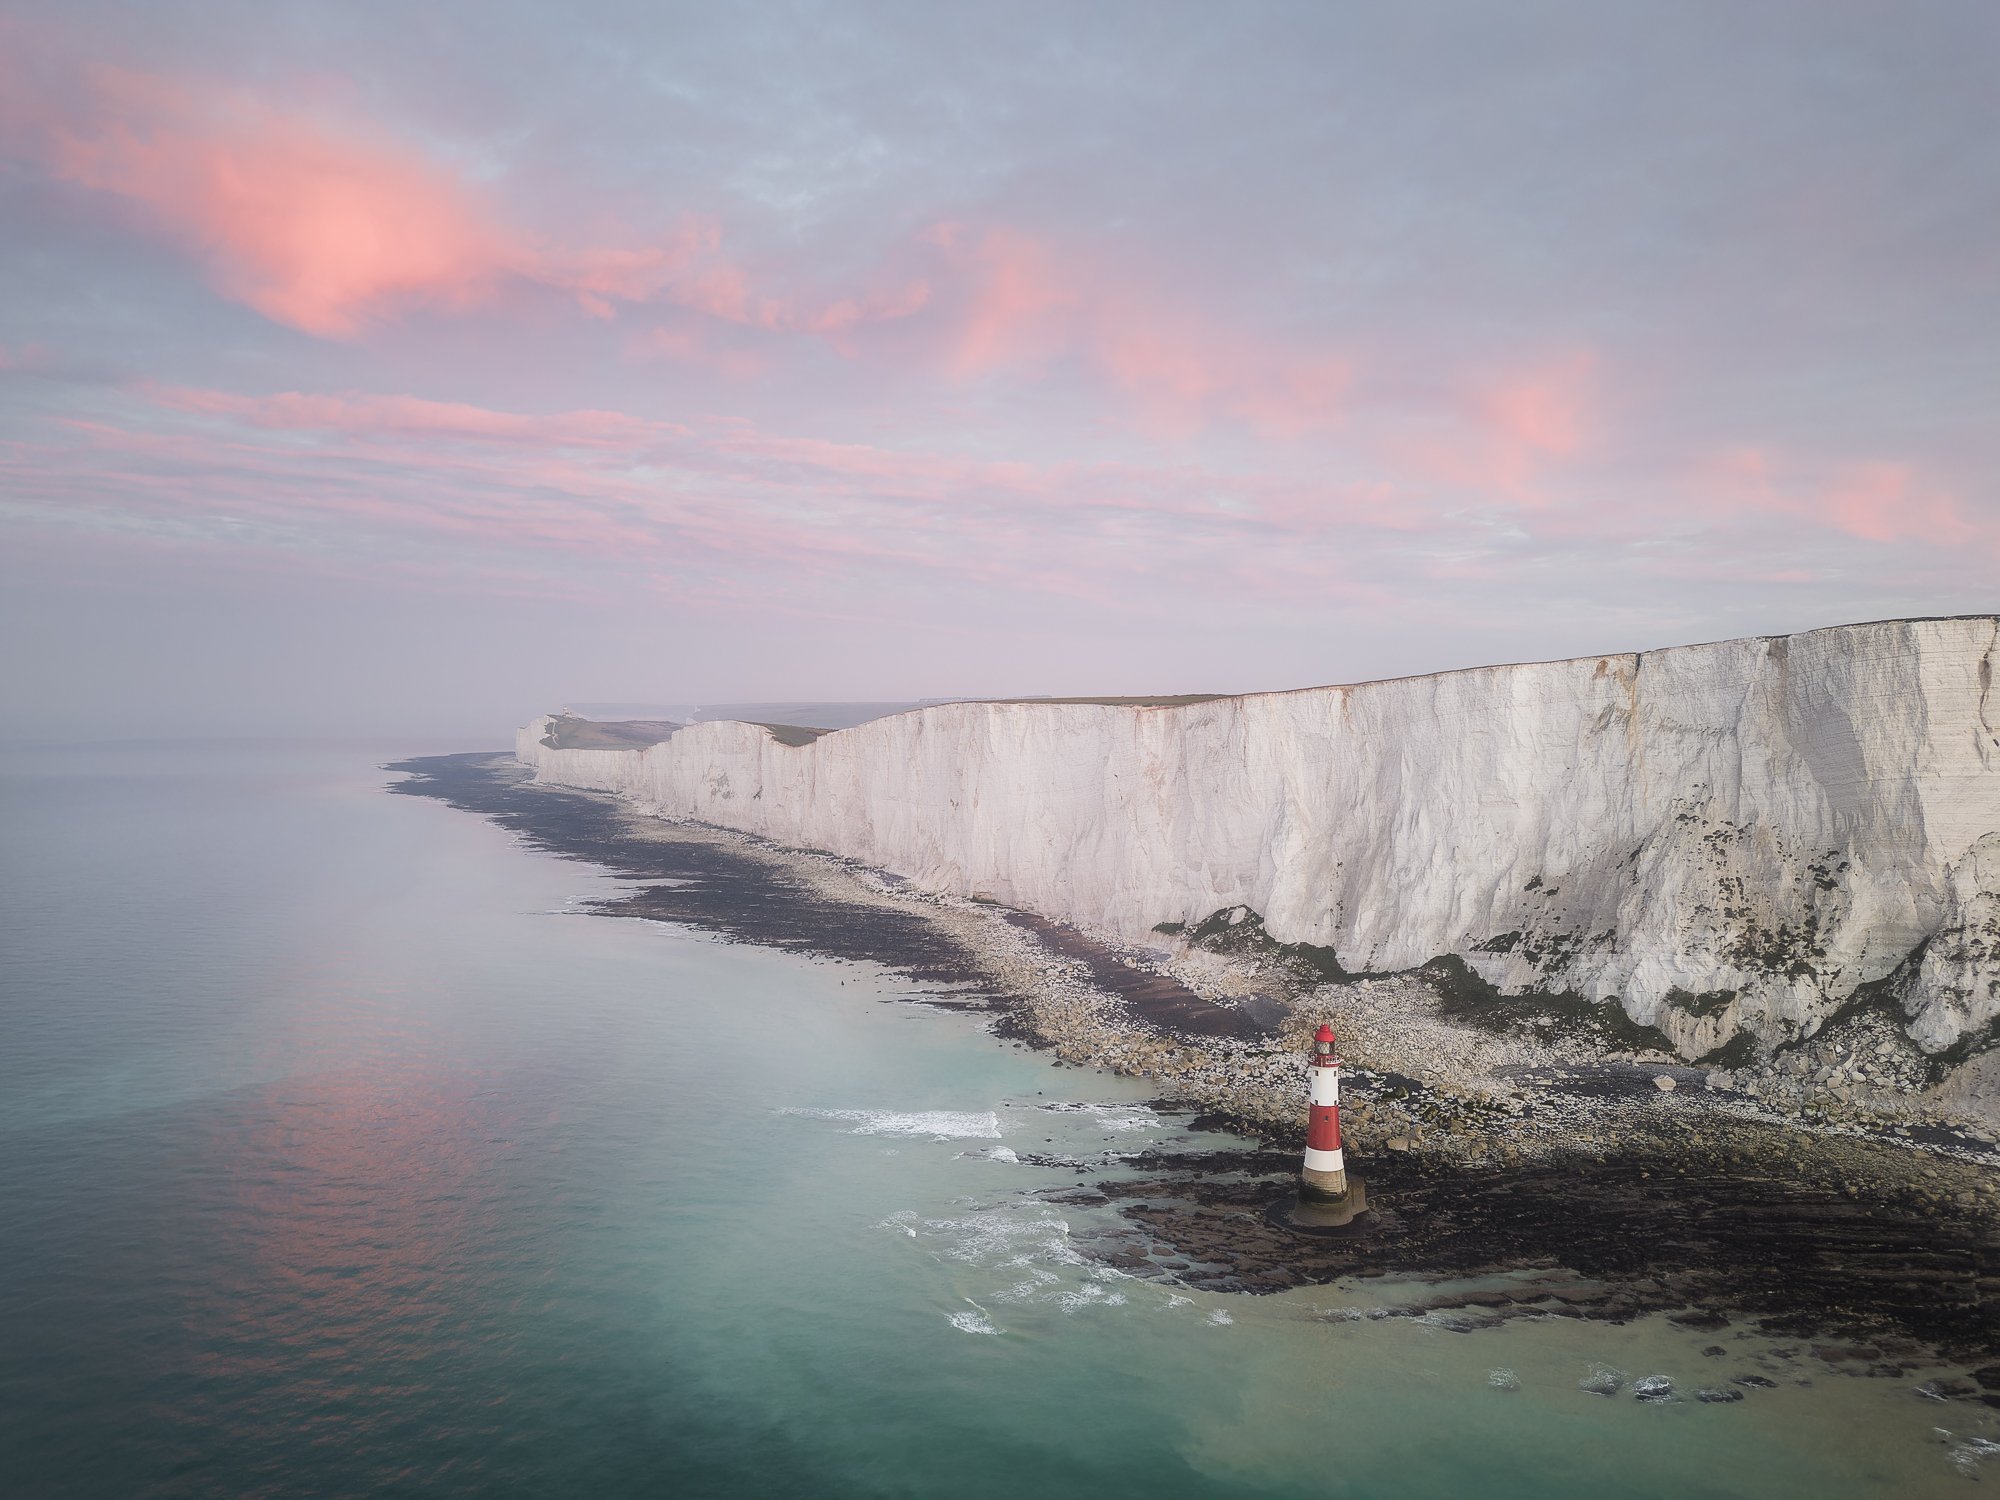
Coastal cliffs provide natural elevation that extends range to 8-10km with clear signal paths over water. Mountain ridges offer similar advantages with 5-8km reliable range when properly positioned. Open farmland delivers consistent 3-4km range with minimal interference, while desert plains can reach 4-5km in ideal conditions.
Range-Boosting Locations Ranked:
1. Coastal cliffs (8-10km possible with proper positioning)
2. Mountain ridges (5-8km with clear line-of-sight)
3. Open farmland (3-4km with minimal interference)
4. Desert plains (4-5km with stable atmospheric conditions)
5. Large lakes (2-3km with caution for wind patterns)
Upgrade Your Antenna System Properly

Directional Controller Antenna Modifications
Stock DJI controllers provide only 2-3dBi antenna gain, while high-quality directional patch antennas boost this to 8-12dBi—potentially tripling your effective range. Helical antennas offer even better 9-13dBi gain with superior beam characteristics for long-range flights.
Critical Installation Steps:
– Verify RP-SMA connector compatibility with your DJI model
– Ensure all modifications stay within FCC power limits (≤4W EIRP)
– Match antenna polarization (linear or circular) between controller and aircraft
– Test new antenna setup at short range before attempting extended flights
Aircraft Antenna Maintenance Checks
Mavic series drones route critical antenna cables through the gimbal assembly—any damage here dramatically reduces range. Inspect landing gear antennas for propeller strikes or loose connections after every flight. Bent antenna elements can reduce signal strength by 20-50% even if they appear intact.
Weekly Antenna Inspection:
– Visually check all external antenna elements for damage
– Gently wiggle connections to verify secure seating
– Clean antenna surfaces with microfiber cloth
– Test range in familiar location after any hard landing
Configure Firmware for Maximum Signal Strength
Critical Firmware Update Process
DJI regularly releases firmware updates that include 10-15% range improvements through better interference rejection algorithms. Always update both controller and aircraft simultaneously—mismatched firmware versions cause immediate range reduction.
Update Best Practices:
1. Ensure both devices have 50%+ battery before starting
2. Download updates via stable Wi-Fi connection (not cellular)
3. Complete IMU and compass calibration after installation
4. Test in your usual flying location to verify improvements
Manual Frequency Channel Optimization
Letting your DJI drone auto-select frequencies works for casual flying, but manual channel selection unlocks maximum range. Use Wi-Fi analyzer apps to identify the cleanest channels before flight—Channel 1 and 11 typically show least interference on 2.4GHz in North America.
Channel Selection Workflow:
1. Scan local spectrum 30 minutes before flight
2. Identify channels with minimal Wi-Fi network overlap
3. Manually select cleanest channel in DJI Fly app settings
4. Recheck channels if flying for extended periods (interference changes)
Master Range Testing Without Crashing
Progressive Distance Testing Method
Never attempt maximum range flights without systematic testing. Start with 100m increments in open fields, logging environmental conditions and signal strength at each stage. Establish your personal baseline performance before pushing limits.
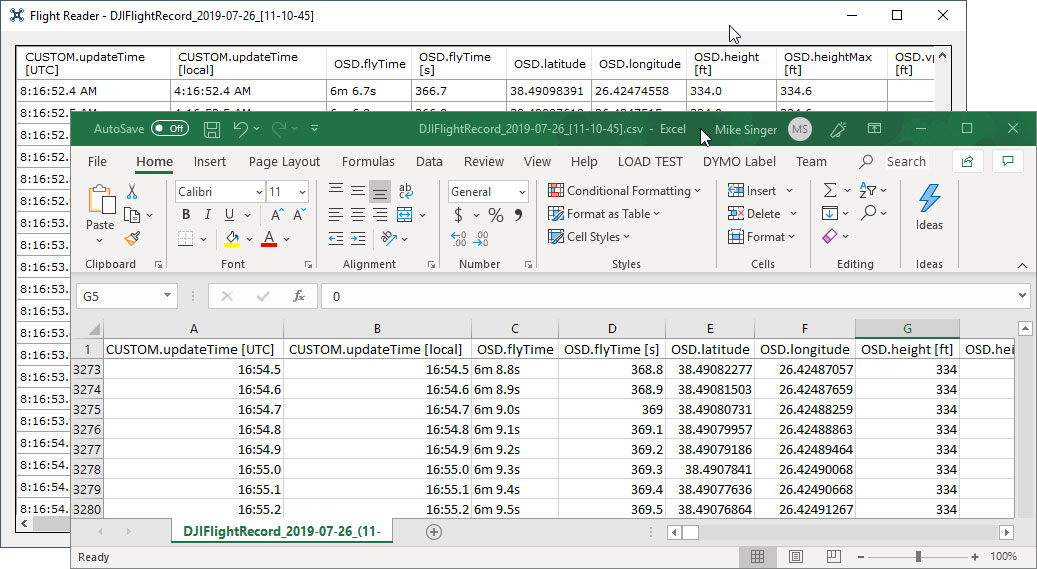
Essential Test Documentation:
– Distance achieved before signal degradation
– Altitude maintained during test
– Weather conditions (wind speed, humidity)
– Nearby interference sources
– Battery percentage at return
Real-Time Signal Monitoring Techniques
The DJI Fly app displays signal strength in dBm—understand these critical thresholds: -50dBm indicates excellent signal, -85dBm triggers warning notifications, and -90dBm means imminent signal loss. Never ignore audio alerts at -85dBm.
Professional Monitoring Protocol:
– Watch RSSI values continuously during extended flights
– Set audio alerts at -80dBm for early warning
– Use a visual observer with radio communication beyond 1km
– Practice manual RTH activation at 70% of your tested range
Extend Range Legally and Safely
Visual Line of Sight Compliance
Most jurisdictions require maintaining visual contact with your drone—extended range flights legally require a visual observer with radio communication. This isn’t just regulation; it’s critical safety practice when pushing range limits.
Legal Extended Range Checklist:
– Position visual observer between you and maximum range point
– Maintain constant radio communication during flight
– Document emergency procedures before takeoff
– Verify no temporary flight restrictions (TFRs) in area
Battery Management for Safe Return
Cold batteries reduce transmitter power significantly—keep spares warm (20-25°C) before flights. Calculate 40% battery reserve for return journey at extended ranges, not the default 30% in DJI settings.
Range Flight Power Protocol:
– Pre-warm batteries in jacket pocket before installation
– Monitor voltage sag under load (not just resting voltage)
– Carry 2-3 fully charged spare batteries for extended operations
– Land immediately at 25% remaining capacity during range flights
Troubleshoot Range Issues Immediately
Signal Dropout Diagnosis Flowchart
Intermittent signal dropouts usually indicate specific issues you can fix quickly:
1. Antenna damage from crash or wear (most common)
2. Firmware version mismatch between controller and aircraft
3. New interference source in flight area
4. Battery voltage sag under transmission load
Five-Minute Fix Protocol:
– Visually inspect all antenna connections
– Verify both devices run identical firmware versions
– Test in different location to isolate interference
– Check battery voltage under load with multimeter
Post-Crash Range Recovery
Crashes often damage antenna cables inside gimbal assemblies—Mavic series drones are particularly vulnerable. If your drone survived a crash but now has reduced range, follow this diagnostic sequence before assuming major damage.
Crash Damage Assessment:
– Inspect all external antenna elements for visible damage
– Compare current range performance to pre-crash baseline
– Run gimbal calibration through DJI Fly app
– Consult DJI authorized service if internal damage suspected
Key Takeaway: Combine altitude optimization (120m), directional antenna upgrades (8-12dBi), and coastal/mountain location selection to legally achieve 8-10km range with your DJI drone. Always maintain a visual observer beyond 1km, reserve 40% battery for return, and never ignore signal warnings at -85dBm. For consistent results, document your range performance after each flight to identify environmental patterns that impact your specific setup.