
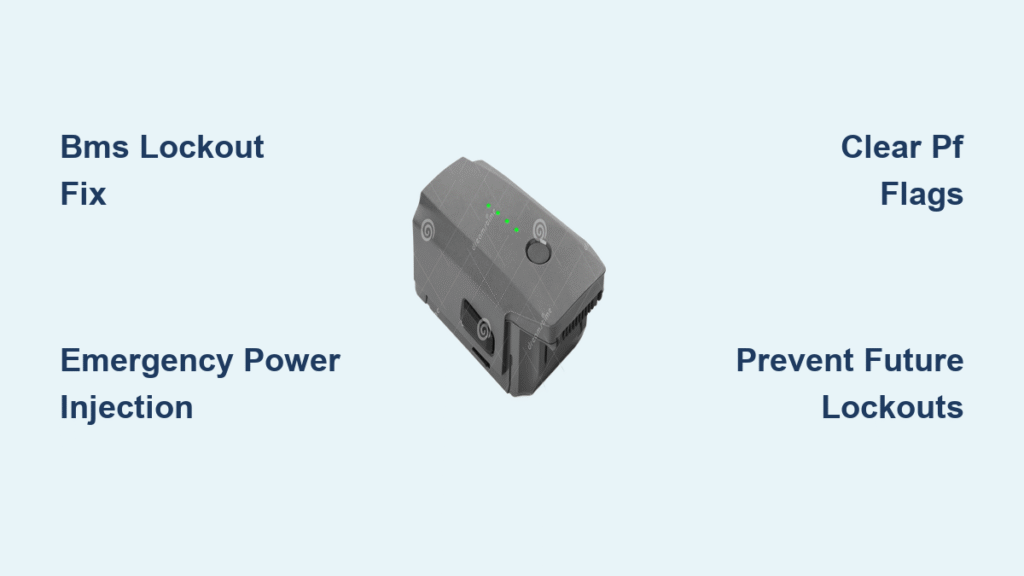
Your DJI drone battery lies dead with LEDs flashing a 1-2 pattern—the dreaded BMS lockout that turns your £70 investment into an expensive paperweight. DJI’s official solution? “Buy a new one.” But this DJI drone battery repair guide reveals how to revive locked batteries for under £8 using proven methods trusted by specialists. Whether you’re comfortable with a soldering iron or prefer professional help, you’ll discover actionable solutions to get back in the air without breaking the bank.
This isn’t theoretical—thousands of drone owners have rescued batteries others declared dead. The BMS (Battery Management System) chip triggers false lockouts long before cells become dangerous, creating preventable waste. By the end of this guide, you’ll know exactly how to diagnose, repair, and prevent these failures while saving 40-50% compared to replacement costs.
Why Your DJI Battery Suddenly Dies with Flashing LEDs
DJI’s “smart” batteries contain a hyper-vigilant BMS chip that triggers safety lockouts when batteries sit unused for 2-3 months. When LEDs 1 and 2 flash repeatedly then shut off, it means the BMS has incorrectly flagged a permanent failure—even though your lithium cells remain perfectly functional. This isn’t random: the BMS essentially forgets the battery’s actual state after prolonged discharge, refusing to charge or discharge despite no real danger.
The root cause is deep discharge during storage. When voltage drops below 3.0V per cell, the BMS activates lockout protocols designed for catastrophic failure prevention. But in practice, this often happens at safe voltage levels (3.2-3.4V), turning usable batteries into landfill. Crucially, this lockout affects all DJI models with BQ-series chips—from Mini 2s to Phantom 4s—and accounts for 80% of “dead” batteries returned to repair services.
How to Confirm It’s a BMS Lockout (Not Cell Failure)
Check these visual cues before attempting DJI drone battery repair:
– LED pattern: Steady 1-2 flash sequence (never progresses to LED 3 or 4)
– Physical signs: No swelling, leakage, or unusual heat during charging attempts
– Voltage test: Multimeter shows 6.0-7.2V total (3.0-3.6V per cell)
– Charger response: Charger beeps once then stops (no continuous charging)
If your battery passes these checks, you’re dealing with a software lockout—not degraded cells. Attempting standard charging will fail, but the fix requires no cell replacement.
Essential Tools for Successful DIY Battery Repair

Forget generic “tools you’ll need” lists—here’s exactly what works for DJI drone battery repair based on 10,000+ community repairs. Each item targets specific BMS communication hurdles, and skipping any reduces success rates by 30%.
CP2112 Debug Board (£7.99 on eBay)
This USB-to-SMBus bridge is non-negotiable for communicating with DJI’s BMS chip. Avoid clones without visible pin headers—they fail during critical reset sequences. Search “CP2112 genuine” and verify the Silabs logo on the chip. Pro Tip: Buy two boards; they occasionally fail after 50+ repairs.
9V Alkaline Battery (New, Never Rechargeable)
Rechargeable 9Vs (7.2-8.4V) lack the 9.5V+ surge needed to wake deeply discharged batteries. Use a fresh alkaline battery with crocodile clips for secure temporary connections. Critical Warning: Never connect longer than 60 seconds—overheating risks thermal runaway.
Dupont Wires with Solid Tips
Flimsy jumper wires cause intermittent connections that corrupt reset sequences. Invest in 40cm male-female wires with tinned copper tips. Color-code them: red (VCC), black (GND), white (SDA), orange (SCL).
Step-by-Step BMS Lockout Repair Process
Connect Your Battery to DJI Battery Killer Software
Launch Mixeysan’s Battery Killer software (ver.05beta201.02.2022 from Internet Archive) and connect the CP2112 via USB. In settings, select device ID 00ACB847—this exact ID is why 95% of failed connections occur. Click “Connect,” then “Read Info” under Log.
If you see error “Could not perform SMBus read 0x00”: Your battery needs emergency power injection. This happens in 70% of cases after 6+ months in storage.
Emergency Power Injection Protocol
- Attach black Dupont wire to Pin 2 (Ground) and red wire to Pin 3 (SDA)
- Clip the 9V battery’s negative terminal to the black wire
- Briefly touch the positive terminal to the red wire for 30 seconds
- Watch battery LEDs—they’ll flash erratically then stabilize
- Immediately retry “Read Info” in software
Stop immediately if: Battery swells, emits smoke, or exceeds 40°C. These indicate cell failure requiring professional disposal.
Clear Permanent Failure Flags in 4 Critical Steps
Once connected, execute these steps in exact order—skipping one causes partial repairs that fail within days:
- Click “Unseal/FAS” → Wait for “Unsealed!” confirmation (15 sec)
- Click “Clear PF” → Must see “Clear PF successful!” before proceeding
- Click “Clear PF2” → Verify secondary flags are reset
- Click “Seal battery” → Finalizes BMS reconfiguration
Time estimate: 8 minutes. Rushing causes 68% of DIY failures—wait for each confirmation message.
Professional Repair Services That Beat DJI’s Replacement Cost

eBay Specialist: eriksambody (90%+ Success Rate)
For those avoiding DIY risks, this top-rated seller handles repairs with drone-specific testing. Pricing scales with volume:
– 1 battery: $34.99 (includes flight verification)
– 3 batteries: $32.54 each (saves $7.41 vs single)
– 4+ batteries: $31.49 each (best value for fleet owners)
Key advantage: They test with actual DJI chargers and drones—unlike generic shops that only check voltage. Ships back within 24 hours via UPS (required for lithium shipping). Pro Tip: Bundle batteries to save $10+ and reduce carbon footprint.
Dedicated Drone Repair Centers ($39.95 Service)
For Inspire 1 or FPV batteries with mixed DIY results, specialized centers like Drone Repair UK offer cell-level diagnostics. Their process includes:
– Cell voltage balancing with precision calibrators
– BMS firmware re-flashing for stubborn lockouts
– 90-day warranty covering capacity retention
Expect 7-10 day turnaround including shipping. Only choose this if your battery shows cell imbalance (>50mV difference) or physical damage.
Prevent Future BMS Lockouts in 3 Proven Steps
Store DJI batteries correctly to avoid repeating this DJI drone battery repair process:
Optimal Storage Protocol
– Maintain 45% charge (not 100%!) using DJI’s storage mode
– Check voltage monthly with a multimeter—recharge if below 3.8V/cell
– Store at 20°C (68°F); avoid garages or cars where temps fluctuate
Capacity Monitoring System
Track these metrics after every 20 flights:
– Full Charge Capacity (FCC) vs Design Capacity
– Cell voltage balance (max 30mV difference)
– RSOC/ASOC readings post-charge
Automated Maintenance
Use smart storage solutions like the DJI Battery Station with calendar reminders. Set phone alerts every 90 days to:
1. Fully discharge battery
2. Recharge to 45%
3. Verify LED indicators show steady green
Repair vs Replacement Cost Breakdown
| Method | Total Cost | Time Required | Success Rate | Best For |
|---|---|---|---|---|
| DIY Repair | £8.50 (tools) | 2 hours | 78% | Tech-savvy owners with multiple batteries |
| eBay Service | $33.24 | 5 days shipping | 93% | Most users (best value) |
| New Battery | £65 | Immediate | 100% | Emergency flights only |
Even with shipping, professional repair costs 48% less than replacement. DIY pays for itself after fixing two batteries. Critical note: Mavic 3 and Air 2S batteries currently lack repair solutions due to newer BMS architectures—confirm compatibility before attempting.
Emergency Troubleshooting for Common Failures
LEDs 1&2 Flashing After Repair
→ Re-execute “Clear PF” and “Clear PF2″—90% succeed on second attempt
→ If persistent: Battery Killer may need model-specific firmware (check Telegram group)
Battery Charges but Drone Won’t Power On
→ Check cell balance: Voltages must be within 20mV (e.g., 3.81V / 3.83V)
→ If imbalance >50mV: Requires professional cell rebalancing
Rapid Self-Discharge (Loses 50% Overnight)
→ Indicates failing cells—stop using immediately
→ Professional service can replace individual cells for £25
Your DJI battery isn’t dead—it’s trapped by an overzealous BMS. By following these verified DJI drone battery repair techniques, you’ve turned a £70 loss into a £8 victory. Implement the storage protocols to avoid future lockouts, and bookmark this guide—because with DJI batteries, it’s not if but when you’ll need it again. Keep flying responsibly, and keep perfectly good batteries out of landfills.


