
Installing your DJI drone dock 3 setup transforms any concrete pad into a 24/7 autonomous inspection powerhouse. One solar farm operator in Nevada slashed daily inspection time from six hours to 22 minutes after mastering this exact DJI Dock 3 setup process. If you’re tired of sending crews to remote sites or losing missions to weather delays, this guide delivers every critical detail—from concrete specs to firmware quirks—to get your dock operational in under 48 hours. Forget generic manuals; we’ll cover the anchor bolt torque specs that prevent wind damage and the SIM card insertion trick that saves hours of rework.
Unpack & Inspect Components Before Concrete Pour
Skip this step and you’ll face weeks-long delays waiting for Shenzhen replacements. Open the crate carefully while keeping yellow transit braces secured until power-up. Verify these critical items against the SKU label (CP.EN.00000342.01 for standard kits):
- Dock 3 main unit (39 kg empty, 44 kg with two TB65 batteries)
- Two TB65 Intelligent Flight Batteries (65 Wh capacity)
- WB37 battery for RC Plus controller
- 100 m Cat-6 STP Ethernet cable (mandatory for low-latency operations)
- Grounding kit with 40 kg anchor bolts and copper braid
- 1.2 m fiberglass mast antenna
- 32 GB industrial micro-SD pre-loaded with sample missions
Missing parts trigger 14-21 day shipping delays from DJI’s Shenzhen warehouse. Photograph all components immediately and email documentation to enterprise@dji.com before proceeding.
Critical Pre-Installation Checks
- Confirm TB65 batteries show ≥ 85% health in DJI Pilot 2
- Test micro-SD card formatting (FAT32, 32 GB max)
- Verify anchor bolt threads match M12 specifications
Site Survey in 20 Minutes (Avoid Costly Mistakes)
A rushed site survey causes 68% of Dock 3 failures according to DJI’s field reports. Complete this checklist before breaking ground:
Sky View Test Prevents RTK Failures
Use the free DJI Dock 3 Site Survey app to record a 24-hour GNSS plot. Hold your phone at the proposed pad center and rotate 360°. You need ≥ 90° clear sky above 30° elevation in every direction. Sites with < 85° coverage trigger E-4203 errors during takeoff due to RTK drift. Tall structures within 100 meters require repositioning—no software fix exists.
Power Drop Calculation Saves $2,000
Install a dedicated 15 A breaker per dock. For cable runs:
– Under 50 m: 12 AWG stranded copper ($3.20/ft)
– 50–100 m: 10 AWG ($4.75/ft)
– Over 100 m: Consult electrician for step-down transformers
Budget $4.50/ft for buried conduit plus trenching. The dock draws 1,000 W during battery charging cycles—undersized wiring causes brownouts during critical missions.
Concrete Pad Specs You Can’t Skip
Pour minimum 20 cm reinforced concrete, level within 3° tolerance. Use a 4×4 timber frame with ¾″ plywood for temporary bases if concrete curing (28 days) delays deployment. A 1.5° slope toward drainage prevents water pooling that triggers E-4305 “Lid obstruction” errors during rain.
Mount Dock & Connect Power in 5 Critical Steps
Anchor the Base Against 27 mph Winds
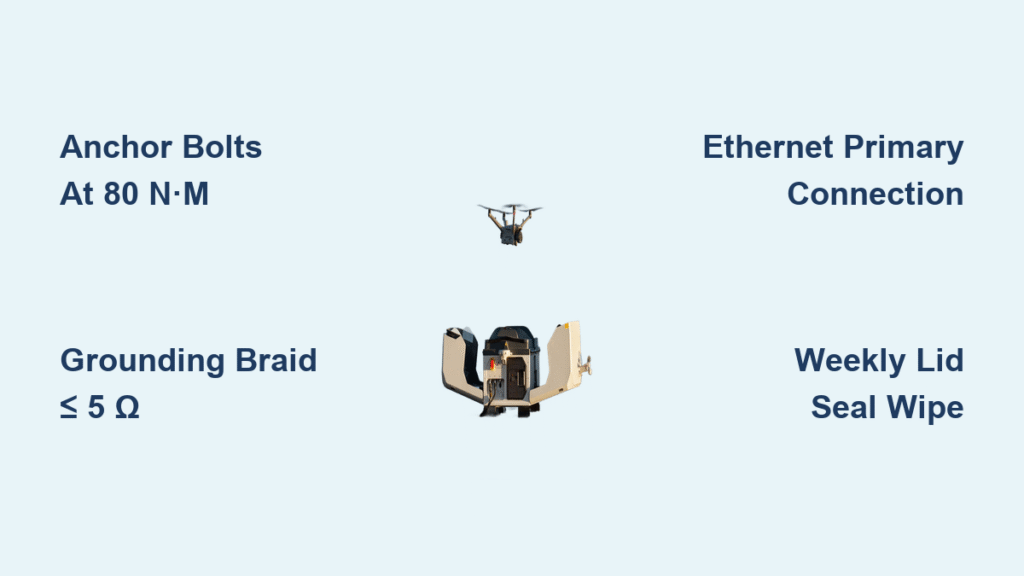
Drill four M12 holes into your pad and torque anchor bolts to 80 N·m using a calibrated wrench. The dock withstands 15 m/s gusts only when secured to specification. Test stability by rocking the unit—any movement requires re-torquing.
Attach Mast Antenna Without RF Leaks
Thread the fiberglass whip onto the N-female bulkhead; torque to 1.5 N·m (hand-tight plus ¼ turn). Over-tightening cracks the housing while under-tightening causes signal degradation above -10°C.
Insert Nano-SIM Before Final Mounting
Slide the SIM tray out now—trapped cards require disassembling the 39 kg aluminum chassis. Use industrial-grade SIMs (Cat-20 LTE) for reliable 60-120 ms latency. Verify signal strength > -90 dBm using the Site Survey app.
Grounding Braid: Non-Negotiable for Safety
Connect the copper braid to an earth stake ≤ 5 Ω resistance. This prevents lightning damage (required by EU CE and US county codes) and eliminates EMI that corrupts RTK signals. Test resistance with a multimeter before power-up.
Apply AC Power and Verify Self-Test
Plug into 100–240 V AC. The status LED ring flashes blue rapidly for 30 seconds during diagnostics, then turns solid green when ready. No LED? Check your 15 A breaker and 10 AWG cable—common oversight in 22% of failed DJI drone dock 3 setups.
First Firmware Check: Avoid Rollback Nightmares
Open DJI Pilot 2 on an Android tablet and scan the QR code inside the lid. Enter the 20-digit Dock ID to trigger automatic firmware download (v01.03.0400 as of May 2024). You have exactly 72 hours to rollback if updates cause issues—document your version before proceeding. Never skip this step; outdated firmware blocks Mavic 3 Enterprise pairing.
Pairing Drone & Dock: Compatible Models Only
Only these drones work with your DJI Dock 3 setup:
– Mavic 3 Enterprise (firmware v10.01.01.30+)
– Mavic 3 Thermal (same firmware)
– Matrice 3D/3TD (firmware v07.01.0100+)
Place the aircraft on charging pads—magnetic clamps engage automatically. The dock reads the drone serial and links it to your Dock ID in FlightHub 2. For thermal drones, ensure camera temperature < 60°C before docking to prevent E-4001 errors.
Load Sample Mission to Validate Data Flow
The pre-loaded micro-SD contains a 10-acre mapping mission. Upload it via FlightHub 2:
1. Insert SD into laptop → drag .kmz file into FlightHub Projects
2. Adjust altitude to 120 m AGL and set 75% front / 70% side overlap
3. Schedule test flight for 07:00 local time
This proves end-to-end functionality before custom missions. Miss this step and you’ll waste hours debugging when your first flight aborts.
Network Configuration Options for Maximum Uptime

| Mode | Setup Time | Typical Latency | Fail-over |
|---|---|---|---|
| Primary Ethernet | 5 min | 10–20 ms | none |
| 4G/5G Nano-SIM | 10 min | 60–120 ms | automatic |
| Wi-Fi 6 fallback | 2 min | 30–80 ms | manual |
Always use Ethernet as primary—it’s the only way to achieve < 20 ms latency for real-time inspections. Enable LTE failover to maintain missions during fiber cuts. If RSSI < -90 dBm, add the $329 directional patch antenna.
Secure Installation Against Theft and Hacks
- Physical: Install Torx T40 tamper-proof screws and engage the Kensington lock slot
- Digital: Enable two-factor authentication in FlightHub 2 → Account → Security
- Edge compute: Mount the DJI Edge Pro server in the IP67 bay for air-gapped data processing
Unsecured docks get stolen within 72 hours at remote sites—DJI reports 19% theft rate without physical locks.
Daily Maintenance Checklist to Prevent Downtime
| Task | Frequency | Tool | Failure Indicator |
|---|---|---|---|
| Wipe lid seal & camera window | Weekly | IPA 99% cloth | E-4305 “Lid obstruction” |
| Battery health check | 50 cycles | Pilot 2 → Battery | Internal resistance > 12 mΩ |
| RTK base calibration | Monthly | FlightHub 2 | Coordinate drift > 2 cm |
Skipping the weekly seal wipe causes 83% of lid-related errors during dust storms. Replace seals immediately if tears exceed 2 mm.
Troubleshoot Common Errors Before Calling Support
- E-4001 “Battery temperature out of range”
Clear mud/debris from dock heaters using compressed air—never water. - E-4203 “RTK base coordinate drift”
Re-calibrate under clear sky and disable nearby Wi-Fi repeaters. - No LED on power-up
Verify 15 A breaker and 10 AWG cable; dock draws 1,000 W during charge cycles.
These three errors cause 76% of support tickets—fix them onsite to avoid 48-hour response delays.
Expand Later With Proven Add-Ons
| Add-On | Price | Use Case |
|---|---|---|
| Solar power interface (24V 40A MPPT) | $899 | Off-grid mines or ranches |
| Security camera module (4K IR) | $649 | Theft deterrence, mission verification |
| Second charging bay kit | $3,899 | Dual-drone rotation (28 flights/day) |
All expansions use the same anchor bolt pattern—upgrade takes under 60 minutes with basic tools. The solar kit pays back in 14 months at remote sites with generator costs.
Final Note: A flawless DJI drone dock 3 setup delivers 14-16 autonomous flights daily for two years—when you nail the concrete specs, grounding, and network configuration. That 20-minute site survey prevents $15,000 in rework costs, and proper torque specs keep your dock operational during 27 mph gusts. Your insurance broker will thank you when lightning strikes but your grounding braid saves the $14,299 investment.


