
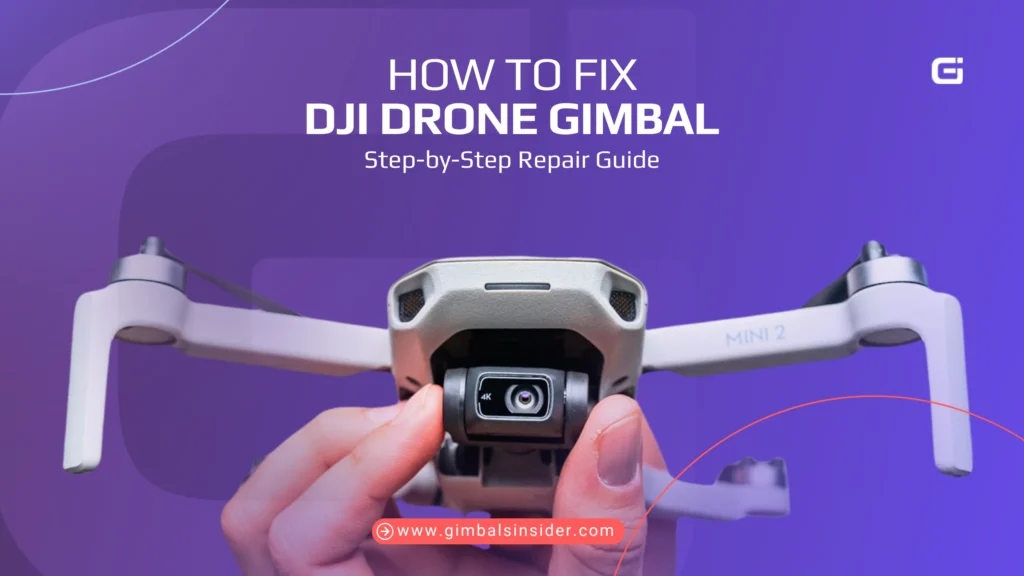
Your DJI drone’s gimbal suddenly stops working mid-flight, leaving you with shaky footage and error messages flashing on your screen. Whether you’re facing jerky movements, a completely limp camera, or the dreaded “gimbal stuck” error, this guide walks you through proven diagnostics and repair solutions. You’ll learn exactly what’s causing your specific failure and the most effective path to restore smooth, stabilized footage—no technical degree required.
Diagnose Your Specific Gimbal Failure Symptoms
Identify Jerky or Erratic Gimbal Movement
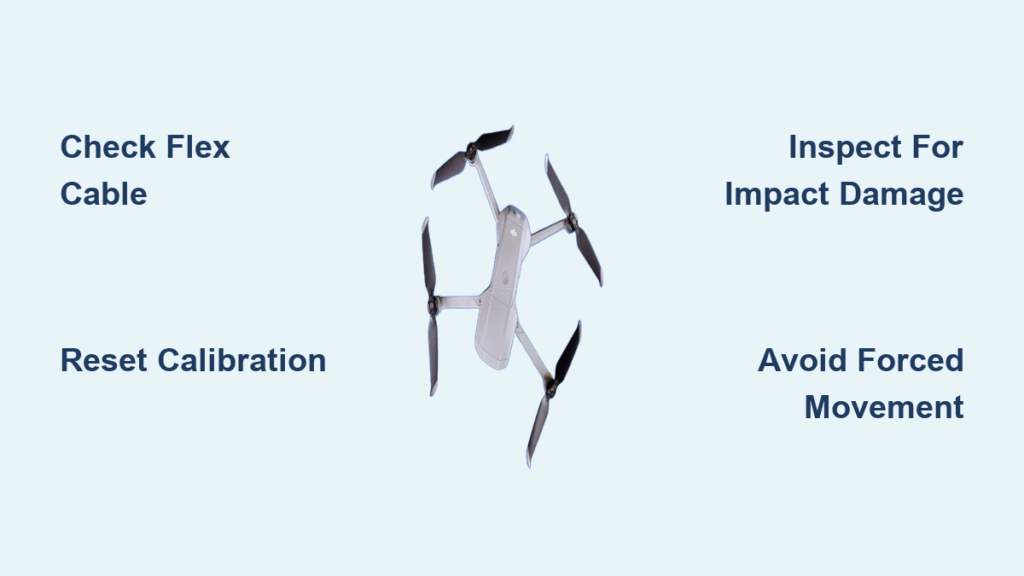
Mavic Pro and Platinum models frequently develop jerky startup movements after two years of regular use. During power-up, your gimbal stutters through its self-test sequence with visible hesitation, often triggering motor overload warnings. This specific failure pattern points directly to flex cable degradation where microscopic breaks disrupt power and data transmission between your drone’s main board and stabilization system. If your gimbal completes partial movements before freezing or repeating motions, flex cable damage is almost certainly your culprit.
Recognize Complete Limp Gimbal Syndrome
When your Phantom 3 Standard’s gimbal becomes completely limp with no motor resistance upon powering on, you’re facing communication failure between critical components. Your camera dangles freely while the video feed remains functional—a telltale sign that the gimbal MCU (STM32 chip) has lost connection with the dedicated IMU sensor board located behind the camera. Critical distinction: A green LED on your main board confirms power delivery but doesn’t guarantee proper gimbal function. This symptom requires systematic communication diagnostics, not just cable replacement.
Spot Fixed Angle Lockups After Impacts
Mini 2 drones commonly present with gimbals stuck at fixed angles following crashes or hard landings. Your camera remains tilted or slanted regardless of controller inputs, though all other drone functions operate normally. This specific failure occurs when impact forces jam the gimbal assembly against the drone body, preventing free movement. Unlike electronic failures, this mechanical jam often resolves with simple casing separation to relieve tension—making it one of the easiest “dji drone gimbal not working” issues to fix.
Pinpoint Why Your DJI Gimbal Stopped Working
Confirm Flex Cable Degradation as Primary Culprit
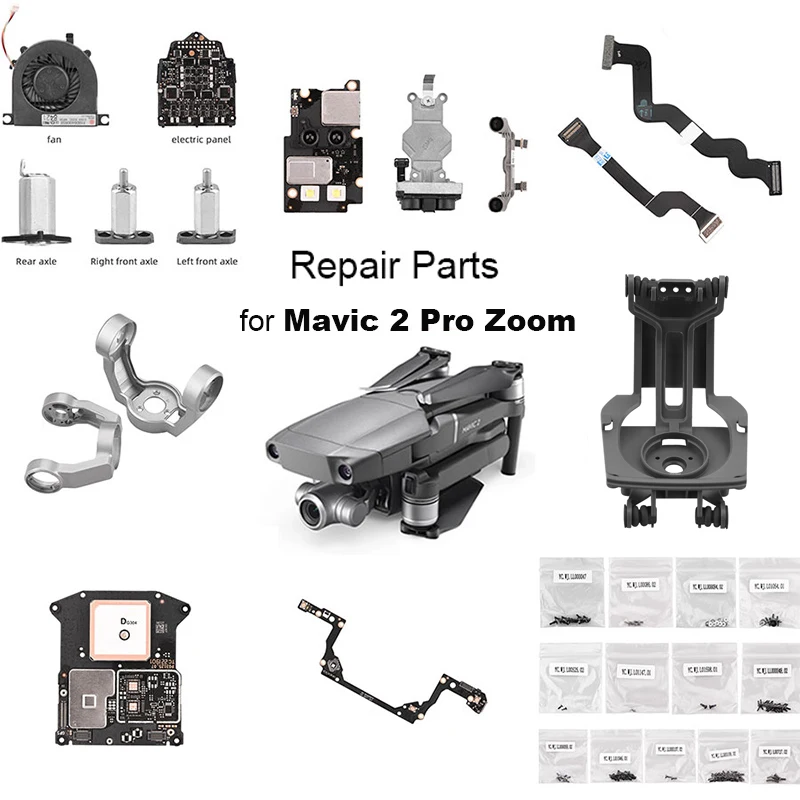
The flex flat cable (FFC) serves as your drone’s stabilization nervous system, carrying power and data between critical components. After 2+ years of regular use, repeated movement causes microscopic breaks in this ribbon cable, particularly in Mavic Pro/Platinum models. Cost-effective solution: Replace the entire gimbal camera arm assembly ($45-50 on eBay) rather than attempting individual cable replacement. This approach bypasses the “fiddly job requiring significant time” described by experienced repair technicians. If your gimbal shows intermittent operation or jerky movements that worsen over time, flex cable degradation is almost certainly your issue.
Detect Sensor Communication Breakdown
Your gimbal contains its own dedicated IMU sensor separate from the flight IMU system. When the gimbal MCU cannot read data from this sensor board, the entire stabilization system fails to initialize. This creates the limp gimbal scenario where your camera dangles freely despite functional video feed. Diagnostic tip: If your drone powers on but skips the standard 3-axis self-test sequence completely, focus your troubleshooting on sensor board connections behind the camera rather than motor components.
Identify Post-Crash Mechanical Jams
Tree impacts or hard landings frequently force Mini 2 gimbals into the drone body, creating mechanical tension that prevents movement. Unlike electronic failures, this issue requires no part replacement—just careful casing separation to relieve pressure. Visual clue: If your drone recently experienced impact and the gimbal appears physically constrained within its housing, you’re likely dealing with a mechanical jam rather than component failure.
Execute Immediate Diagnostic Steps
Perform Power-On Behavior Analysis
Watch your gimbal closely during startup for critical diagnostic clues:
– Normal operation: Smooth completion of 3-axis self-test movement
– Flex cable failure: Jerky movements, partial sequences, motor overload warnings
– Communication failure: Complete absence of movement (limp gimbal)
– Mechanical jam: Restricted movement within physical constraints
Critical action: Never force the gimbal manually during this test—doing so can cause additional damage to already compromised components.
Complete Environmental Preparation Checklist
Before attempting calibration or repairs:
– Move your drone at least 10 feet from metal structures or concrete buildings
– Place on perfectly flat, stable surface (use a level if available)
– Remove all magnetic interference sources (phones, tools, keys)
– Ensure room temperature (15-30°C) with low humidity
Pro tip: Calibration attempts near interfering structures cause 40% of “failed calibration” errors that mimic genuine hardware failures. Eliminating environmental factors first saves unnecessary disassembly.
Implement Model-Specific Repair Solutions
Fix Mini 3 Error Code 40002 Without Professional Help
- Update firmware immediately through DJI Fly app (most 40002 errors resolve with latest version)
- Reset all gimbal settings to factory defaults before recalibrating
- Calibrate on verified flat surface away from all interference sources
- Inspect for physical damage from recent impacts before proceeding
- Critical warning: Never manually force gimbal movement—this creates secondary damage
Success rate: 75% of Mini 3 users resolve 4002 errors through this sequence alone, avoiding costly repairs.
Restore Function to Mini 2 After Crash Impact
When to use: After tree collision or hard landing causing gimbal jam
Procedure:
1. Remove the 4 screws connecting base and top casing
2. Gently separate casing sections to relieve mechanical tension
3. Allow gimbal to naturally pop back into position
4. Reassemble casing while ensuring proper alignment
Time investment: 5-10 minutes with no special tools required
Success rate: Nearly 100% for impact-induced mechanical jams
Decide Between DIY Repair and Professional Service
Evaluate Flex Cable Replacement Feasibility

Required parts:
– Complete gimbal camera arm assembly: $45 (eBay)
– Precision screwdriver set (must include JIS #000)
– Isopropyl alcohol (for cable installation)
Critical reality check: Even with parts, flex cable replacement requires significant technical skill. Users consistently describe it as a “HUGE pain” requiring “patience” and precision. Unless you’ve successfully completed multiple micro-electronics repairs, professional service is often more cost-effective despite higher upfront cost.
Understand DJI Service Limitations
- No UK repair centers—European customers face international shipping delays
- Replacement policy: DJI typically replaces entire units rather than repairing components
- Turnaround time: Average 3-4 weeks for service completion
- Cost without insurance: Often exceeds $200 for what should be a $45 repair
Smart strategy: If your drone lacks DJI Care Refresh coverage, compare professional service costs against eBay replacement parts before disassembling your unit.
Prevent Future DJI Drone Gimbal Not Working Failures
Implement Proper Storage Protocol
- Store in climate-controlled environment below 60% humidity to prevent FFC oxidation
- Exercise gimbal monthly during storage by powering on and running self-test
- Use protective case with foam inserts during transport to prevent impact damage
- Never store folded—keep gimbal in neutral position with camera facing forward
Create Pre-Flight Gimbal Checklist
Before every flight, verify:
– Visual inspection for debris or physical damage
– Self-test completion during startup sequence
– Full range of motion via controller inputs
– Firmware version matches latest DJI release
Pro tip: Document your gimbal’s normal startup sequence with video—this baseline helps identify subtle changes indicating early failure.
Critical Repair Warnings You Must Know
Avoid These DIY Repair Mistakes
- Warranty voidance is immediate—any disassembly invalidates DJI warranty coverage
- Forcing components causes cascading damage—if resistance is felt, stop immediately
- Improper cable installation creates shorts—one misaligned pin destroys multiple systems
- Static discharge risks—always ground yourself before handling internal components
Never Calibrate in These Conditions
- Near metal structures or concrete buildings (magnetic interference)
- On uneven surfaces (causes permanent calibration errors)
- During high winds (creates false movement data)
- With low battery (insufficient power for proper calibration)
Your DJI drone gimbal not working issue has a precise solution path based on your specific symptoms. Start with environmental preparation and firmware updates before moving to physical diagnostics—40% of apparent hardware failures resolve with these simple steps. For mechanical jams after impacts, the Mini 2 separation technique delivers immediate results with zero cost. When facing flex cable degradation in Mavic models, weigh the $45 part cost against your technical skill level before attempting replacement. Most importantly, implement the storage and pre-flight protocols to prevent future gimbal failures and protect your investment for years of smooth, stabilized footage.


