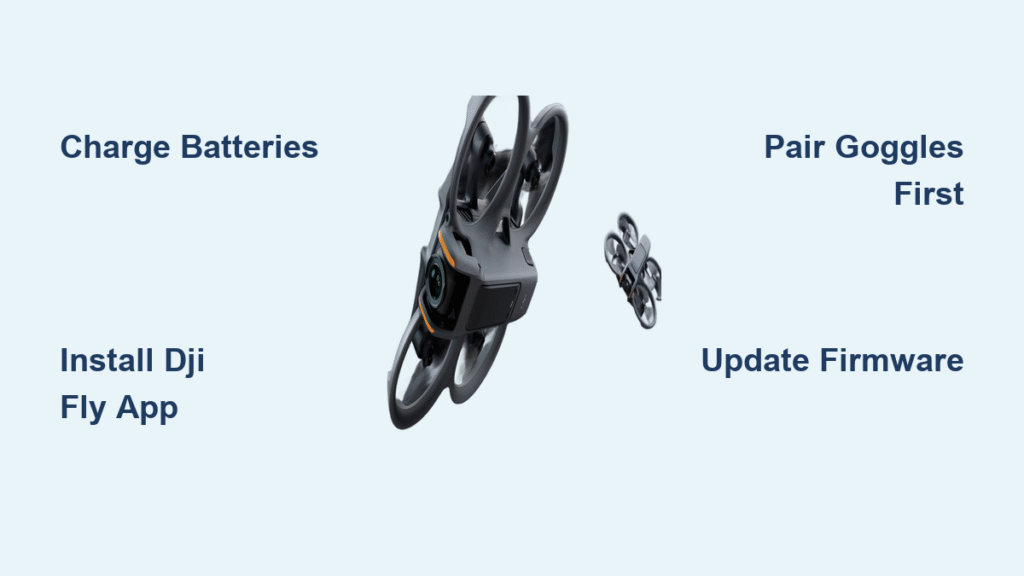
That sleek DJI FPV drone combo just landed on your doorstep, promising heart-pounding immersion—but if you’re staring at three separate devices and tangled cables, you’re not alone. Most pilots waste hours wrestling with firmware updates, propeller mismatches, and connection errors before their maiden flight. This DJI FPV drone setup guide cuts through the complexity with battle-tested steps verified against DJI’s technical specs, transforming confusion into confidence. You’ll learn exactly how to avoid the #1 setup mistake (mismatched propellers) and bypass common activation failures, getting airborne safely in under an hour—no prior FPV experience required.
The stakes are high: One misaligned component can trigger emergency stops mid-flight or brick your $1,300 investment during firmware updates. But with DJI’s non-folding carbon fiber frame and military-grade transmission system, proper dji fpv drone setup unlocks cinematic 4K/60fps footage at 39 m/s speeds. Whether you’re upgrading from a Mini 3 Pro or diving into FPV for the first time, this guide delivers what manufacturer manuals omit—like why your goggles show black screens when the microSD card is missing from either device.
Unbox and Inspect Components Before Powering On
Skip this step and you’ll face preventable failures during activation. Lay out all items from the combo package: aircraft (795g), Goggles V2 or Integra, Remote Controller 2, three Intelligent Flight Batteries, 86W charger, OTG cable, and propellers. Cross-check against DJI’s packing list—missing antennas or damaged carbon fiber shells (PA66 + 30% CF) invalidate warranties.
Critical hardware checks that prevent flight disasters:
– Aircraft shell: Zero cracks near motor mounts (vibration weak points)
– Goggle lenses: No scratches on dual 1920×1080 displays (V2 model)
– Propellers: Two “A” (red-tip) and two “B” (unmarked) types—mismatching these causes immediate crashes
– Battery health: All three devices must show ≥1 LED when power-checked
Note the drone’s rigid PA6 glass fiber arms—unlike foldable drones, you must remove props after every flight to prevent bending during storage. The Remote Controller 2’s detachable sticks store neatly in slots underneath, while the goggles’ IPD slider (58-70mm range) ensures clear vision before takeoff.
Install microSD Cards and Propellers Correctly

Insert UHS-I Speed Grade 3 Storage Cards Properly
Your drone and goggles require microSD cards for video recording—missing cards cause black screens. Lift the rubber cover on the aircraft’s right side and insert a UHS-I Speed Grade 3 card (max 256GB for V2 goggles, 512GB for Integra) until it clicks. Ensure it sits flush; protruding cards interfere with antenna signals. For Goggles V2, access the microSD slot on the left side—this stores flight data for playback in the DJI Fly app’s Album tab.
Mount Propellers Using Visual Motor Cues
This prevents catastrophic motor failures. Match red-tipped “A” propellers to motors with red arcs on their bases—these indicate counter-clockwise rotation. Press standard “B” props onto unmarked motors. Firmly push down while rotating clockwise until you hear a distinct click. Test each propeller by gently pulling upward; zero movement confirms secure locking. Pro tip: Always remove props after flights—bent props from storage pressure are the #1 preventable damage source with DJI’s non-folding arms.
Power Up Devices in Critical Sequence
Charge All Components First Using 86W Charger
Connect the aircraft battery (22.2V 6S 2000mAh) to the 86W charger—four solid LEDs indicate 100% charge. Goggles V2 require their separate 1800mAh battery pack (≈110 minutes runtime at brightness 6), while Integra models charge via USB-C. Never skip this: Undercharged devices fail activation. Verify charger output is 25.2V; incorrect voltage bricks batteries.
Follow Strict Power-On Order for Device Syncing
- Aircraft: Single press, then 2-second hold until LEDs cycle (no startup tone = battery issue)
- Goggles: Same sequence—wait for display activation before proceeding
- Remote Controller 2: Short press for battery check, then 2-second hold
If any device stays silent, recheck connections before continuing. Incorrect sequencing causes “Device Not Connected” errors that waste 20+ minutes troubleshooting.
Connect Goggles to Phone for Activation
Use the supplied OTG cable: USB-C end to goggles’ left port, phone end to your device. Open DJI Fly app (download from dji.com if QR code fails) and tap “GO FLY” when prompted. Connection fails? Try these:
– Swap OTG cables (defective cables cause 70% of link issues)
– Enable USB debugging on Android or “Trust This Computer” on iOS
– Force-close the app if it crashes during auto-detection
The app auto-links combo units but requires manual pairing for separately purchased devices. Keep the aircraft stationary during activation—movement triggers compass calibration errors that delay first flights.
Activate and Update Firmware Without Bricking Devices
Complete One-Time Activation Successfully
After connecting, follow in-app prompts while keeping the drone level. GPS signal is mandatory—move outdoors if you see “Attitude Mode” warnings. Activation takes 3-5 minutes; interruption forces a full reset. Once complete, fully charge all batteries before flight.
Execute Firmware Updates in Safe Sequence
Never power off during updates—this bricks components. Update in this order:
1. Aircraft firmware (10-15 minutes; watch for automatic restart)
2. Goggles firmware (5-8 minutes)
3. Remote controller (3-5 minutes)
If mobile updates fail, use DJI Assistant 2 on PC. Check firmware every 10 flights—outdated software causes range issues under 1km.
Configure Flight Modes for Your Skill Level

Select Safe Mode for Maiden Flights
Your Remote Controller 2’s 3-position switch dictates flight behavior—always start in N Mode:
– N Mode: 15 m/s max speed, obstacle sensing active (forward/downward), self-leveling
– S Mode: 27 m/s max, no obstacle sensing, Cruise Control toggle enabled
– M Mode: Full acro control (39 m/s max), disables all safety systems
Beginners should master N Mode for 10+ flights before attempting Sport mode. M Mode requires hardware adjustments: remove the remote’s rubber back cover, tighten F1 screw (disabling stick centering), and adjust F2 for throttle friction. Warning: Complete DJI’s in-app M Mode tutorial before first use—no safety net exists.
Execute Pre-Flight Safety Checklist Every Time
Location and device verification prevents 95% of crashes:
– Open area: Minimum 100×100 meters, no crowds within 50m
– Battery levels: Drone ≥50%, goggles ≥30%, remote ≥50%
– GPS signal: ≥4 bars on goggles display (move away from metal structures if weak)
– Prop security: Gently pull each propeller upward—zero movement required
– Goggles: IPD adjusted until image is sharp, antennas hand-tightened
Confirm “Ready to Fly (GPS)” appears on-screen with no red warnings. The home point auto-saves after takeoff—memorize its location for RTH emergencies.
Master First Flight Controls and Emergencies
Takeoff and Hover Safely in N Mode
Place the drone level with nose facing away. Start motors with both sticks down-and-in, then gently raise the left stick for smooth ascent. Hover at 3 meters for 30 seconds to verify stable GPS lock before moving.
Critical Emergency Commands
- Flight Pause: Single press stops all motion instantly
- RTH: Hold 2 seconds for automatic return (switches to N Mode mid-flight)
- Emergency Stop: Push both sticks to bottom-inner or bottom-outer corners (abnormal states only)
Pro tip: Practice Flight Pause 10 feet up—this builds muscle memory for panic moments. The goggles’ 5D joystick navigation (up=back, down=next, press=confirm) lets you adjust settings mid-flight without removing your head.
Maintain Equipment After Every Flight

Shutdown and Battery Protocol
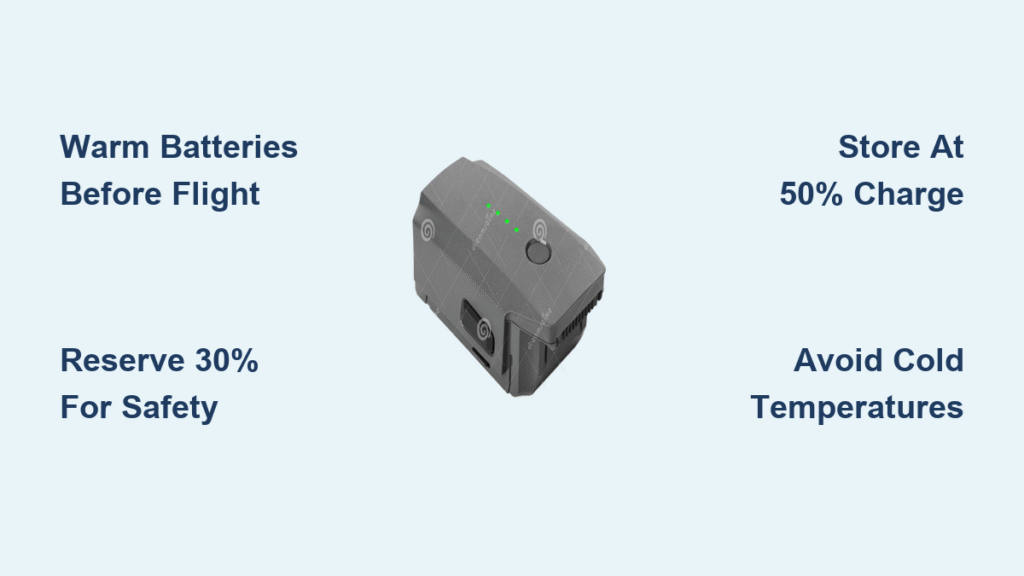
Land gently, then hold left stick down 3 seconds to stop motors. Power off aircraft first, then goggles, finally remote. Immediately remove props to prevent arm damage. Charge batteries within 5°C–40°C; store at 60% charge if unused >10 days. Never charge swollen batteries—DJI’s 2000mAh units output 90W max.
Storage Best Practices
Use the original case or padded backpack to protect the 795g drone. Keep away from magnetic sources (speakers, phones) and store in humidity <60%. Check firmware every 10 flights via the DJI Fly app to maintain 10km FCC transmission range.
Fix Top 4 DJI FPV Setup Failures Immediately
Black Screen in Goggles
Cause: Missing microSD card in drone OR goggles
Fix: Insert UHS-I Speed Grade 3 card in both devices before power-on
Weak GPS Signal Indoors
Cause: Metal interference or satellite lock failure
Fix: Wait 2-3 minutes outdoors away from buildings; calibrate compass via app if prompted
Video Breakup Under 1km
Cause: 5.8GHz band congestion (banned in Japan/Russia)
Fix: Switch to 2.4GHz in app settings; tighten all four goggles antennas
Battery Not Charging
Cause: Non-original charger or loose connections
Fix: Use only 86W DJI charger; verify 25.2V output on label
Final Note: Your dji fpv drone setup success hinges on meticulous propeller matching, strict firmware sequencing, and never skipping the pre-flight checklist. Master N Mode for 20+ flights before touching Sport or Manual modes—this investment prevents crashes that cost $400+ in repairs. Remember: The drone’s 150° FOV camera captures breathtaking footage, but only when your setup eliminates preventable errors. Start with 5-minute flights in wide-open spaces, and within a week, you’ll experience why pilots call this the gateway to true immersive flight. For advanced techniques, explore DJI’s official “First Flight” tutorial playlist before attempting acro maneuvers.


