
Your RC car’s perspective can transform your driving experience, but mounting a camera securely without affecting performance requires careful planning. Whether you’re capturing thrilling race footage or building an FPV (First Person View) system, improper camera installation leads to shaky videos, poor balance, and potential damage to your vehicle. This guide covers proven mounting techniques that maintain your RC car’s handling while delivering stable, high-quality footage – no more frustrating vibrations or unexpected crashes during your filming sessions.
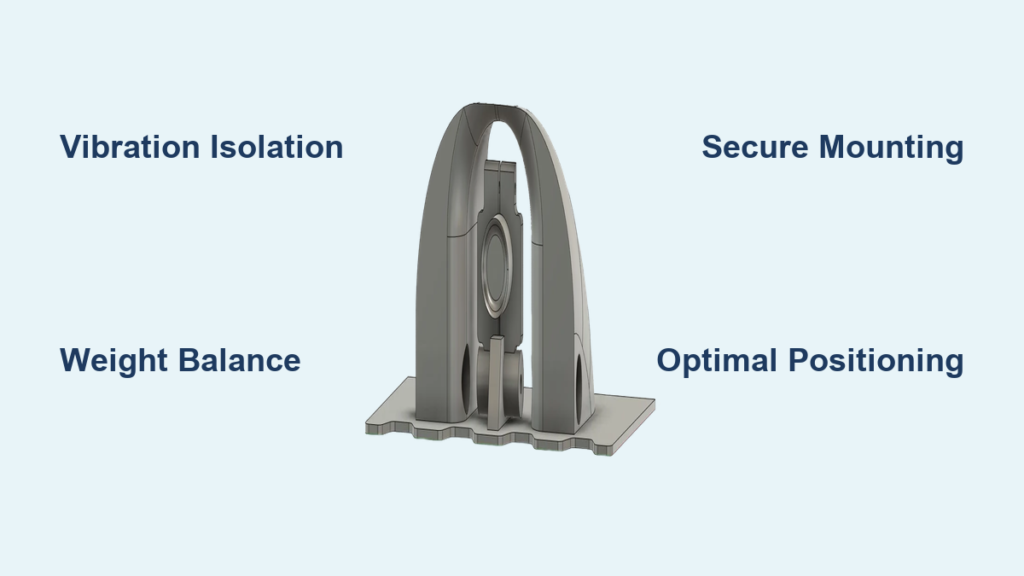
Without the proper mounting approach, even the best camera becomes useless on an RC platform. Many hobbyists make the mistake of simply taping cameras to their vehicles, only to discover the footage is unwatchable due to excessive vibration. The solution requires understanding weight distribution, vibration isolation, and secure attachment points specific to your RC model. You’ll learn exactly how to position your camera for optimal viewing angles while keeping your vehicle’s center of gravity balanced for peak performance.
Choosing the Right Camera for Your RC Vehicle

Matching Camera Specifications to Your RC Car Type
Selecting appropriate camera equipment starts with understanding your RC vehicle’s capabilities and limitations. Small micro RC cars under 1/18 scale typically handle only ultra-compact action cameras weighing less than 20 grams, while larger 1/10 scale models can support standard action cameras up to 100 grams. Consider your vehicle’s payload capacity – most hobby-grade RC cars maintain optimal handling with additional weight under 15% of the vehicle’s total mass. Water-resistant models require special attention to camera placement, as splash zones near tires and differentials demand protective housing solutions.
Essential Camera Features for RC Applications
Prioritize cameras with built-in image stabilization when mounting to RC vehicles, as mechanical vibrations severely impact video quality. Look for models offering wide-angle lenses (120-170 degrees) to capture the dynamic RC driving perspective without constant panning. Battery life becomes critical for extended filming sessions – aim for cameras providing at least 60 minutes of continuous recording. Mounting compatibility matters significantly; cameras with standard 1/4″-20 threads or universal action camera mounts integrate more easily with RC-specific mounting systems than proprietary designs.
RC-Specific Mounting Techniques That Work
Vibration-Proof Mounting Solutions
Create stable footage by isolating your camera from chassis vibrations using specialized dampening materials. Cut small sections of silicone or rubber grommets to place between your camera mount and the RC chassis attachment point. For optimal results, construct a suspended platform using elastic bands that absorb high-frequency vibrations while maintaining camera position. Position your camera as close to the vehicle’s center of gravity as possible, typically above the battery compartment, to minimize pitch and roll effects during acceleration and braking.
Strategic Camera Placement for Different RC Types
Mount off-road RC vehicles’ cameras slightly higher and further forward to capture wheel articulation and terrain interaction without obstructions. For on-road touring cars, position cameras lower and centered to maintain aerodynamics while providing a realistic driver’s perspective. Short course trucks benefit from side-mounted cameras that showcase suspension travel during jumps and landings. Always ensure your camera placement doesn’t interfere with moving suspension components, steering linkages, or drivetrain elements that could damage the camera during operation.
Step-by-Step Camera Installation Process
Pre-Installation Vehicle Assessment
Before attaching any camera equipment, evaluate your RC car’s current balance and weight distribution. Place your vehicle on a leveling stand and check for any natural tilting that indicates existing imbalance. Identify potential mounting points that won’t compromise structural integrity – reinforced areas around the chassis rails or body posts typically provide the most secure attachment locations. Measure available space to ensure your camera won’t protrude beyond the body shell, which could cause drag or snag during operation.
Secure Attachment Procedure
- Clean and dry your chosen mounting surface thoroughly with isopropyl alcohol to ensure proper adhesion
- Position your camera mount temporarily to verify optimal viewing angle and clearance
- Apply a small amount of thread-locking compound to any mounting screws to prevent vibration loosening
- Attach the primary mounting bracket using stainless steel screws of appropriate length (avoid over-tightening)
- Add vibration-dampening materials between the bracket and camera platform
- Secure the camera with quick-release hardware for easy removal between sessions
- Test all connections with gentle shaking to verify stability before operation
Power Management Solutions
Integrating Camera Power with RC Systems
Tap into your RC car’s existing battery system using a regulated voltage converter that matches your camera’s power requirements. Install a dedicated switch in-line with the camera power circuit to prevent accidental drainage of your main RC battery. For extended filming sessions, consider adding a supplemental battery pack specifically for camera equipment, mounted to balance the vehicle’s weight distribution. Always use silicone-insulated wiring that can withstand the high-vibration environment of RC operation.
Wireless Transmission Power Considerations
If using FPV systems, position your video transmitter away from motor and ESC components to minimize signal interference. Secure all antenna connections with silicone sealant to prevent vibration-induced disconnections. For long-range applications, implement a dual-battery system where the video equipment operates on a separate circuit from the drive train to maintain signal stability during high-power maneuvers.
Troubleshooting Common Mounting Issues

Solving Shaky Footage Problems
Excessive vibration in your footage typically indicates insufficient dampening between the camera and chassis. Increase the thickness of your vibration-absorbing materials or switch to higher-grade silicone compounds designed for RC applications. Check all mounting hardware for tightness, as even slightly loose screws dramatically increase vibration transfer. If problems persist, try relocating the camera closer to the vehicle’s center of mass where movement is naturally minimized during operation.
Addressing Weight Distribution Challenges
When your RC car handles poorly after camera installation, redistribute weight by moving your main battery pack slightly in the opposite direction of the camera. Use lightweight mounting materials like carbon fiber or 3D-printed components to minimize additional mass. For severe balance issues, consider using a smaller camera model or removing non-essential components from your existing camera setup. Always test drive your vehicle at low speeds initially to assess handling changes before pushing performance limits.
Maintenance and Optimization Tips
Regular Mounting System Checks
Inspect your camera mounting system before every use, paying special attention to vibration-dampening materials that may degrade over time. Clean mounting surfaces periodically to maintain adhesive effectiveness. Check all screw connections for tightness, as vibrations constantly work to loosen hardware during operation. Replace any worn dampening materials immediately to prevent damage to your camera equipment.
Performance Upgrades for Serious RC Filmmakers
Upgrade to professional-grade vibration isolators specifically designed for RC applications for dramatically improved footage quality. Implement a remote camera tilt mechanism that allows you to adjust your viewing angle during operation. Add protective camera housings for off-road applications where dirt and debris could damage your equipment. Consider specialized gimbals for ultra-smooth footage, though these require additional power and careful weight distribution planning.
Final Considerations for Professional Results
Achieving stable, high-quality footage from your RC car camera requires attention to both mechanical mounting and operational techniques. Remember that even the best-mounted camera will produce poor results if your driving technique creates excessive vehicle movement. Practice smooth inputs and consider vehicle speed when capturing footage – slower speeds generally produce more stable video. Always test your setup in a controlled environment before attempting complex maneuvers or filming important sessions.
Proper camera installation transforms your RC experience from simple driving to immersive content creation. By following these mounting principles, you’ll capture professional-quality footage that showcases your RC car’s capabilities without compromising performance. The key is balancing technical mounting knowledge with practical understanding of how your specific vehicle handles with the additional equipment. With the right approach, your RC car becomes a powerful mobile filming platform ready for any adventure.


