
Nothing ruins a perfect run session faster than your nitro RC car sputtering to a halt with a clogged engine or stiff drivetrain. After tearing up the track or crawling through mud, your nitro-powered machine accumulates dirt, oil, and carbon buildup that can seriously impact performance and longevity. Knowing the best way to clean nitro RC car components properly separates casual hobbyists from serious enthusiasts who enjoy reliable performance season after season. This guide delivers the exact cleaning procedures that keep your nitro RC running at peak condition—without damaging sensitive parts or wasting valuable track time.
Many beginners make the critical mistake of hosing down their entire vehicle immediately after running, not realizing that temperature shock and water intrusion can destroy electronics and bearings. Others skip crucial cleaning steps, allowing carbon deposits to accumulate until the engine won’t start. You’ll learn the correct sequence for disassembly, the specific solvents that safely dissolve nitro residue without harming plastics, and the drying techniques that prevent rust formation. Most importantly, you’ll discover how a proper cleaning routine after every run actually saves you hours of troubleshooting and expensive repairs down the road.
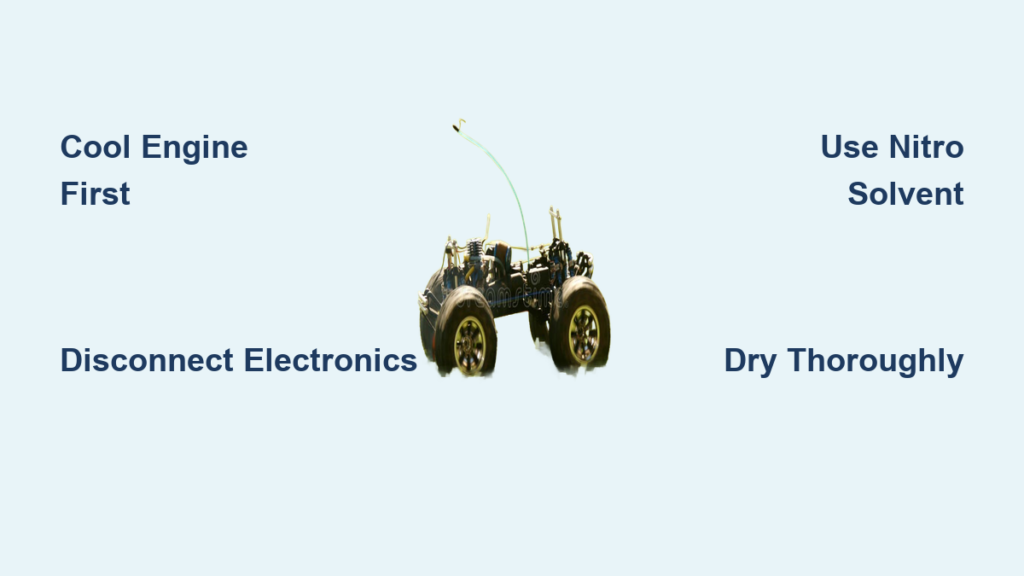
Essential Safety Precautions Before Cleaning Your Nitro Vehicle
Cooling Period Requirements for Hot Engines
Never attempt cleaning your nitro RC car immediately after running. The engine, exhaust pipe, and muffler remain dangerously hot—often exceeding 200°F—and contact can cause serious burns. Allow your vehicle to cool completely for at least 30-45 minutes after your last run. Touch the engine head with the back of your hand; if you can’t keep it there comfortably for 5 seconds, it’s still too hot. This cooling period also allows residual fuel to evaporate, reducing fire hazards during cleaning.
Disconnecting Electronics to Prevent Water Damage
Before any cleaning begins, disconnect all electronic components from your nitro RC car. Remove the battery, unplug the receiver, and detach the servo wires. If your vehicle has a voltage alarm or telemetry system, disconnect these as well. Place electronics in a separate container away from your cleaning area. Water and electronics don’t mix—moisture intrusion into servos or receivers is one of the most common causes of post-cleaning failures. Take photos of your wiring setup before disconnecting to ensure correct reassembly.
Required Tools and Cleaning Solutions for Nitro RC Maintenance
Nitro-Specific Solvents vs. Household Cleaners
Use only nitro-specific cleaning solvents designed for radio-controlled vehicles. Carburetor cleaner formulated for nitro engines effectively dissolves the stubborn oil and carbon buildup without damaging rubber or plastic components. Avoid household degreasers, acetone, or brake cleaner—they’re too harsh and can warp plastic parts or degrade rubber seals. Keep a dedicated spray bottle of nitro solvent, soft-bristled brushes in various sizes, lint-free microfiber cloths, and compressed air for drying hard-to-reach areas.
Specialized Tools for Tight Spaces
Invest in precision cleaning tools designed specifically for RC maintenance. A set of nylon cleaning picks helps remove debris from tiny ports and passages without scratching metal surfaces. Small-diameter brass brushes clean inside fuel lines and carburetor jets effectively. Magnetic pickup tools retrieve dropped screws from deep within the chassis. These specialized tools pay for themselves in saved time and prevented damage during the best way to clean nitro RC car procedures.
Step-by-Step Guide to Cleaning the Nitro Engine and Exhaust System
Removing Carbon Buildup from the Engine Head
Carbon accumulation on the engine head is the #1 performance killer in nitro RC cars. After cooling, remove the glow plug and spray nitro-specific solvent directly into the cylinder. Let it soak for 5-10 minutes to soften deposits. Use a soft brush to gently scrub the combustion chamber and piston top—never use metal tools that could scratch cylinder walls. For stubborn buildup, apply solvent, let it sit overnight, then repeat the cleaning process. Check piston and cylinder for scoring; excessive carbon can cause permanent damage requiring replacement.
Cleaning the Carburetor Without Disassembly
You don’t always need to fully disassemble the carburetor for effective cleaning. Remove the air filter and spray carb cleaner directly into the carburetor throat while working the throttle arm to open and close the butterfly valve. Spray through all visible ports and passages. Use compressed air to blow through jets and fuel lines, ensuring complete clearance. Test operation by manually moving the throttle linkage—it should move smoothly without sticking. This quick cleaning method preserves your carefully tuned settings while removing performance-robbing residue.
How to Properly Clean the Air Filter System

Washing Foam Filters Without Damage
Foam air filters require special care during cleaning—aggressive washing destroys their filtration properties. Soak the filter in a container of mild detergent and warm water for 15 minutes. Gently squeeze the filter repeatedly to work out embedded dirt—never twist or wring it out. Rinse thoroughly under running water until the water runs clear. Never use compressed air to dry foam filters, as this damages the open-cell structure. Instead, wrap in a clean towel and gently press out excess water before applying fresh filter oil.
Correct Filter Oiling Technique for Maximum Protection
Properly oiled air filters capture dirt while maintaining airflow—too little oil and dirt enters your engine; too much and airflow suffers. After cleaning and drying, apply air filter oil sparingly, working it evenly through the entire foam element. Hold the filter up to the light; you should barely see through it. Excess oil attracts dirt immediately upon running. Allow the oil to fully absorb for at least 30 minutes before reinstalling. This simple step in the best way to clean nitro RC car maintenance prevents costly engine wear.
Removing Built-Up Carbon from Critical Components

Cleaning the Exhaust Pipe and Muffler Assembly
Exhaust components accumulate thick carbon deposits that restrict airflow and reduce performance. Remove the exhaust pipe and muffler assembly from your nitro RC car. Soak in a container of nitro solvent overnight to soften deposits. Use a small brass brush to gently scrub interior surfaces—avoid metal brushes that scratch aluminum. For severe buildup, heat the pipe gently with a heat gun (not a torch) to expand the metal slightly, making carbon easier to remove. Reinstall only when completely dry to prevent condensation in the exhaust system.
Cleaning the Chassis and Drivetrain Components
Degreasing Transmission and Differential Components
The drivetrain accumulates oil and dirt that attract more debris and accelerate wear. Remove wheels, tires, and suspension arms to access drivetrain components. Spray transmission and differentials with nitro-specific degreaser, allowing it to penetrate for several minutes. Use a soft brush to clean around axle shafts and gear housings. For stubborn grease, apply heat with a hair dryer to soften it before cleaning. Never use water-based cleaners on differentials containing oil—this causes emulsification and poor lubrication.
Bearing Maintenance for Smooth Operation
Dirty bearings create drag that saps power and reduces run time. Remove wheels and tires to access wheel bearings. Spray bearing cleaner directly into each bearing while rotating the wheel to work out old grease and dirt. Use compressed air to dry thoroughly—moisture causes rust. Re-lubricate with lightweight bearing oil designed for RC use; heavy grease increases rolling resistance. Spin each bearing to ensure smooth operation before reassembly. Proper bearing maintenance is critical in the best way to clean nitro RC car procedures.
Preventing Rust and Corrosion After Washing
Protective Coatings for Metal Components
After cleaning, apply a light coat of corrosion inhibitor to all exposed metal parts. Use a product specifically designed for RC vehicles that won’t attract dust. Focus on aluminum chassis components, suspension arms, and any steel hardware. Wipe off excess with a microfiber cloth to prevent buildup. This protective layer prevents moisture from causing oxidation during storage. Regular application after each cleaning extends the life of your nitro RC car significantly.
Drying Techniques That Won’t Damage Sensitive Parts
Proper Air Drying Methods for Electronics
Never use heat guns or hair dryers directly on electronic speed controllers or receivers—excessive heat damages components. Instead, remove all electronics and place them in a sealed container with silica gel packets for 24 hours. The desiccant safely draws out moisture without thermal stress. For stubborn moisture, place electronics in a rice container for 48 hours as a last resort. Always test electronics before reinstalling to ensure complete dryness.
Final Assembly and Performance Check
Reassemble your nitro RC car in reverse order of disassembly. Before your first post-cleaning run, perform a complete systems check: verify all linkages move freely, check tire pressure, confirm fuel lines are secure, and ensure the air filter is properly seated. Run the engine at idle for several minutes to check for leaks and proper operation. Listen for unusual sounds that might indicate incomplete cleaning or reassembly issues. A proper cleaning routine should result in smoother operation and improved performance—not new problems.
Final Note: Consistent cleaning following these procedures will dramatically extend your nitro RC car’s lifespan and maintain peak performance. The best way to clean nitro RC car components isn’t just about removing dirt—it’s about preserving the precision engineering that makes your vehicle perform. Establish a cleaning routine after every run session, and you’ll spend more time enjoying your hobby and less time troubleshooting avoidable issues. For optimal results, combine proper cleaning with regular maintenance like glow plug replacement and fuel system checks to keep your nitro machine running like new season after season.


