
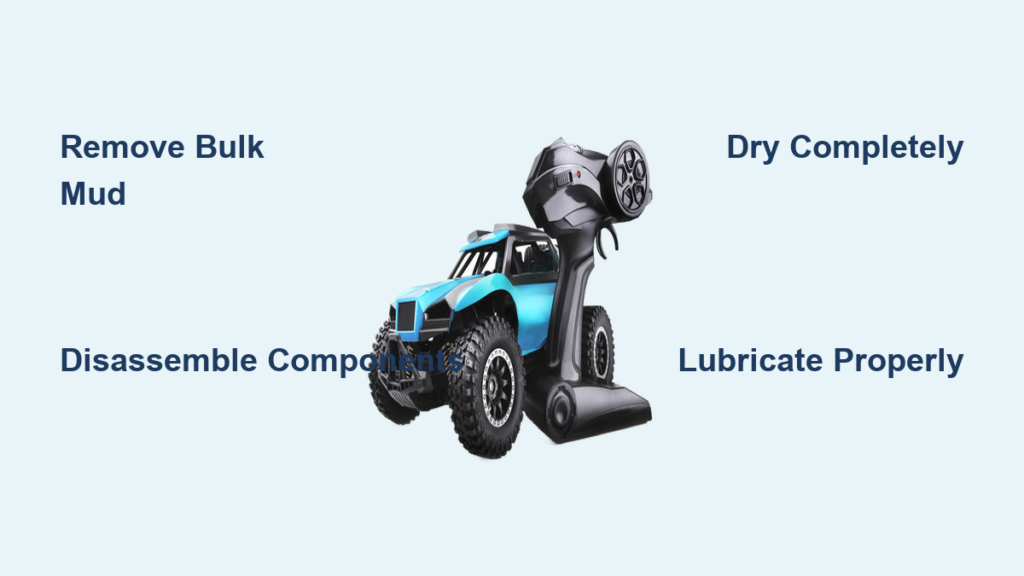
There’s nothing quite like the thrill of pushing your RC car through muddy terrain, but that excitement turns to frustration when you’re left with a vehicle completely encrusted in thick, drying mud. If you’ve ever returned from an off-road adventure only to face the daunting task of cleaning a muddy RC car, you know this isn’t just about appearance—packed mud can damage sensitive electronics, corrode metal components, and significantly shorten your vehicle’s lifespan. Learning how to clean a muddy RC car properly is essential maintenance that preserves performance and saves you from costly repairs down the road.
Whether you’re a weekend hobbyist or a competitive racer, this guide delivers the exact cleaning process you need based on real-world RC maintenance experience. You’ll discover the right tools, techniques to protect vulnerable components, and time-saving shortcuts that professional RC enthusiasts use to keep their vehicles running smoothly after every muddy run. Most importantly, you’ll learn how to clean a muddy RC car without causing accidental damage—a common mistake that turns a simple cleaning session into an expensive repair project.
Gather Your Essential RC Cleaning Tools
Skip the guesswork and assemble these specific items before tackling your muddy RC car. Professional RC mechanics keep these supplies organized in a dedicated cleaning kit so they can start immediately after runs, preventing mud from drying and bonding to critical components.
Must-have cleaning implements include a set of soft-bristled brushes (small detail brushes for shock towers and suspension links, plus larger ones for chassis areas), microfiber cloths for drying, and compressed air for dislodging water from tight spaces. A small Phillips head screwdriver and hex wrench set enables safe disassembly when needed. Avoid using metal tools that could scratch components or damage delicate wiring.
Safe cleaning solutions consist of mild dish soap (without harsh degreasers), isopropyl alcohol for electronics, and dedicated RC body cleaner for painted surfaces. Never use automotive degreasers, bleach, or ammonia-based cleaners—they strip lubricants, dissolve rubber seals, and damage polycarbonate bodies. For drying, keep silica gel packets handy to absorb moisture from enclosed areas without the risk of leaving rice grains trapped in mechanisms.
Post-cleaning protection products should include water-displacing spray for electronics, silicone-based lubricant for moving parts, and corrosion inhibitor if you frequently drive in wet conditions. Having these ready ensures you can immediately protect components after cleaning rather than leaving them vulnerable.
Remove Bulk Mud While It’s Still Wet
Your first critical step is eliminating the majority of mud before it dries—this simple action prevents 80% of potential damage. Dried mud requires aggressive scrubbing that risks damaging delicate components, so act quickly while the mud remains soft and pliable.
Flip your RC car upside down and gently shake it to dislodge loose mud from chassis cavities and wheel wells. Use a stiff but non-metallic brush to break up mud deposits, working methodically from top to bottom. Start with the body, then move to the chassis, suspension, and finally wheels. For heavy accumulations, use a gentle stream of water rather than high pressure—direct spraying into bearings or electronics causes more damage than the mud itself.
Focus on mud traps where debris hides: suspension arms, shock towers, wheel-to-chassis gaps, and recessed body areas. These spots retain moisture that leads to accelerated wear if overlooked. Use a toothpick to remove packed mud from tight corners, but exercise extreme caution around wires and delicate components. If your RC car has a removable body, take it off immediately—cleaning the chassis and body separately yields dramatically better results.
Disassemble for Thorough Component Cleaning
Determine how deeply to disassemble based on mud severity—routine maintenance after moderate driving requires only wheel and body removal, but heavy mud exposure or water submersion demands complete disassembly to prevent hidden damage.
Wheel and tire removal typically needs just basic hex wrenches. Take off each wheel to clean hex hubs, axle nuts, and inner tire surfaces. Check tires for embedded rocks that cause imbalances, and verify bead-lock mechanisms are secure after reinstallation. This simple step prevents uneven tire wear and mysterious handling issues.
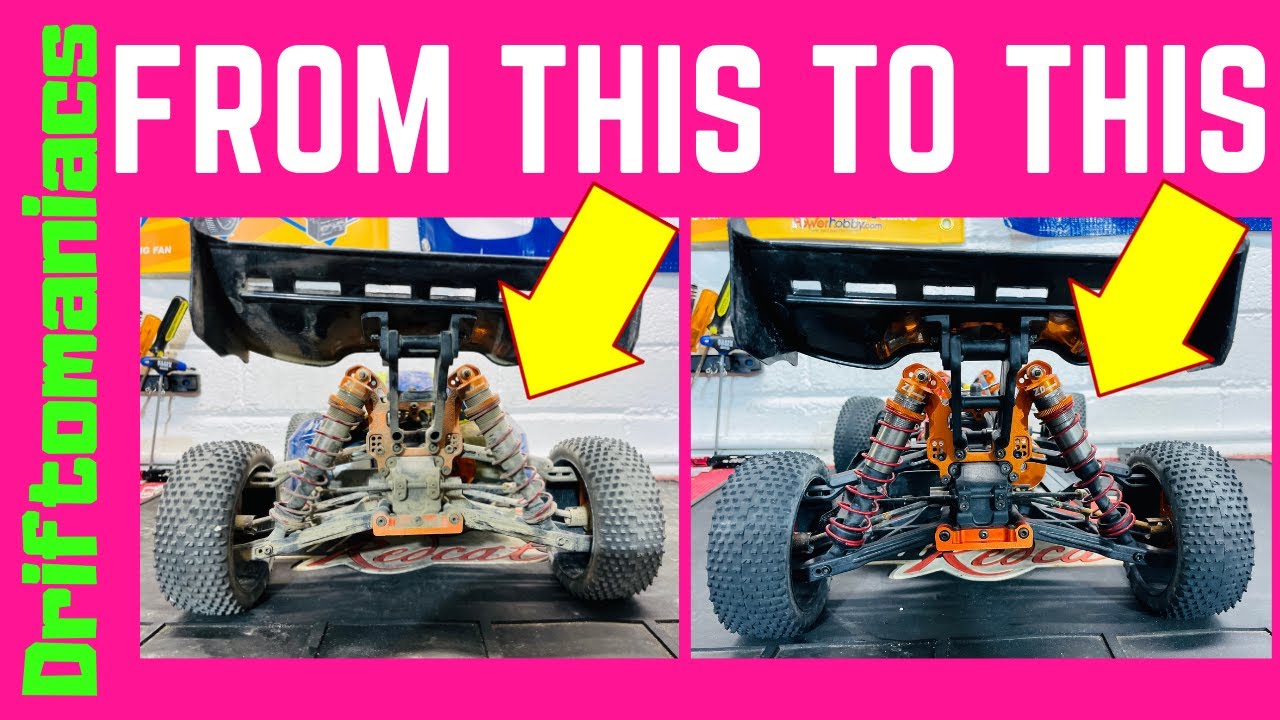
Suspension inspection reveals hidden problems before they escalate. Remove shock caps to check for contaminated oil—if it appears milky, water has breached the seals requiring complete rebuilding. Clean suspension arms and hub carriers thoroughly, inspecting pivot points for smooth operation after cleaning. Don’t skip this step; trapped mud in suspension components creates handling inconsistencies that mimic more serious mechanical issues.
Electronics protection requires careful handling. Disconnect battery packs immediately and cover exposed connectors. Most modern RC cars have some water resistance but aren’t truly waterproof—remove electronic speed controllers and receivers if possible. When in doubt about a component’s vulnerability, remove it. Taking extra minutes to protect electronics saves hours of troubleshooting later.
Clean Each Component with Precision
Different RC car parts demand specific cleaning approaches—using the wrong technique can cause irreparable damage. Apply these targeted methods for perfect results every time.
Chassis and suspension cleaning requires gentle but thorough attention. Use a soft brush with mild soapy water, focusing on pivot points and bearing housings. Rinse completely with clean water, then dry immediately with compressed air. Inspect all screws for tightness—vibration from driving loosens them, and cleaning time is perfect for this check. Apply just enough lubricant to moving points to repel dirt without attracting it.
Wheel and tire maintenance prevents premature wear. Remove embedded debris from tire treads using a pick, and clean wheel rims thoroughly checking for cracks. For rubber tires, use mild alcohol solution to remove old tire dressing before applying fresh coating. Ensure wheels are completely dry before reinstallation—trapped moisture causes rust on metal components and deteriorates rubber.
Electronics cleaning protocol demands the gentlest approach. Clean motors externally with compressed air only—never submerge them or use liquids near bearings. Wipe electronic speed controllers with barely-damp cloths, avoiding connectors. Use isopropyl alcohol on cotton swabs for electrical contacts, then allow all electronics to air dry completely before reconnecting power.
Dry Your RC Car Completely Before Reassembly

Incomplete drying causes more RC car damage than improper cleaning—trapped moisture leads to bearing corrosion and electronic failure days after the cleaning session. Follow this systematic drying process:
Start with compressed air on all accessible areas—wheel hubs, suspension pivots, chassis cavities. Move methodically through the car, ensuring you’ve hit every moisture trap. For enclosed areas like gear boxes, use short air bursts while rotating components. If using a hair dryer, maintain distance and keep it moving to avoid melting plastic.
Use microfiber cloths to absorb water from larger surfaces, folding corners to reach tight spaces. Pay special attention to rubber parts like tires and shock boots—inside surfaces trap moisture against metal components. Allow your RC car to air dry for at least 30 minutes in a warm, dry location before applying lubricants. For deep water exposure, leave it overnight to ensure complete moisture evaporation.
Apply Correct Lubrication and Protection

Post-cleaning lubrication transforms a clean car into a well-maintained machine ready for its next adventure. This final step prevents future damage and ensures smooth operation.
Bearings and bushings need precise lubrication. Apply one drop of light bearing oil to each side of rubber-sealed bearings—they’ll penetrate the seals internally. Metal-shielded bearings accept slightly more oil, but avoid overfilling. Bushings require small grease amounts—work the component through its range to distribute evenly.
Suspension components benefit from light silicone spray on shock shafts and pivot points. Apply sparingly and wipe away excess—too much lubricant creates a dirt magnet that accelerates wear. This thin protective layer repels water and reduces friction without attracting debris.
Electronics protection requires water-displacing spray on circuit boards and connectors. Apply sparingly to electronic speed controllers and motor connections, avoiding direct spraying into motor bearings. A small amount of dielectric grease on connectors prevents future moisture corrosion while maintaining good electrical contact.
Prevent Future Mud Damage with Smart Practices
Minimize future cleaning time with these proven strategies that reduce mud accumulation during operation:
Driving techniques significantly affect mud collection. Avoid deep standing water and thick mud pits when possible. Drive through muddy sections at speed rather than crawling—momentum carries mud away from components instead of packing it into crevices.
Protective modifications offer mechanical solutions. Install mud guards above wheels to prevent large clods from reaching the chassis. Use electronics covers to shield sensitive components, and add shock boots to keep dirt out of seal housings.
Immediate post-run cleaning takes just five minutes but prevents hours of future work. Keep a small brush and towel in your RC bag to knock off bulk mud after each session—this simple habit prevents mud from drying and bonding to surfaces.
Avoid These Common RC Cleaning Mistakes
Steer clear of these costly errors that turn cleaning sessions into repair projects:
- High-pressure water damage: Never use pressure washers—gentle streams only. Direct high-pressure spray forces water past seals into bearings and electronics.
- Skipping complete drying: Trapped moisture causes corrosion long after cleaning. Always allow proper drying time before reassembly.
- Wrong cleaning chemicals: Automotive degreasers strip lubricants, ammonia-based cleaners damage bodies. Stick to mild soap and dedicated RC products.
- Over-lubricating: Excess lubricant attracts dirt and creates more problems. Apply sparingly and wipe away visible excess.
- Ignoring electronic connections: Dirty connectors cause mysterious performance issues. Clean and protect all connectors during every cleaning session.
Your RC car works hard to deliver excitement and performance—return the favor with proper cleaning and maintenance after every muddy adventure. By following these precise steps, you’ll extend component life, prevent mysterious electronic failures, and catch developing problems before they leave you stranded at the track. The 20 minutes invested in proper cleaning after each session pays off in reduced repair costs and more enjoyable driving time. Keep your RC car clean, and it will reward you with reliable performance run after run.


