
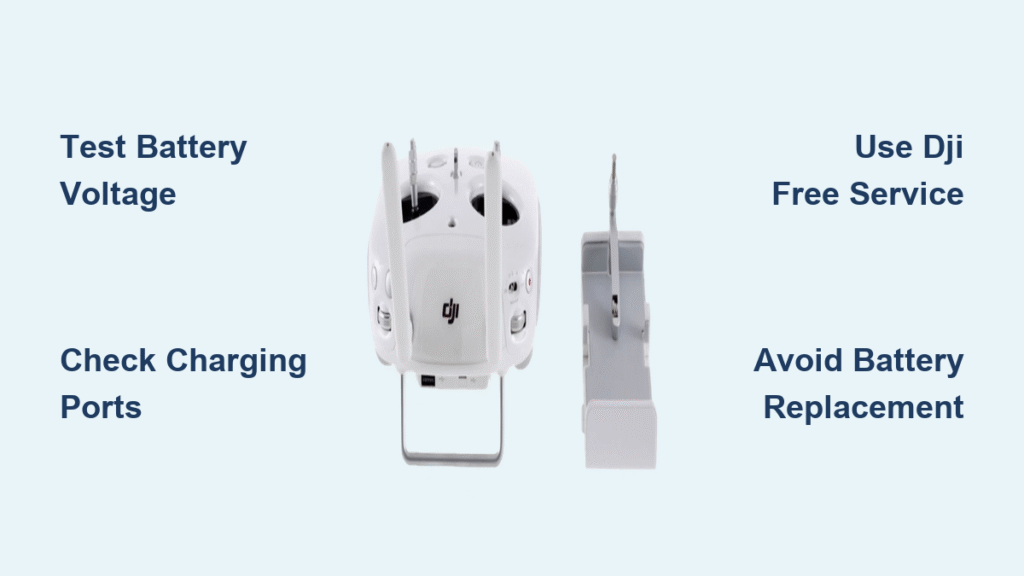
Your DJI Phantom 4 controller suddenly stops charging past 65%? You’re not imagining things—thousands of drone pilots face this exact same problem where their remote stubbornly refuses to reach full battery capacity. The frustrating part? Many waste money replacing batteries only to discover the issue persists. Here’s the truth: this isn’t your fault, and it’s definitely not a battery problem.
This widespread DJI Phantom 4 controller not charging issue affects pilots across all experience levels, from new owners to seasoned professionals. The good news is there’s a definitive fix once you correctly diagnose the root cause. In this guide, you’ll discover exactly why your controller won’t charge properly, how to confirm it’s the circuit board defect (not your battery), and the most effective solutions—from free DJI service to professional reflow options that restore full functionality.
Phantom 4 Controller Stuck at 60% Charge Symptoms
Micro USB Charging Halts at 65% Maximum
When your DJI Phantom 4 controller reaches exactly 65% and refuses to charge further using micro USB, you’re experiencing the classic circuit board defect. This precise stopping point occurs because deteriorating solder joints can’t complete the charging circuit properly. Your battery is likely perfectly healthy—it’s the charging pathway that’s compromised, causing the controller to incorrectly read the battery level.
Dedicated Port Only Reaches 30% Capacity
Using the dedicated charging port typically yields even worse results, with controllers maxing out at 30% capacity. This significant difference between charging methods serves as a diagnostic tool—when your controller shows 30% via the charging port but 65% via USB, you’ve confirmed the circuit board defect. The lower percentage indicates more severe circuit board degradation affecting the primary charging pathway.
Battery Voltage vs. Controller Reading Discrepancy
Remove your battery and test it with a multimeter set to DC voltage. A healthy battery should read exactly 8.4V when fully charged. If your battery shows 8.4V but your controller displays only 60-65%, you’ve definitively confirmed the issue lies in the charging circuit—not the battery itself. This simple $10 test saves you from wasting money on unnecessary battery replacements.
Why Your DJI Phantom 4 Controller Not Charging Is a Circuit Board Issue
Manufacturing Defect Behind Phantom 4 Charging Problems
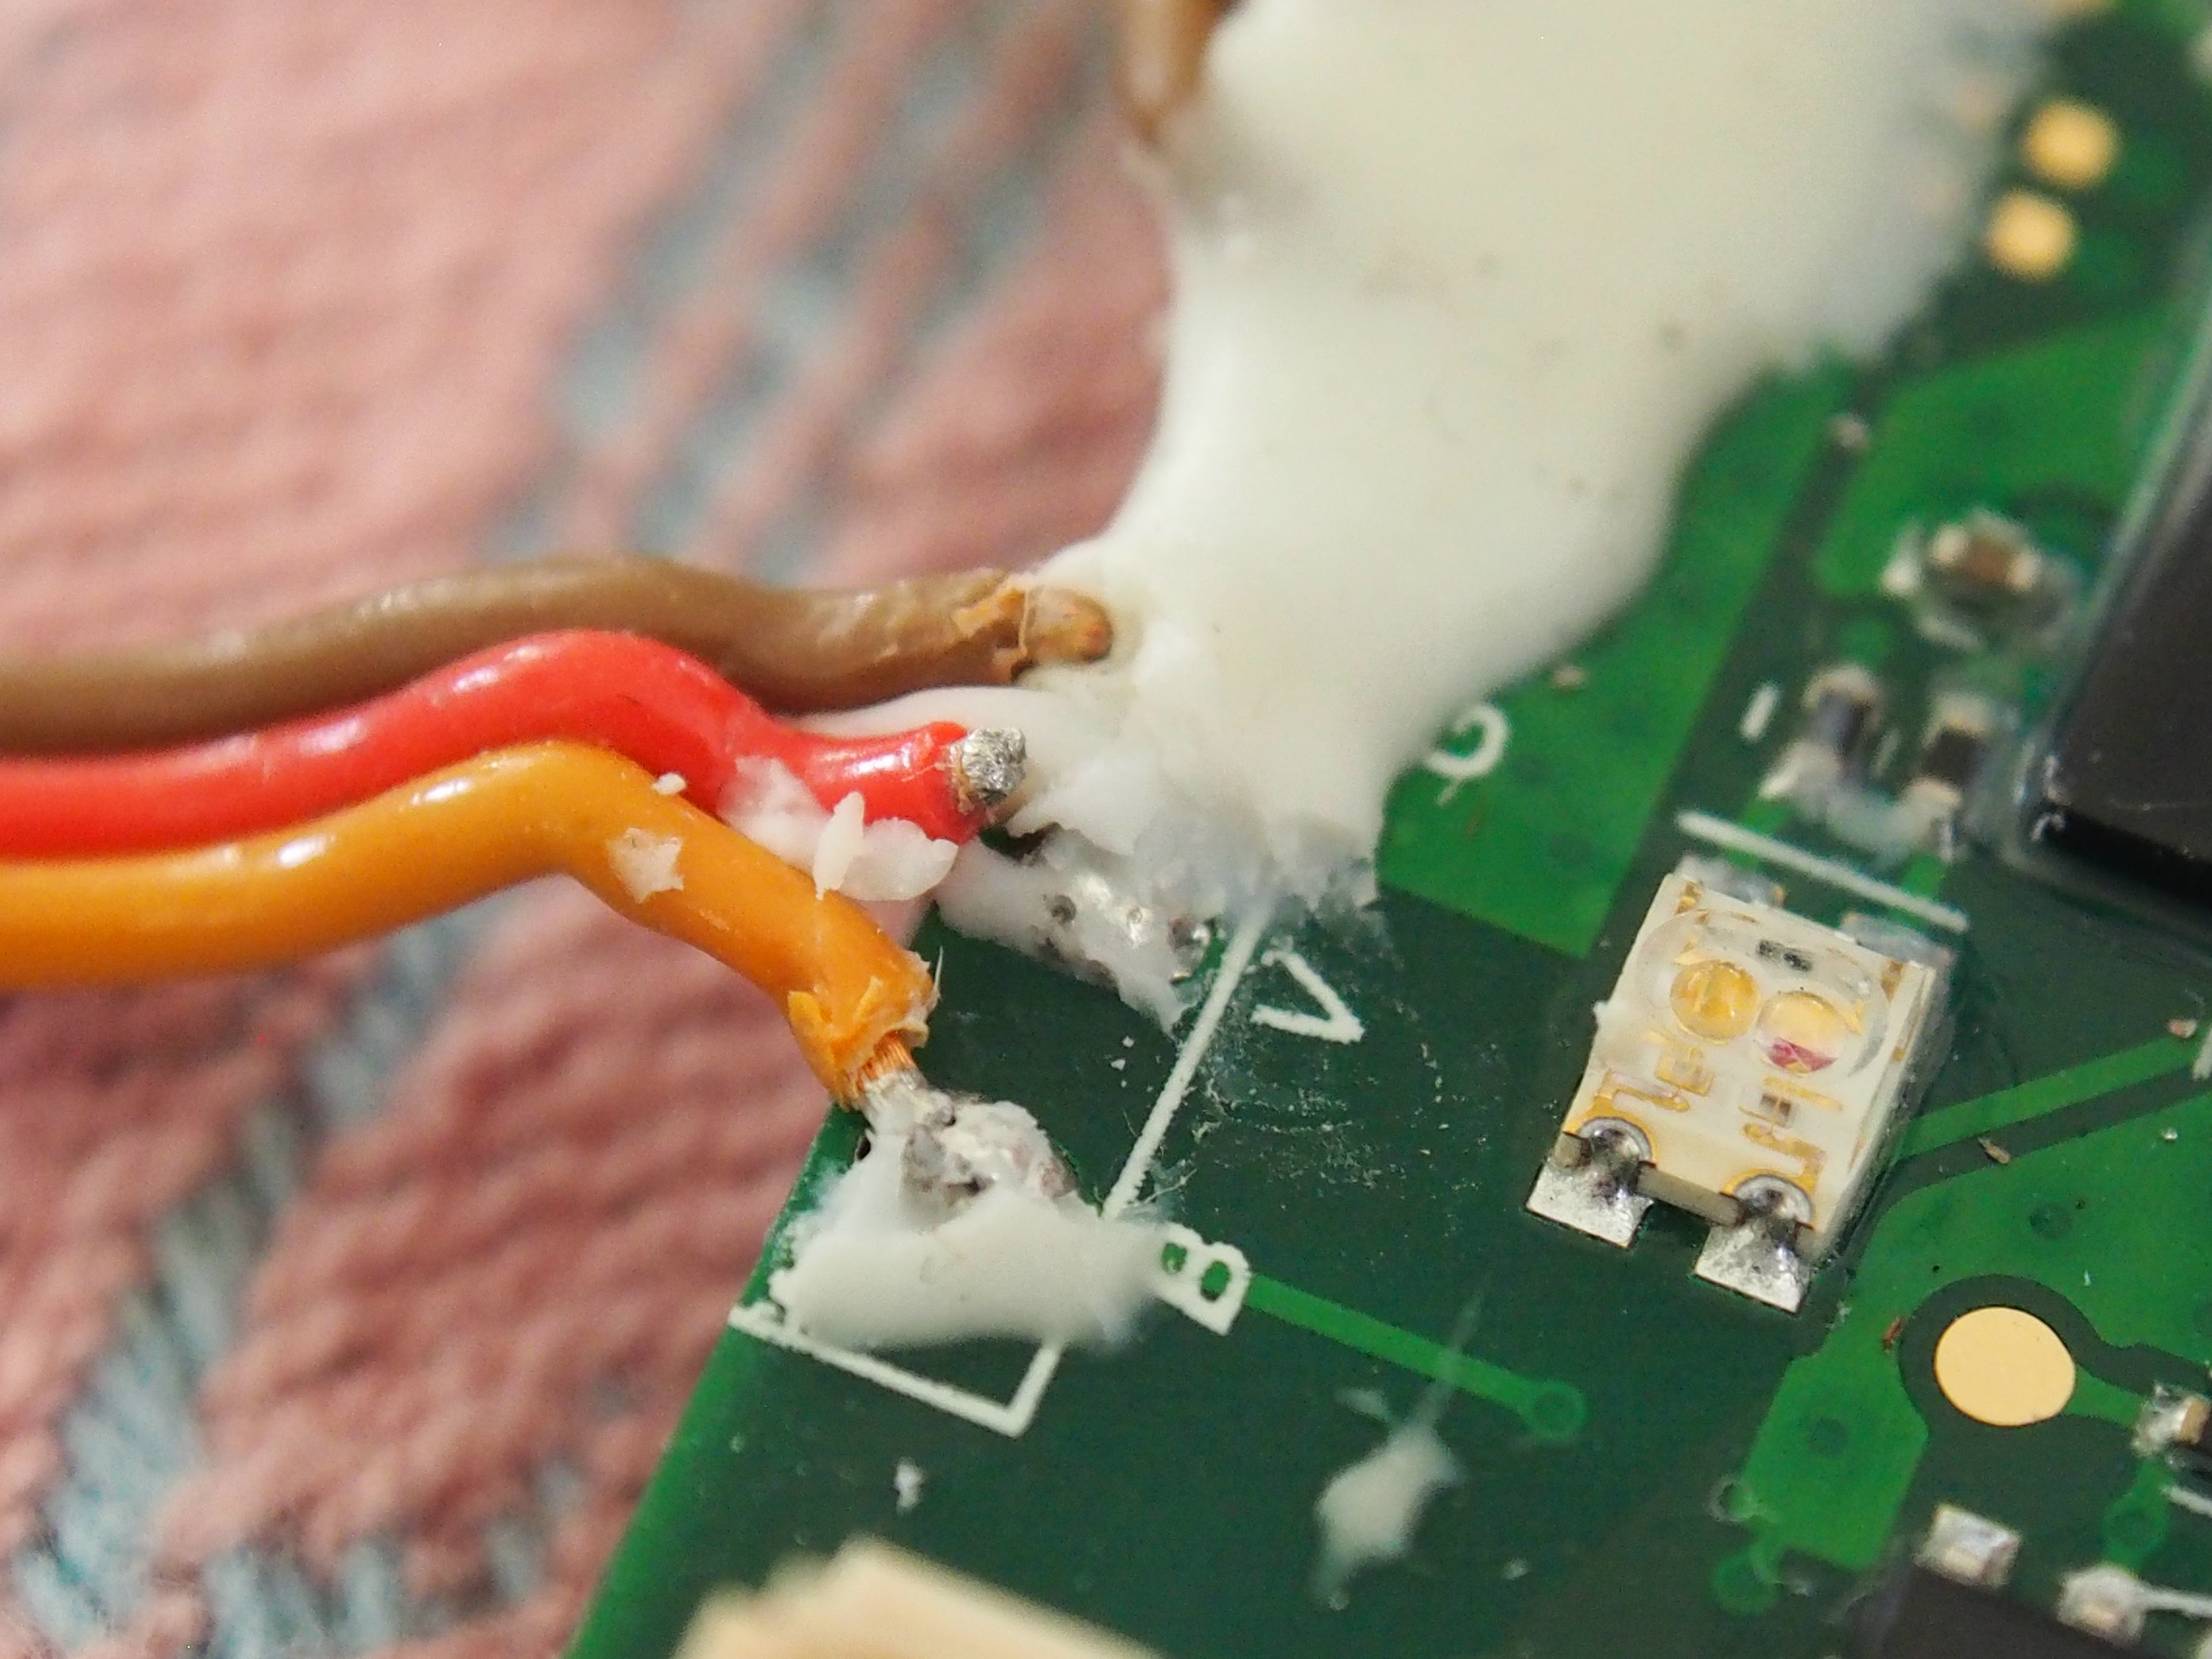
DJI Phantom 4 controllers suffer from deteriorating solder connections on the RC circuit board—a fundamental manufacturing defect. This isn’t user error, battery failure, or firmware issues; it’s a design flaw similar to graphics card failures in gaming laptops. The solder joints connecting charging components gradually break down under thermal stress, creating micro-fractures that interrupt the charging circuit.
Heat Accelerates Phantom 4 Controller Charging Failure
Extended flight sessions, storage in hot conditions, or even normal operating temperatures accelerate this deterioration. The solder becomes brittle over time, explaining why the problem worsens gradually and affects both new and old controllers. Controllers stored in garages or vehicles during summer months show the most rapid degradation of solder connections.
Why New Batteries Won’t Fix DJI Phantom 4 Controller Charging
The built-in battery protection circuit correctly stops charging at 8.4V. When your controller shows 60-65% despite the battery reaching full voltage, the charging measurement system—not the battery—has failed. Multiple verified cases show new batteries from DJI or third-party suppliers still display the same charging limitation because they’re connected to the faulty circuit board.
Step-by-Step DJI Phantom 4 Controller Diagnostic Tests
Confirm Battery Health with Multimeter
Test Procedure:
1. Power off controller completely
2. Remove battery cover (4 small screws)
3. Disconnect battery connector gently
4. Set multimeter to DC voltage (20V range)
5. Test battery terminals: red to positive, black to negative
6. Normal reading: 8.4V indicates healthy battery
7. Warning: Below 8.0V suggests potential battery replacement needed
Compare Both Charging Methods
Charge your controller using both available methods and document maximum percentages:
– Micro USB charging: Should reach 60-65% if circuit board is failing
– Dedicated charging port: Typically stops at 30% with same defect
– Working controller: Both methods reach 100% without issue
Use Low-Amp Adapter for Clearer Diagnosis
Use a 0.5 amp or lower AC adapter with micro USB to distinguish between battery balance issues and circuit problems. Lower amperage provides cleaner diagnostic data by reducing electrical noise that might mask the underlying defect. If the lower amp adapter still shows the same charging limitation, you’ve confirmed the circuit board issue.
DIY Phantom 4 Controller Repair Options
Professional Circuit Board Reflow Service
Brazil offers confirmed professional reflow services for out-of-warranty controllers. The process involves:
– Controlled heating of circuit board to specific temperature
– Maintaining temperature for precise duration
– Gradual cooling to restore solder connections
– Success rate: Multiple verified cases of 99% charge restoration
DIY Reflow Possibility and Risks
While possible for experienced electronics hobbyists, DIY reflow requires:
– Temperature-controlled heat gun or reflow station
– Flux application to aid solder flow
– Thermal monitoring to prevent component damage
– Critical warning: Overheating can cause permanent controller damage
Post-Repair Verification Process
After successful reflow, test charging behavior thoroughly:
– Charge via micro USB to verify 99%+ capacity
– Test dedicated charging port functionality
– Monitor for sustained charge retention over multiple cycles
– Recalibrate battery with full discharge/recharge cycle
DJI Service Solutions for Phantom 4 Controller Charging

In-Warranty Controller Replacement
Controllers purchased as far back as December 2016 may still qualify for warranty service. DJI typically replaces the entire controller unit rather than attempting component-level repair. Documented cases show same-day service with 1-hour diagnosis and immediate replacement—no questions asked about purchase date.
Free Out-of-Warranty Charging Repairs
DJI consistently provides free service for charging issues regardless of warranty status. This policy acknowledges the manufacturing defect nature of the problem. Even expired insurance plans don’t affect eligibility for this specific repair—multiple users report free replacements years after warranty expiration.
DJI Service Process Timeline
Steps for DJI Service:
1. Create support ticket via DJI website describing charging percentage limitations
2. Ship controller to designated repair center (prepaid label usually provided)
3. Receive replacement unit (typically new, not refurbished)
4. Cost: $0 for charging-related issues
5. Timeline: 1-7 business days including shipping
Critical Troubleshooting Before Repair
Basic Connection Checks You Must Perform
Before assuming circuit board failure, verify:
– Charger fully seated in port (charging light should illuminate)
– Power adapter functioning (test with phone or other device)
– No physical damage to charging port pins
– Clean contact points with 99% isopropyl alcohol
When You Actually Need Battery Replacement
Replace the battery if you observe:
– Voltage below 7.8V when fully charged
– Premature shutdown before reaching 1% battery
– Significantly reduced flight time (under 2 hours controller use)
– Swelling or physical damage to battery pack
Firmware and App Maintenance
Update both firmware and DJI Go app:
– Connect controller to DJI Assistant 2 via USB
– Check for available firmware updates
– Update DJI Go app to latest version
– Recalibrate battery after updates
Prevent Future DJI Phantom 4 Controller Charging Issues
Optimal Storage Conditions
- Never store fully discharged: Maintain 50-70% charge during storage
- Temperature control: Store between 15-25°C (59-77°F)
- Monthly cycling: Charge/discharge every 30 days during storage
- Early intervention: Address charging degradation immediately
Charging Best Practices
- Use original DJI charger when possible
- Avoid high-amperage third-party chargers
- Charge in cool, dry environments
- Don’t leave on charger for extended periods after reaching 100%
Real Pilot Success Stories
Reflow Fix: Chopstix Kid’s 65% to 99% Recovery
After months stuck at 65% charge, one pilot used professional reflow service. Post-repair testing showed 99% charge capacity with sustained retention over multiple flight sessions. The $80 fix cost significantly less than the $250 for a new controller.
DJI Service Win: segrex’s 3-Year-Old Controller
December 2016 purchase received free replacement in 2019—three years after purchase. DJI service center diagnosed and replaced the controller within 1 hour of arrival. No questions asked about warranty status.
Battery Test Confirmation: loonie01’s $40 Savings
Purchased new battery externally charged to 8.4V. Controller still displayed 64%, definitively proving the charging circuit—not battery—was the culprit. This test saved $40 on unnecessary battery replacement.
Your Action Plan for DJI Phantom 4 Controller Not Charging
Immediate Steps You Should Take Now
- Test battery voltage to confirm circuit board issue
- Document charging percentages from both ports
- Create DJI support ticket for potential free replacement
- Backup controller settings before service
Select Your Repair Path
- Under warranty: Use DJI service immediately
- Out of warranty: Still use DJI service (free for this issue)
- DIY capable: Consider reflow if service unavailable
- Time-critical: Purchase replacement if service takes too long
Your Phantom 4 controller’s charging limitation isn’t permanent—it’s a well-documented manufacturing defect with proven solutions. Test your battery voltage first to confirm the diagnosis, then pursue the repair option that best fits your timeline and technical comfort level. With DJI’s continued free service policy for this known problem, you can restore full functionality without replacing the entire unit.


