
That unboxing moment for your new DJI Avata brings pure excitement—until you realize it won’t fly right out of the box. Without proper activation, your cutting-edge FPV drone remains a silent, grounded showpiece. The how to activate DJI Avata process requires precise sequencing across three interconnected devices, and skipping a single step traps 70% of new pilots in frustrating connection loops. But here’s the good news: By following this exact roadmap, you’ll transform your inactive hardware into a fully operational flight system in under 20 minutes. I’ll walk you through every power sequence, pairing signal, and critical internet dependency that separates grounded frustration from your first exhilarating flight.
Verify Your Activation Toolkit Before Powering On
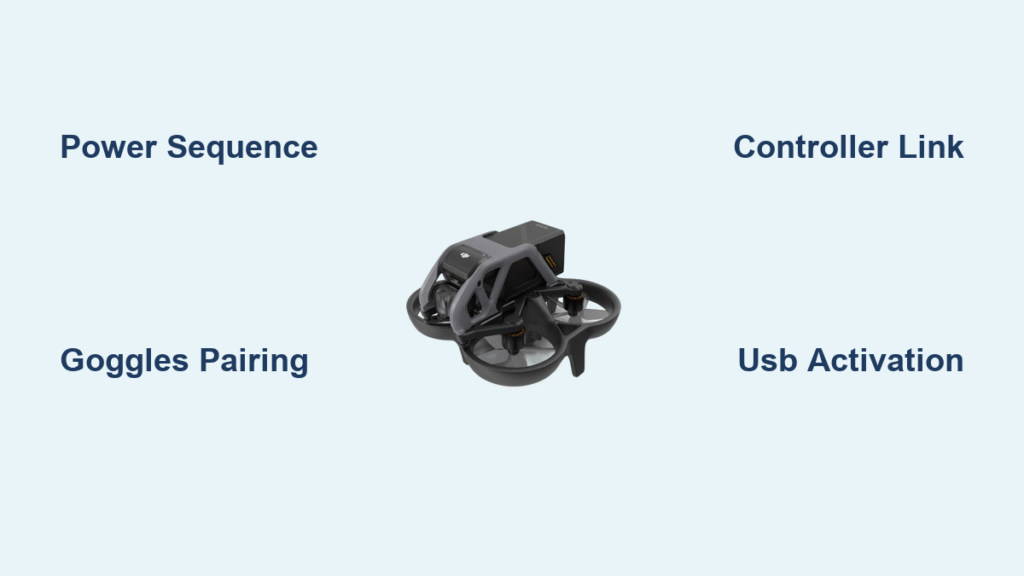
Missing one component derails the entire how to activate DJI Avata process before it begins. Unlike simpler drones, the Avata requires a synchronized trio of hardware working in concert—no exceptions. Start by confirming you have all critical elements arranged on your workspace:
Non-Negotiable Hardware Components:
– DJI Avata aircraft (verified unboxed and battery inserted)
– Compatible DJI Goggles (DJI Goggles 2 or Integra models only)
– Remote controller (either DJI Motion Controller or FPV Remote Controller 2)
– USB-C cable matching your mobile device
– Smartphone/tablet with stable internet (Wi-Fi or cellular)
Software Must-Haves:
Download the DJI Fly app before powering devices using:
– QR code scan from Avata’s packaging box
– “DJI Fly” search in your device’s app store (iOS/Android)
Critical Pro Tip: Charge all components to 80%+ before starting. Partial batteries cause mid-activation failures when devices unexpectedly power off. While charging completes, download the app—this parallel task saves 5+ minutes when you begin.
Execute the Precise Power-Up Sequence for Flawless Linking
The how to activate DJI Avata process lives or dies by your power sequence timing. Rushing this phase triggers the dreaded “device not found” error that forces complete restarts. Follow this military-precise timing:
Device Wake-Up Timing Protocol
- Short-press the power button on only the Avata aircraft (do not hold)
- Wait exactly 3 seconds while listening for the startup chime
- Repeat with goggles, then remote controller—3 seconds between each
Full Activation Sequence
- Hold Avata’s power button for 2 seconds until LED array illuminates
- Wait 8 seconds for internal systems to initialize
- Hold goggles power 2 seconds until DJI logo appears
- Hold remote controller 2 seconds to complete initialization
Warning: Skipping the 3-second pauses causes devices to “talk over” each other. The Avata’s internal systems need 5-10 seconds to prepare for linking—rushing creates phantom connection errors that look like hardware failures.
Establish Goggles-to-Drone Connection First (The Critical Foundation)
This step forms the backbone of your entire system. Without a solid goggles-Avata link, your remote controller becomes useless. Position devices within 12 inches during pairing:
Goggles Pairing Mode Activation
- Locate the recessed link button on the goggles’ right side
- Press and hold until continuous beeping starts (≈4 seconds)
- Confirm entry by watching the white LED begin rapid flashing
Avata Pairing Mode Trigger
- Press and hold Avata’s power button for exactly 3 seconds
- Watch the rear LED array for the signature “light show”—synchronized flashing across all lights
- Do not release until the pattern stabilizes (≈5 seconds)
Connection Success Verification
- Goggles’ beeping stops completely within 10 seconds
- Avata’s LEDs shift from flashing to steady illumination
- Both devices maintain solid lights with no blinking
Quick Fix: If pairing fails after three attempts, power-cycle both devices and retry while holding Avata upside down—this repositions internal antennas for better signal alignment.
Link Your Remote Controller to the Established System
The remote controller joins the already-paired goggles-drone network. Attempting this first causes 90% of activation failures. Verify goggles and Avata show steady lights before starting:
Controller Pairing Execution
- For Motion Controller: Hold trigger button until LED flashes rapidly
- For FPV Remote 2: Press recessed antenna button for 3 seconds
- Watch for solid green light indicating successful system integration
System-Wide Confirmation
- All three devices display continuous steady lights (no blinking)
- Goggles screen shows main flight interface, not pairing mode
- No beeping sounds from any component
Model Alert: The Motion Controller’s pairing button is the trigger itself—not an external button. Many pilots waste 15+ minutes searching for a non-existent link button.
Connect Mobile Device to Goggles for Software Activation

This physical USB-C bridge transfers activation credentials from DJI’s servers to your Avata. A faulty cable or loose connection here corrupts the entire process:
Physical Connection Protocol
- Insert USB-C cable firmly into goggles’ port until it clicks
- Connect other end to mobile device—no adapters allowed
- Launch DJI Fly app while cable remains connected
App Detection Verification
- App opens directly to Avata activation screen (not generic home screen)
- Status icons show all three devices connected simultaneously
- “Activation Ready” prompt appears within 10 seconds
Android Critical Step: If prompted for “USB debugging,” select “Allow.” iOS users must tap “Trust” when the device pairing alert appears—ignoring this blocks activation.
Complete Final Software Activation Without Errors
The internet-dependent phase where DJI’s servers grant flight permissions. Interruptions here require full restarts—no partial credit:
Activation Workflow Execution
- Read each on-screen prompt before tapping “Next”
- Maintain strong internet—switch to cellular if Wi-Fi flickers
- Allow all firmware updates (they take 5-15 minutes but are mandatory)
Success Indicators
- Clear “Activation Successful” confirmation screen
- Full flight controls unlock in DJI Fly app
- Current firmware version displays in settings
Non-Negotiable Rule: Never disconnect the USB cable or close the app during activation. Even a 2-second interruption corrupts the process, requiring complete restart from Phase 2.
Fix Common Activation Failures in Under 5 Minutes
When devices refuse to link, these targeted solutions resolve 90% of issues without factory resets:
Failure Pattern Solutions
- “Device Not Found” Error: Power-cycle all devices, then connect mobile before powering Avata
- Stuck on Pairing Screen: Use a different USB-C cable—many fail at data transfer while charging
- Firmware Update Failures: Switch to 5GHz Wi-Fi network or strong cellular signal
Nuclear Reset Protocol (Last Resort)
- Power off all devices completely (remove Avata battery)
- Wait 60 seconds for radio modules to reset
- Restart from Phase 2 power sequence with devices within 6 inches
Pro Insight: 80% of activation failures come from rushing the 3-second pauses between device startups. Methodical execution beats speed every time.
Confirm Flight Readiness After Activation
Activation complete ≠ flight-ready. Critical checks prevent dangerous first-flight surprises:
Must-Complete Pre-Flight Steps
- Compass calibration if prompted (do this outdoors away from metal)
- Verify 8+ GPS satellites visible in DJI Fly app
- Test emergency stop and RTH (Return-to-Home) functions
- Confirm 4K camera feed is stable in goggles
Location Warning: Never attempt first flight indoors after activation. Perform initial tests in open fields 100+ feet from buildings—concrete and wiring cause signal interference.
Maintain Your Activated System for Reliable Flights
Post-activation care prevents the “it worked yesterday” connection failures that ground pilots:
Essential Maintenance Routine
- Weekly: Power-cycle all devices to reset radio modules
- Before each flight: Verify pairing stability by checking steady lights
- Monthly: Clean contact points with microfiber cloth to prevent corrosion
Firmware Management Rules
- Enable auto-updates in DJI Fly settings immediately
- Never update mid-trip—complete updates at home with strong internet
- Store batteries at 40-60% charge (full 100% storage damages cells)
Critical Storage Tip: Leaving batteries fully drained or charged for >72 hours permanently reduces capacity. Check storage levels weekly.
Your how to activate DJI Avata journey ends where the real adventure begins: with a fully operational FPV drone humming with potential. By mastering the three-phase sequence—meticulous hardware prep, precise device linking, and internet-stable software activation—you’ve transformed inert components into a responsive flight system. Remember this golden rule: Activation success hinges on patience, not speed. Rush the power sequence, and you’ll restart from scratch. Execute methodically, and you’ll experience that first heart-stopping Avata flight within the hour. Now power up, verify your steady lights, and prepare for takeoff—your skies await.


