
Your DJI Spark suddenly sputters during flight or refuses to lift off completely? Damaged propellers are almost always the hidden culprit behind these frustrating flight failures. When blades develop cracks, chips, or go missing after a hard landing, your drone’s performance plummets—cutting flight time in half and risking catastrophic crashes. Replacing them takes just minutes with no tools required, yet most pilots avoid this simple fix, not realizing how quickly worn props compromise stability. This guide cuts through the confusion with precise instructions straight from DJI’s official documentation for model CP.PT.000903, showing you exactly how to swap propellers safely while avoiding critical errors that could ground your drone permanently.
If your Spark struggles to maintain altitude or vibrates intensely mid-flight, inspect the propellers immediately. Visible scratches, hairline cracks, or chips near the hub indicate imminent failure—these flaws create dangerous imbalances that strain motors and cause “jello” distortion in footage. The good news? DJI designed this process for field repairs: no calibration software or special tools needed. By following these verified steps, you’ll restore smooth flight and extend your drone’s lifespan. Let’s get your Spark back in the air safely and correctly.
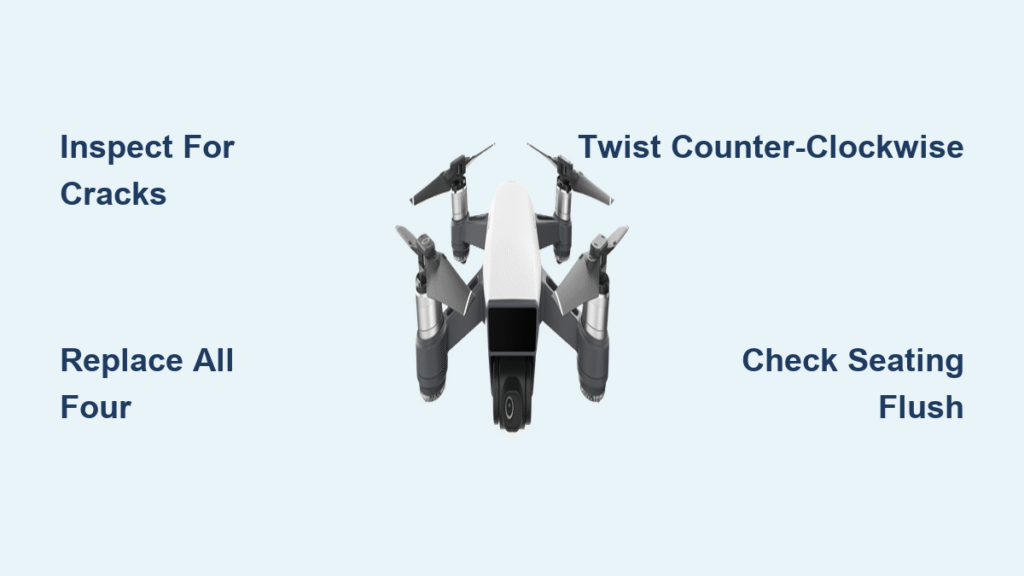
Verify Propeller Damage Before Replacement

Before attempting any propeller swap, power down your DJI Spark completely and remove the battery. This critical safety step prevents accidental motor activation that could cause severe injury—the blades spin fast enough to cut skin even at low power. With the drone stationary on a flat surface, conduct a thorough visual inspection of all four propellers under bright light. Look specifically for hairline cracks radiating from the hub, chips along the blade edges, or any warping that disrupts the aerodynamic curve. Even minor damage compromises structural integrity during high-speed rotation.
When Replacement Becomes Essential
Check for these specific failure signs that demand immediate propeller replacement:
– Visible stress fractures appearing as white lines in the plastic near the mounting hub
– Edge damage where chips exceed 1mm in size, creating uneven airflow
– Complete detachment from a crash or rough landing
– Persistent vibration during flight that wasn’t present with new props
Critical note: Never fly with mismatched propellers—replacing only the damaged blade while keeping others creates dangerous thrust imbalances. Always install a full set of matching replacements to maintain flight stability. If any propeller shows damage, replace all four simultaneously.
Gather Required Replacement Parts
For the DJI Spark model CP.PT.000903, you’ll need one complete replacement propeller set specifically designed for this drone. Generic propellers won’t fit the motor shafts correctly and risk mid-air detachment. Ensure your replacement kit includes all four blades and matches the exact model number printed on your drone’s underside. Keep a microfiber cloth nearby to clean motor shafts before installation—dust or debris prevents proper seating.
Confirming Compatibility
- Check packaging: Genuine DJI propeller sets list compatibility with “Spark CP.PT.000903” on the label
- Inspect blades: New props should have smooth edges without mold lines or manufacturing defects
- Verify quantity: Replacement kits contain four propellers—two for clockwise rotation, two for counter-clockwise (though specific markings aren’t detailed in DJI’s official guide)
Pro tip: Store spare propellers in their original protective case. Loose blades in gear bags develop micro-cracks from rubbing against batteries or controllers, turning “spares” into future failure points.
Remove Damaged Propellers Safely
https://www.dji.com/learn/entry/insights/dji-spark-propeller-removal-tutorial-cppt000903
With your DJI Spark powered off and battery removed, position the drone securely on a non-slip surface. Locate the damaged propeller and place your thumb firmly on its central hub. Apply steady downward pressure while simultaneously twisting the propeller counter-clockwise (as viewed from above the drone). Continue twisting until you feel the propeller disengage from the motor shaft—it should loosen within 15-30 degrees of rotation. Once free, lift the propeller straight upward off the shaft; never yank sideways as this can bend the delicate motor spindle.
Troubleshooting Stubborn Propellers
If the propeller resists removal despite correct technique:
– Increase grip friction: Press down with a rubber-grip tool or wear textured gloves
– Check for debris: Shine a flashlight into the hub cavity—dust or grass fibers may be jammed between propeller and motor
– Avoid force: Never use pliers or screwdrivers; plastic hubs crack easily under metal pressure
Warning: If a propeller won’t budge after gentle attempts, stop immediately. Forcing removal risks damaging the motor shaft—a far costlier repair than propeller replacement. Consult DJI support if props remain stuck.
Install New Propellers Correctly

Align the replacement propeller over the motor shaft with its mounting tabs facing downward. Press down firmly on the hub while twisting clockwise (as viewed from above) until fully seated. DJI’s design requires no tools—hand pressure alone should secure the propeller. Continue twisting until you feel definite resistance, indicating the locking mechanism has engaged. The propeller must sit perfectly flush against the motor housing with no visible gaps or wobble.
Critical Installation Checks
Before powering on:
– Verify seating: Run your finger along the hub-to-motor seam—any gap indicates improper installation
– Test rotation: Spin the propeller gently by hand; it should rotate smoothly without catching or vibration
– Confirm direction: Though not explicitly detailed in DJI’s guide, ensure clockwise-spinning motors receive matching propellers (typically marked with a silver ring on genuine DJI sets)
Red flag: If the propeller spins freely without resistance or lifts off with light pressure, repeat the installation process. Incomplete seating causes immediate detachment during flight.
Post-Replacement Flight Verification
After installing all four propellers, power on your DJI Spark and connect to the DJI GO 4 app as usual. Conduct these essential pre-flight checks:
1. Motor test: In the app’s aircraft settings, activate individual motors to verify smooth rotation
2. Hover test: In open space, launch the drone and maintain a 3-foot hover for 30 seconds
3. Vibration check: Listen for unusual buzzing or observe excessive camera shake in the live feed
Immediate abort signals: Land immediately if you notice any of these critical issues:
– Asymmetric motor noise (one motor louder than others)
– Persistent vibration felt through the controller
– Drone drifting sideways during hover
Avoid Costly Propeller Replacement Mistakes
Even experienced pilots make critical errors during propeller swaps that lead to crashes. The most common—and dangerous—mistake is installing mismatched propellers on motors requiring opposite rotation directions. While DJI’s official documentation doesn’t specify visual identifiers, genuine replacement sets include clearly marked pairs. Another frequent error involves over-tightening during installation; the plastic hubs crack under excessive force, creating hairline fractures that cause mid-flight failure. Always use hand pressure only—never tools.
Essential Pre-Flight Inspection Routine
Before every flight, spend 20 seconds checking these propeller health indicators:
– Hub integrity: No white stress lines visible when rotating propellers
– Edge condition: Smooth blade edges without nicks or chips
– Balance: Propellers spin evenly when manually rotated (no wobble)
– Security: Firmly seated with no movement when gently tugged
Pro tip: After beach or dusty environment flights, rinse propellers under lukewarm water and dry completely before storage. Salt crystals and sand particles accelerate wear by embedding in the plastic.
Maximize Propeller Longevity Through Proper Care
Extend your DJI Spark propellers’ lifespan by storing them in the rigid protective case included with your drone. Loose propellers in backpacks develop micro-fractures from constant contact with batteries and cables. After flights in challenging conditions, inspect blades under magnification—damage often starts as invisible stress points. Replace the entire set every 100 flight hours as preventative maintenance, even if no damage appears visible. Remember that propellers are sacrificial components: their relatively low cost protects your $500+ drone investment.
Field replacement hack: Keep one complete propeller set in your drone’s storage compartment using DJI’s included strap. When a blade snaps mid-shoot, you’re never more than three minutes from getting back in the air. Always carry spare props—crashes happen when you least expect them, and no professional photographer should risk missing the perfect shot due to preventable downtime.
Final Note: Fresh propellers restore your DJI Spark’s original flight performance and prevent costly secondary damage to motors and cameras. By mastering this three-minute replacement process, you transform from a frustrated pilot into a self-sufficient drone operator who never misses a shot. Keep two full propeller sets in your gear bag at all times—one for immediate field replacement, another as backup—and always verify seating with the simple hand-spin test before takeoff. Your Spark’s stability, flight time, and safety depend on this one critical maintenance step.


