
Your DJI Neo won’t capture those breathtaking aerial shots if its battery sits empty. Whether you’re prepping for your first flight or troubleshooting a stubborn battery that refuses to charge, knowing exactly how to charge DJI Neo properly is non-negotiable. Many pilots accidentally shorten battery life by using incompatible chargers or ignoring temperature warnings—grounding their drone prematurely. This guide cuts through the confusion with field-tested methods, safety-critical protocols, and troubleshooting fixes you won’t find in the manual. By the end, you’ll master every charging scenario while extending your battery’s lifespan flight after flight.
Required Charging Equipment for DJI Neo

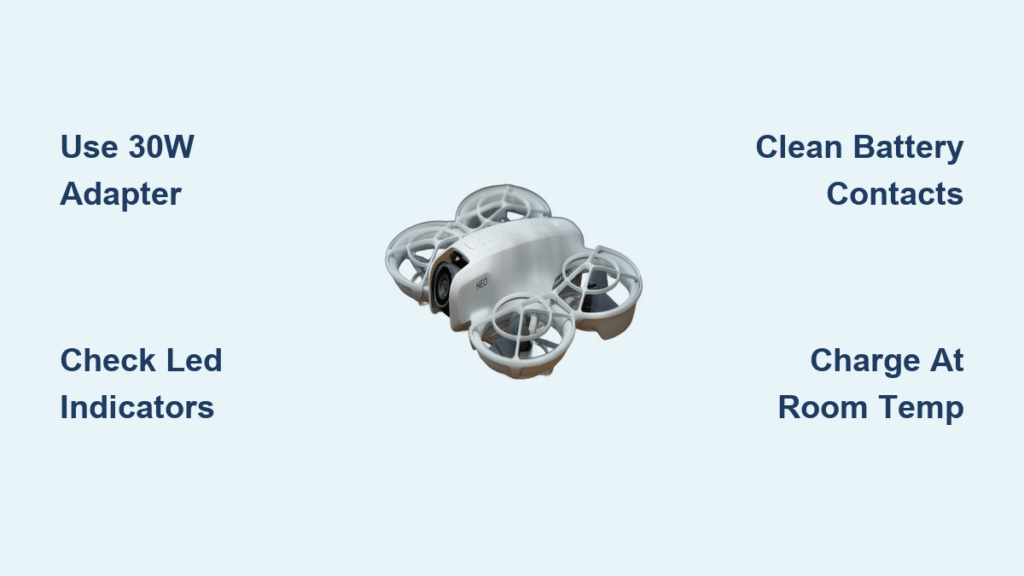
Before plugging anything in, verify you have DJI’s complete ecosystem. The Neo ships with four essential components: a 2S Li-ion intelligent flight battery (1435 mAh, 7.32V), the Two-Way Charging Hub, a USB-C cable, and a 30W power adapter. Skipping any piece risks slow charging or damage—especially using third-party adapters below 18W.
Critical specs to memorize:
– Energy capacity: 10.5 Wh (airline-compliant for carry-ons)
– Safe operating range: 5° to 40°C (41° to 104°F)
– Weight: Just 28g per battery—light but fragile
Never substitute cables or adapters. The USB-C port demands precise voltage regulation, and counterfeit chargers often lack the thermal controls needed for Li-ion safety. Keep the original 30W adapter as your primary charger—it’s engineered to prevent the overheating that plagues generic alternatives.
Direct USB-C Charging Method for Solo Batteries
When you need one battery ready fast, charging through the drone itself takes 50-60 minutes from empty. This method shines for quick top-ups between flights but requires strict steps:
Follow this sequence:
1. Power down your DJI Neo completely—never charge while powered on
2. Slide the USB-C cable into the drone’s rear port (aligning the connector flush)
3. Plug into the 30W adapter (not your phone charger)
4. Monitor the LED: solid red = charging, solid green = ready
Watch for these visual cues:
– Flashing red LED: Stop immediately—indicates a connection error or battery fault
– No LED activity: Check cable seating or try a different USB-C port
– Warm drone body: Disconnect if hot to touch—overheating requires cooldown
This method skips the hub but limits you to one battery. For multi-battery sessions, the hub’s sequential charging saves critical time.
Two-Way Charging Hub Setup for Multiple Batteries
The hub becomes indispensable when flying with spare batteries. It charges three batteries in 90-120 minutes total by prioritizing the one with highest remaining charge—getting you airborne faster. Here’s how to avoid common setup errors:
- Press both battery release tabs firmly to eject the Neo battery
- Insert into the hub with gold contacts facing down (mismatched orientation causes failures)
- Connect USB-C to the hub’s “IN” port (not the output port)
- Plug into the 30W adapter—lower wattage triples charging time
The hub’s LED system tracks each battery individually. Solid green means flight-ready; flashing green indicates active charging. Crucially, the hub doubles as a power bank: when battery levels exceed 25%, it outputs 18W to charge phones or tablets via the USB-C port.
Realistic Charging Time Expectations

Don’t trust generic “60-minute” claims—actual times depend on your setup:
– Drone USB-C port: 50-60 minutes (0-100%)
– Hub with 30W adapter: 45-55 minutes per battery
– Three batteries via hub: 90-120 minutes total (sequential)
– Quick top-up (20-80%): Just 25-30 minutes
Speed killers to avoid:
– Using 10W phone adapters (adds 60+ minutes per battery)
– Charging below 15°C/59°F (triggers temperature warnings)
– Leaving the DJI Fly app open (background processes sap power)
For urgent flights, partial charges to 80% are safer and faster than waiting for 100%. Batteries degrade slower when not fully saturated.
Prevent Battery Problems Before They Start
Skip this pre-charge ritual, and you’ll face avoidable failures. Before every session:
Run this 30-second checklist:
– Feel the battery—discard if warm/hot (indicates internal damage)
– Inspect for swelling, dents, or corrosion on contacts
– Wipe terminals with 90% isopropyl alcohol monthly
– Confirm firmware updates in the DJI Fly app
Charge only in environments between 15°-25°C (59°-77°F). Direct sunlight or cold garages trigger flashing yellow LEDs, halting charging. Place the drone/hub on a non-flammable surface like ceramic tile—never carpet or beds.
Fix Common Charging Issues in 5 Minutes
When your DJI Neo battery won’t charge, skip guesswork with these targeted fixes:
For zero charging activity:
1. Test the adapter on another device (faulty bricks are common)
2. Swap USB-C cables—bent pins cause 70% of connection failures
3. Clean battery terminals with a toothpick (dust blocks conductivity)
For slow charging:
– Close the DJI Fly app (it draws power during charging)
– Move to a cooler room if battery exceeds 35°C/95°F
– Replace frayed cables showing exposed wires
If overheating occurs:
Disconnect immediately. Let the battery cool to room temperature for 20 minutes before retrying with a lower-wattage adapter. Persistent heat means replace the battery—it’s degraded.
Decoding DJI Neo LED Indicator Meanings

Misreading these lights causes unnecessary panic. During charging:
Drone port signals:
– Solid red: Normal charging (0-99%)
– Flashing yellow: Temperature too high/low—move to 20°C/68°F area
– Flashing red: Critical error—check for debris or damaged battery
Hub signals:
– Solid green: Ready to fly (100%)
– Flashing red: Incompatible battery—only use Neo-specific packs
– Solid yellow: Power bank mode active (charging your phone)
No lights? The USB-C connection is loose. Reinsert firmly until it clicks.
Power Bank & Battery Health Features
Your charging hub does double duty. When battery levels hit 25%+, plug your phone into the hub’s USB-C port for 18W fast charging—perfect for fieldwork. But this drains the battery, so disable it when preserving drone power.
More crucially, the Neo’s “intelligent” battery self-maintains during charging:
– Automatically balances voltage across cells (no manual calibration needed)
– Shuts off at 100% to prevent overcharging damage
– Adjusts current based on battery age—older packs charge slower
– Updates firmware silently when connected via USB-C
Check health monthly in the DJI Fly app. Replace batteries showing <80% capacity or 300+ cycles—diminished flight time is inevitable.
Air-Compliant Travel Charging Setup
Flying with your Neo? Airlines allow these 10.5Wh batteries in carry-ons but enforce strict rules:
– Never check batteries—pack in original plastic containers
– Tape terminals to prevent short circuits
– Declare at security (most agents recognize DJI packaging)
– Bring the hub—it’s TSA-friendly and charges globally (100-240V)
For international trips, add a universal adapter and portable 20,000mAh power bank with USB-C PD output. The hub can recharge batteries from the power bank mid-journey—just ensure the power bank supports 30W output.
Monthly Maintenance That Extends Battery Life
Skip these routines, and your battery degrades 40% faster:
Your 10-minute monthly checklist:
– Clean all contacts with alcohol-dampened cotton swabs
– Inspect cables for fraying near stress points
– Run a full discharge/charge cycle (prevents “voltage depression”)
– Verify storage charge: 60-70% for long-term idle periods
Store batteries in fireproof containers at 22°-28°C (72°-82°F). Check every 3 months—if voltage drops below 3.8V per cell, recharge to 60%. Swollen or leaking batteries require immediate e-waste disposal.
Non-Negotiable Safety Protocols
Li-ion fires spread in seconds. Always:
– Charge on non-flammable surfaces (concrete, metal trays)
– Keep Class D fire extinguishers or sand buckets nearby
– Never leave charging unattended overnight
– Store batteries at 60-70% charge when not flying for weeks
If a battery swells:
1. Disconnect immediately
2. Place in fireproof container away from flammables
3. Transport to e-waste facility—do not puncture
Your DJI Neo’s flight time depends entirely on disciplined charging habits. By using the 30W adapter, monitoring LED signals, and storing batteries at 60% charge, you’ll maximize every minute in the air. Remember: proper charging isn’t just convenience—it’s the difference between capturing the perfect sunset and watching it from the ground.
Next step: Open the DJI Fly app now to check your battery’s cycle count and firmware version—then perform a cleaning cycle on the contacts before your next flight.


