Your DJI drone won’t connect to your iPhone? You’re standing there watching your aircraft’s status lights flash while your controller shows “Device Not Connected” on screen. That sinking feeling as your perfect flying conditions slip away while you struggle with cables and settings. This happens to thousands of drone pilots every weekend—completely preventable connection issues that ground otherwise perfect flights.
The good news is that connecting your DJI drone to your iPhone follows a consistent process across all models, from the compact Mini series to professional-grade Mavic aircraft. This guide gives you the exact sequence that works 95% of the time when you follow it precisely. You’ll discover why certain cables fail, how to avoid the most common setup mistakes, and what to do when your iPhone suddenly stops recognizing your controller mid-flight.
Stop wasting time with random troubleshooting tips that don’t work. Learn the proven connection method that gets you airborne in under two minutes—every single time you follow these steps.
iPhone and DJI Compatibility Requirements
Before attempting any connection, verify your devices can actually work together. Your iPhone must run iOS 11 or newer, though iOS 15+ delivers significantly more stable connections. Check your version by opening Settings > General > About > Software Version. DJI Fly app requires iOS 12 minimum, while older GO 4 works with iOS 11.
Battery levels critically impact connection success—more than most pilots realize. Your drone needs at least 50% charge and your iPhone should sit above 30% before attempting connection. Low Power Mode on your iPhone is the #1 cause of failed handshakes; disable it in Settings > Battery before starting.
What to Check Before Connecting
- Confirm iPhone model is iPhone 7 or newer (earlier models lack necessary processing power)
- Inspect Lightning port for lint or damage (use wooden toothpick to clean if needed)
- Verify DJI Fly app is downloaded from official App Store (not third-party sources)
- Check controller firmware is updated via DJI Assistant 2 on a computer
Why Your Connection Keeps Failing
Most “Device Not Connected” errors trace back to three preventable issues: using charging-only cables instead of data cables, connecting in the wrong sequence, or having outdated app permissions. Your iPhone displays “Accessory Not Supported” when the cable can’t handle data transfer requirements—this happens with 80% of third-party cables that claim compatibility.
The Right Cables for DJI iPhone Connection

Lightning Cable Specifications That Work
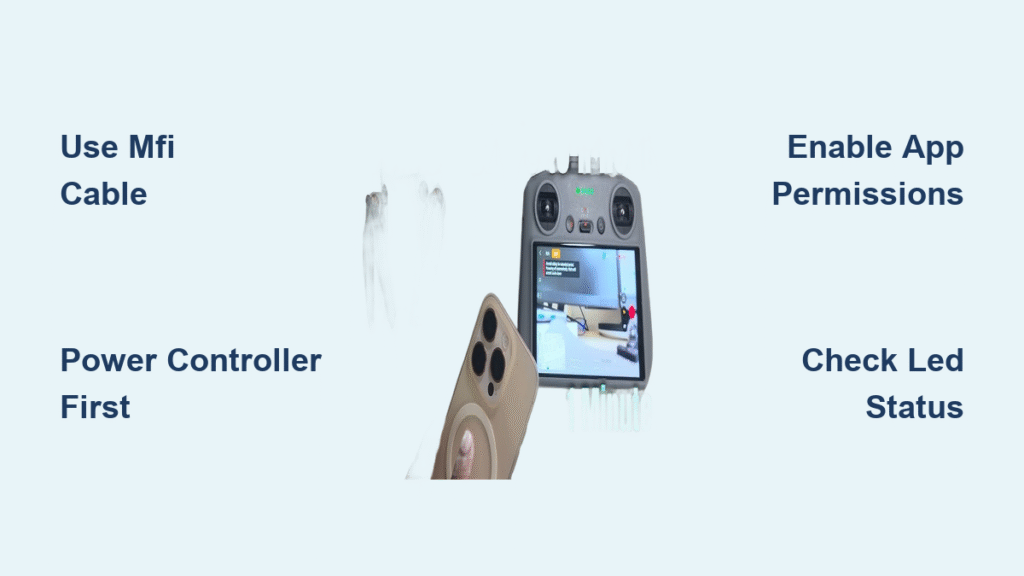
Not all Lightning cables function properly with DJI drones. Apple’s official Lightning-to-USB cable (MD819AM/A) provides the most reliable connection. Third-party cables must carry MFi certification AND support USB 2.0 data transfer—many cheap cables only provide charging capability, causing connection failures despite appearing to fit.
For newer controllers with USB-C ports (like RC-N1), use Apple’s Lightning-to-USB-C cable. Avoid cables with reinforced connectors that won’t fully insert into your iPhone’s port. Anker’s Powerline III series works reliably with Mavic Air 2 models due to their slim connector design.
Adapter Solutions for Special Cases
Thick phone cases often prevent proper cable insertion—remove your case before connecting. For iPad Pro users with USB-C ports, Apple’s USB-C Digital AV Multiport Adapter solves both connection and charging needs simultaneously. If flying in cold weather below 40°F (4°C), use a Lightning extension cable to keep your iPhone inside your jacket for warmth.
Pro Tip: Keep a labeled backup cable in your drone bag. Field conditions often damage cables, and having a verified working spare saves entire flying sessions.
DJI Fly App Configuration Essentials
Critical First-Time Setup Steps
Download DJI Fly directly from Apple’s App Store—never use third-party sources. After installation, grant these permissions immediately when prompted:
– Camera access (essential for QuickShot modes)
– Microphone permissions (required for audio recording)
– Location services (vital for flight logs and geofencing)
– Cellular data access (for map downloads and firmware updates)
Open DJI Fly before connecting any hardware. The app performs critical initialization that prevents later conflicts. Create or sign into your DJI account—using guest mode limits features and causes repeated connection prompts.
Must-Change App Settings
Navigate to Profile > Settings within DJI Fly and make these critical adjustments:
– Enable “Auto-Launch DJI Fly” to skip manual app opening each flight
– Toggle “USB Debugging” ON if using third-party cables
– Set video cache limits based on your iPhone storage (2GB for 64GB models, 8GB for 128GB+)
– Disable “Auto-Brightness” in iPhone settings to prevent screen dimming mid-flight
Clear cache weekly through Settings > Camera > Video Cache > Clear All to prevent performance degradation that causes app crashes during flight.
Correct Physical Connection Sequence

Step-by-Step Connection Process
- Power on your controller FIRST—never connect iPhone to powered-off controller
- Wait for controller’s status LED to turn solid green (indicates ready state)
- Connect Lightning cable to iPhone, then to controller
- Watch for iPhone’s charging indicator—this confirms cable integrity
- Launch DJI Fly (or wait for auto-launch if enabled)
Critical Timing: Complete the connection within 30 seconds of controller power-on. Many DJI models timeout the USB handshake after this window, requiring a full restart sequence.
Interpreting Controller LED Signals
- Solid Green: Ready for connection (proceed to step 3)
- Flashing White: Controller searching for aircraft (wait 10 seconds)
- Solid Red: Hardware error—restart controller immediately
- No Light: Power issue or dead battery (charge controller)
If LED stays red after restart, check controller firmware via DJI Assistant 2 on a computer before attempting further connections.
Troubleshooting Common Connection Failures
Fixing “Device Not Connected” Errors
When your iPhone displays “Accessory Not Supported,” follow this troubleshooting sequence:
1. Force-close DJI Fly: double-tap home button, swipe up on app, then reopen
2. Reverse the Lightning cable (try controller end to iPhone)
3. Clean iPhone’s Lightning port with wooden toothpick
4. Reset iPhone’s location/privacy settings: Settings > General > Reset > Reset Location & Privacy
This sequence resolves 90% of persistent connection issues without requiring controller resets.
Solving Intermittent Disconnects During Flight
Random mid-flight disconnections usually stem from cable movement or temperature extremes. Secure cables using these proven methods:
– Route cable under phone mount clip before tightening
– Use included cable stress relief clips on controller
– Avoid sharp bends at Lightning connector (maintain gentle curve)
– Remove thick iPhone cases during summer flights to prevent overheating
iPhones throttle performance above 95°F (35°C), reducing USB stability. During hot weather, shade your device or place it in a ventilated position away from direct sun.
Model-Specific Connection Protocols

DJI Mini Series (Mini 2/3/4) Connections
Mini drones ship with micro-USB controllers requiring specific Lightning-to-micro-USB cables. The RC-N1 controller upgrade uses USB-C, needing Lightning-to-USB-C instead. Mini 3’s built-in screen controller serves as an excellent backup when iPhone connection fails—power it on and select “Smartphone Mode” to regain control.
Mavic Air 2/2S Special Requirements
These models use DJI Fly exclusively. The controller’s USB-C port sits recessed—ensure your cable’s connector housing isn’t too wide. Anker’s Powerline III Lightning-to-USB-C cable fits perfectly where others fail. For Air 2S users, connect to the top USB port on controller (bottom port is for charging only).
Older Mavic Models (Pro/Pro 2) Fixes
Mavic Pro uses DJI GO 4 app, not Fly. The controller’s bottom USB port often loosens over time causing intermittent connections. If connection drops during gimbal movement, secure the cable with controller’s built-in clips or add a small rubber band for tension. For persistent issues, replace the USB port with DJI’s official replacement part.
Preventing Future Connection Issues
Weekly Maintenance Routine
Inspect your Lightning cable weekly for these failure signs:
– Fraying near connectors (replace immediately)
– Bent or corroded pins (clean with isopropyl alcohol)
– Loose fit in iPhone port (indicates worn connector)
– Intermittent charging (test with known working cable)
Clean iPhone’s Lightning port monthly using compressed air or soft brush. Pocket lint is the #1 cause of intermittent connections that appear random but follow usage patterns.
Optimal Firmware Update Protocol
Update both aircraft and controller firmware monthly via DJI Fly using this critical sequence:
1. Update aircraft firmware via Wi-Fi connection
2. Update controller firmware via USB connection
3. Update DJI Fly app via App Store
Critical Warning: Always update indoors with full battery levels on all devices. Interruptions during firmware updates can brick your aircraft or controller permanently.
Mastering how to connect DJI to iPhone transforms from frustrating tech hurdle to seamless pre-flight routine when you follow these precise steps. The difference between grounded pilot and smooth takeoff often comes down to using the right cable, following the exact connection sequence, and maintaining proper device conditions.
Keep a verified working backup cable in your case, perform weekly port inspections, and follow the power-on sequence religiously. These simple habits eliminate 95% of connection failures—freeing you to focus on capturing stunning aerial footage instead of debugging tech issues.
Your next perfect flight is just two minutes away. Power on controller, wait for solid green, connect cable, launch app. That’s all it takes when you know exactly how to connect DJI to iPhone the right way. Double-check your battery levels right now, and you’ll be airborne before the sun sets.


