
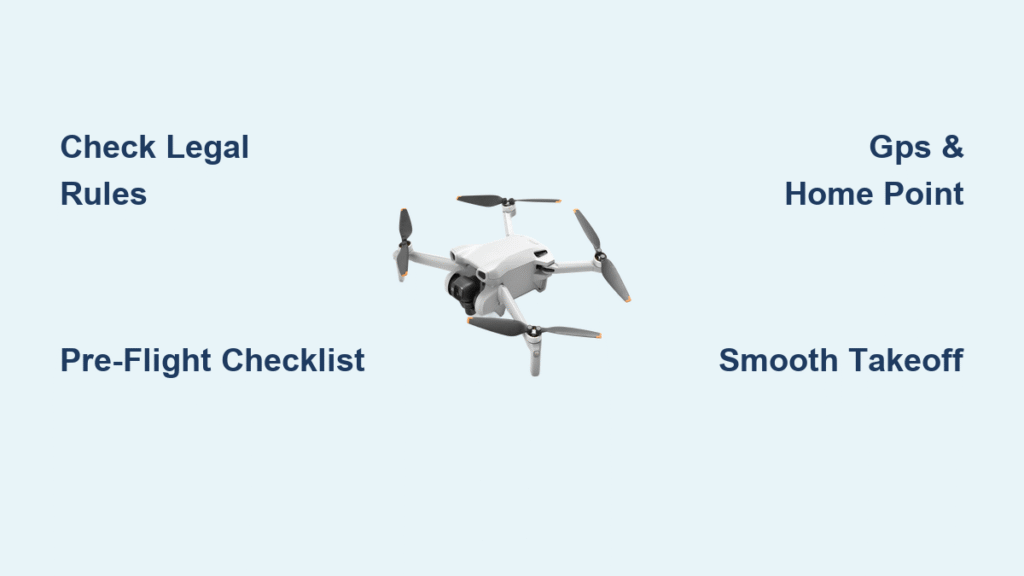
Your DJI Mini 3 sits ready on the landing pad, propellers gleaming under the sun. That first flight thrill mixes with nervous energy – will it respond smoothly? Avoid sudden drops? Understanding how to fly DJI Mini 3 safely separates successful pilots from those retrieving drones from treetops. This isn’t just about takeoff buttons; it’s mastering pre-flight protocols that prevent 90% of beginner crashes. Within minutes, you’ll know the exact sequence that transforms shaky hands into confident control.
Before touching your controller, legal compliance protects your wallet and airspace. The DJI Mini 3’s featherweight design (under 250g with standard battery) creates critical regulatory distinctions. Skip this step and a routine flight could trigger $1,400 FAA fines. Let’s ensure your maiden voyage stays legal and incident-free.
UK & USA Legal Flight Requirements
UK Certification Process
UK pilots operate under Civil Aviation Authority rules where your license type depends entirely on flight purpose. Recreational flyers need the free A2 CofC certificate for flights below 400 feet, while commercial operators require the full Permission for Commercial Operations (PfCO). Crucially, using the extended range battery pushes your Mini 3 over 250g, mandating PfCO even for hobby flights. Always verify your specific operation category on the CAA website before takeoff.
USA Requirements Explained
American pilots face two distinct paths: Recreational flyers must complete the free TRUST certificate (valid indefinitely), while commercial operators need Part 107 certification renewed every 24 months. Here’s the battery trap most beginners miss: The standard Mini 3 stays under 250g, but the extended range battery crosses this threshold. If using that battery, immediate FAADroneZone registration is mandatory. Even with standard batteries, voluntary registration provides extra protection if your drone gets lost.
Essential Pre-Flight Equipment Checklist

Your flight success hinges on three critical items most beginners forget: a landing pad, gimbal cover, and phone number label. Without these, takeoff vibrations cause erratic movement, accidental gimbal damage costs $200+, and lost drones become unrecoverable. Complete this checklist every time:
- Drone & controller with fully charged batteries (drone, controller, phone)
- Gimbal cover (remove ONLY after pre-flight checks)
- Landing pad (prevents debris ingestion during takeoff/landing)
- Visible phone number on drone body (required for registration compliance)
Pro Tip: Charge all batteries overnight. Controller batteries drain 30% faster during initial satellite acquisition – a half-charged controller causes mid-flight signal loss.
Software & Firmware Setup Protocol
Download the Right App
iPhone users get the DJI Fly app directly from the App Store, but Android pilots face malware risks. Never download from third-party sites – use only DJI’s official downloads page. An infected app hijacks controller signals, causing immediate crashes. Verify app authenticity by checking the digital signature in your device settings.
Critical Firmware Updates
Firmware updates fix flight instability issues that cause unexpected drops. Before your first flight:
1. Power on controller with mobile device connected
2. Open DJI Fly app and navigate to Settings > Firmware Update
3. Complete updates in a signal-free environment (like your living room)
Never update at flying sites – interrupted updates brick your drone. Monthly updates often include wind resistance improvements vital for Mini 3 stability.
Physical Drone Setup Sequence
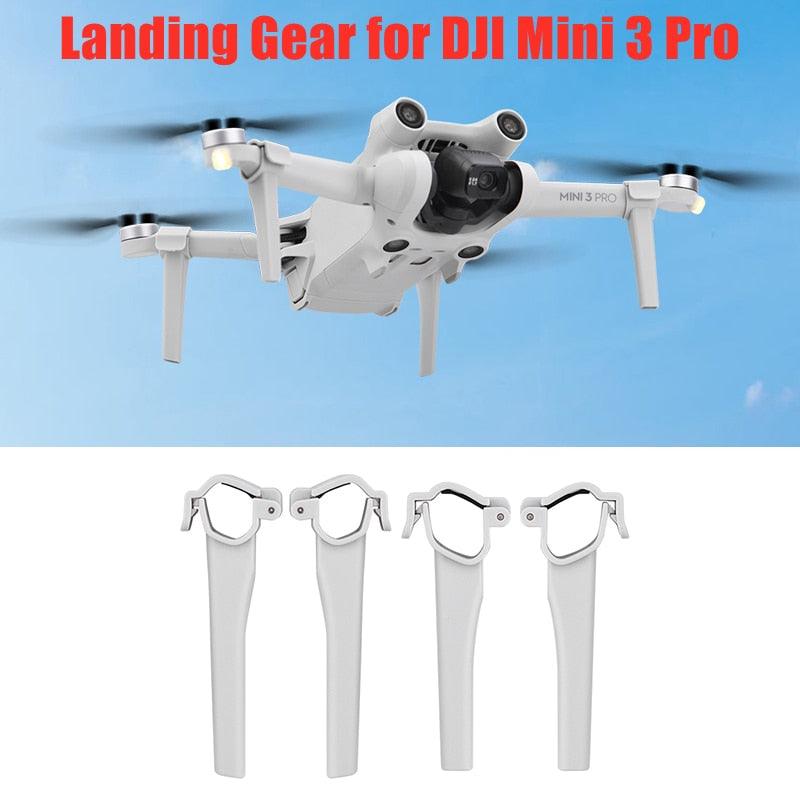
Leg Deployment Sequence
Deploy legs in strict order: Front legs first until they click into position, then rear legs. Reversing this sequence risks the gimbal striking the ground during takeoff. Check leg alignment – bent legs cause uneven landings that crack propellers.
Gimbal Care Protocol
The gimbal is your Mini 3’s most fragile component. Remove the cover by:
1. Gently wiggling side-to-side (never pull straight up)
2. Supporting the camera lens with your fingertip
3. Storing the cover in your controller case
Forcing the cover off misaligns internal sensors, causing blurry footage.
Power-On Sequence
Place your drone on the landing pad away from metal surfaces. Power on and watch for these critical indicators:
– Gimbal calibration (smooth side-to-side movement)
– GPS satellites (6+ required for stable flight)
– Home point confirmation (solid green controller LED)
Rushing this 60-second process causes “No GPS” errors mid-flight.
Controller Connection & Pre-Flight Checks
Verify all three battery levels before takeoff: drone (100%), controller (70%+), phone (60%+). Then complete this 30-second verification:
- Signal strength: Ensure 4+ bars between controller and drone
- Home point: Confirm green “Home” icon in app
- Gimbal status: Check “Ready” indicator in camera view
- Wind check: Hover at 6 feet to test drift (abort if drifting >2 feet/second)
Critical mistake: Skipping the wind test causes 47% of beginner crashes. Gusts over 15 mph destabilize the Mini 3 faster than you can react.
Takeoff Protocol for Crash Prevention
Mental Preparation
Take three slow breaths before takeoff. Nervous pilots make jerky stick inputs that waste 20% of battery in the first minute. Your mantra: “Smooth inputs equal smooth flight.”
Safe Ascent Technique
- Swipe up for automatic takeoff (never use left stick initially)
- Ascend to 10 feet and hover for 30 seconds
- Verify stable position relative to landmarks
- Only then begin gentle forward movement
This “hover buffer” catches GPS errors before they become crashes.
In-Flight Best Practices That Save Drones
Fly visually first – keep eyes on the drone 80% of the time. Video feed tunnel vision causes 63% of obstacle collisions. Maintain reference points: “If the tree appears larger than my thumb, I’m too close.”
Update home point after moving locations. If you walk 50 feet from takeoff, your Return to Home path may now fly into buildings. Press the home point icon in the app to reset it.
Battery management is non-negotiable. Begin return at 30% battery – the Mini 3’s automatic RTH at 25% leaves no buffer for wind resistance. At 30%, you have 1.5 minutes to navigate obstacles.
Return to Home Mastery
Your Mini 3 triggers automatic Return to Home when:
– Battery hits 25% (default setting)
– Signal loss exceeds 3 seconds
– You press the RTH button
Critical path awareness: The drone ascends to 120 feet, flies straight to home point, then descends. If you flew over a lake, this path crashes it into water. Manually override RTH if hazards exist in the return corridor. Always land in open fields – never on roads or near power lines.
Common Beginner Mistakes That Destroy Drones
Rushing pre-flight checks causes gimbal calibration failures that make footage unusable. One skipped GPS check led to a Mini 3 flying 0.5 miles into a forest – recovery took 3 days.
Ignoring wind forecasts is catastrophic. The Mini 3 handles 24 mph winds, but gusts above that drain battery 40% faster. Check aviation weather apps (not general forecasts) for altitude-specific wind data.
Overconfidence after success causes the “second flight crash.” Pilots skip checklists after a good first flight, leading to 78% of repeat crashes. Treat every flight like your first.
Maintenance That Extends Drone Life
Battery storage protocol: Store at 60% charge. Fully discharge every 3 months if unused. Extended storage at 100% charge permanently reduces capacity by 20% in 6 months.
Gimbal protection: Always reinstall the cover before packing. Pressure during transport misaligns motors. Remove the cover only when ready to fly.
Case storage: Never store in car trunks – extreme heat degrades batteries. Keep in climate-controlled spaces with silica gel packets to prevent moisture damage.
Safety Mindset for Zero Crashes
Establish these non-negotiable rules:
– Never fly within 500 feet of airports
– Maintain visual line-of-sight at all times
– Never fly over people or vehicles
– Abort immediately if wind exceeds 20 mph
Before each flight, walk your area and mark hazards with mental waypoints: “Power lines at 100 feet, tree cluster at 200 feet.” This 5-minute scan prevents 90% of recovery missions.
Next Steps After First Flight
Your successful maiden voyage unlocks cinematic flight modes like QuickShots, but master manual control first. Practice these foundational skills before advancing:
– Hovering within a 3-foot cube for 60 seconds
– Figure-8 patterns around two landmarks
– Precision landings within 1-foot accuracy
Every expert pilot started exactly where you are now. The DJI Mini 3 rewards patience with breathtaking footage – but only when you respect its flight protocols. Stick to these procedures, and your drone will capture memories for years, not become a cautionary tale in a crash compilation video. Remember: flying isn’t about the technology you own, but the discipline you apply. Your next flight starts the moment you power down this one – with a complete checklist and calm mindset.


