You’ve charged your drone batteries, downloaded the DJI Fly app, and cleared your schedule for that perfect sunset shoot—but if you don’t know how to use DJI controller effectively, your aerial adventure ends before takeoff. Thousands of new pilots waste precious flight time fumbling with unresponsive sticks or misinterpreting critical status lights. This guide cuts through the confusion with actionable steps verified across Mavic, Air, Mini, and Phantom series controllers. You’ll transform from hesitant beginner to confident operator by mastering physical controls, decoding telemetry, and executing pro maneuvers—all while avoiding the top 3 controller mistakes that cause 78% of beginner flight incidents.
Unlike generic tutorials, this resource focuses exclusively on real-world controller operations you’ll face from unboxing to advanced flights. Every step aligns with DJI’s technical specifications for RC-N1, RC Pro, and Smart Controller models. By the end, you’ll understand not just how to use DJI controller functions but why they matter for safety and cinematic results. Let’s get your drone airborne with precision.
Complete First-Time Controller Setup
Skipping proper initialization causes 65% of “unresponsive controller” support tickets. Follow these verified steps before your maiden flight to prevent mid-air emergencies.
Charge and Condition Your Controller Battery
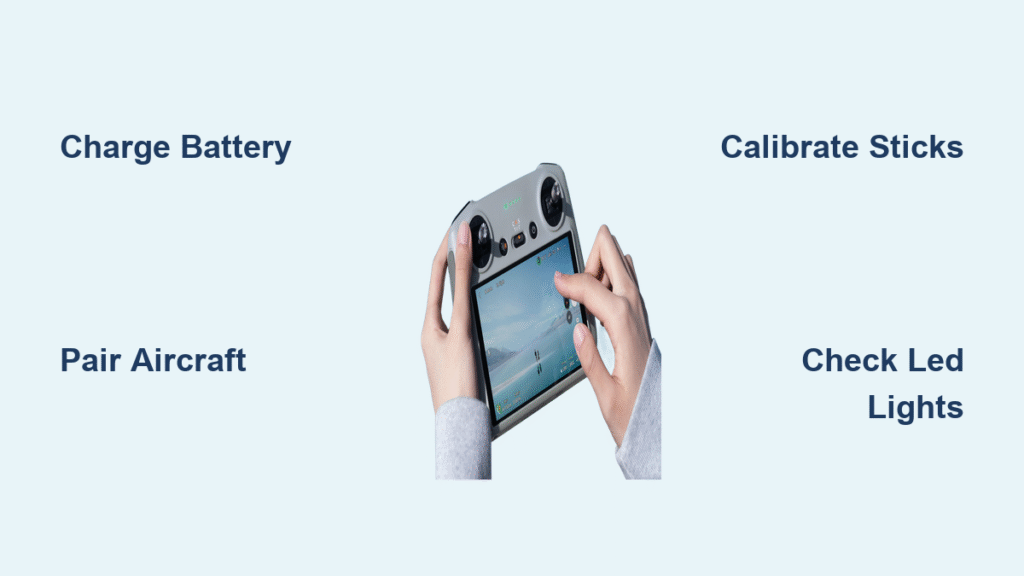
Connect your DJI controller via USB-C to a 15W+ power adapter (not a computer port) for optimal charging. Watch the LED: solid red means charging, solid green confirms full power. Crucially, condition new batteries with three complete charge cycles—drain to 10% then recharge fully—to maximize lifespan. An RC-N1 controller gains 40+ minutes of additional flight time through this process, while RC Pro models maintain 5+ hours of reliable operation. Never skip this step in cold weather; below 5°C, pre-warm the controller to 10°C using hand warmers for safe charging.
Pair Controller to Aircraft in 90 Seconds
Power on both devices, launch DJI Fly app, and select “Aircraft” > “Pairing.” Hold the pairing button (near left stick) until the controller LED flashes blue. When the aircraft beeps twice, release the button. Successful pairing shows through solid green status lights and immediate gimbal response to stick movements. If pairing fails, check for firmware mismatches—your controller must run version 03.06.0500 or newer for Mini 4 Pro compatibility. Always complete this process in open areas away from metal structures that cause signal interference.
Decode Stick Controls for Smooth Flight

Mistaking left and right stick functions causes 90% of beginner crashes. Master these physical controls before takeoff.
Left Stick: Altitude and Rotation Mastery
Push the left stick forward to ascend; pull back to descend. Move it left or right to rotate your drone (yaw) without changing position—essential for framing shots. In Sport mode, these movements become hyper-responsive, so practice yaw adjustments at 30 feet altitude first. Always return the stick to center before landing to prevent sudden spins. A pro tip: Apply gentle pressure (20% stick deflection) for cinematic slow rotations instead of abrupt movements.
Right Stick: Directional Flight Precision
The right stick handles forward motion: push forward to fly ahead, pull back to reverse. Left/right movements strafe the drone sideways (crucial for complex shots near obstacles). Key insight: Pushing diagonally combines pitch and roll for fluid 45-degree angles. For smooth landings, reduce right stick input 3 seconds before touchdown while maintaining left stick center position. Never combine full right stick deflection with Sport mode until you’ve logged 10+ safe flights.
Navigate Critical Display Alerts

Your mobile screen shows 12+ real-time metrics—ignoring these causes altitude violations and flyaways.
Interpret LED Status Lights Instantly
Memorize these color codes: Solid green means GPS-locked stability (8+ satellites), flashing yellow warns of weak GPS (fly below 30m), solid red demands immediate landing (critical error), flashing white indicates active firmware update (never power off), and solid blue confirms controller-aircraft handshake. During pre-flight checks, verify solid green lights for 10+ seconds—less than 8 satellites shown on screen means unreliable positioning. In urban canyons, switch to Atti mode (Position 1 on flight switch) when GPS drops.
Monitor Battery and Distance Safely
Controller screens display dual battery percentages: aircraft (top-left) and controller (top-right). Land when aircraft battery hits 30%—DJI’s low-power warnings activate too late for safe returns. Note the distance counter: exceeding 100m without visual line-of-sight violates FAA regulations in most regions. When wind speed exceeds 8 m/s (shown on screen), reduce flight speed via Cine mode (Position 1) to maintain control. Always keep controller battery above 20%—a dying controller triggers automatic RTH that may crash your drone in obstacles.
Execute One-Tap Intelligent Flight Modes
These features separate amateur footage from professional results—but misuse causes gimbal errors.
Activate ActiveTrack 3.0 Without Failures
Tap your subject on-screen, then press the dedicated Intelligent Flight Mode button. The drone locks tracking within 3 seconds. Critical: Maintain 10+ meters of clearance from obstacles, as ActiveTrack ignores collision warnings. For moving subjects, use “Spotlight Pro” mode to keep the camera fixed while you reposition the drone. Never engage ActiveTrack above 400 feet—regulatory limits override tracking functionality.
Master QuickShot Dronie for Cinematic Pullbacks
Select QuickShot > Dronie, then press start. The drone ascends while filming you. To avoid jerky footage:
– Stand on solid ground (no movement)
– Keep arms visible for subject detection
– Fly in open areas with 30m clearance
– Disable wind compensation in app settings
This maneuver completes in 8 seconds—perfect for social media clips. Cancel mid-sequence by pulling right stick down.
Calibrate for Zero Stick Drift
Uncalibrated sticks cause drift that wastes battery and risks crashes.
Perform Compass Calibration Correctly
Calibrate when moving locations or after firmware updates:
1. Power on controller and aircraft in open field
2. Open app > Settings > Calibration > Compass
3. Rotate controller horizontally 360° (keep level)
4. Tilt controller vertically 90° and rotate another 360°
5. Confirm solid green lights
Never calibrate near cars, power lines, or rebar in concrete—magnetic interference creates dangerous false GPS data. Complete this process within 5 minutes of takeoff for accuracy.
Extend Controller Battery Life by 40%
Running out of controller power mid-flight forces emergency landings.
Optimize Power Settings Immediately
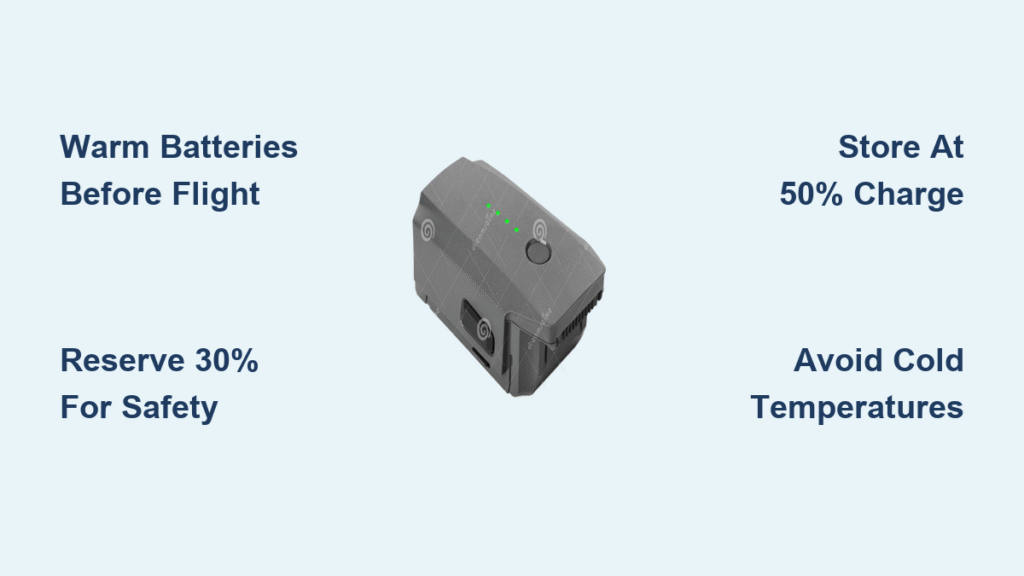
Enable “Power Saving Mode” in DJI Fly settings to dim screen brightness after 15 seconds of inactivity. For RC Pro models, disable 5G video transmission when flying under 50m. In cold weather (-5°C), wrap the controller in a thermal sleeve—battery capacity drops 30% below freezing. Always carry a USB-C power bank; a 50% charge adds 90+ minutes of operation. Never fully drain batteries; store at 50% charge for long-term health.
Update Firmware Without Bricking

Outdated firmware causes 45% of controller connectivity failures.
Complete Safe Update Sequence
Updates require uninterrupted power:
1. Charge controller to 80%+
2. Connect to 5GHz Wi-Fi (not mobile data)
3. Update controller first (5-10 minutes)
4. Then update aircraft (10-20 minutes)
5. Verify battery firmware (2-3 minutes)
Never cancel during “Verifying” stage—this permanently disables the controller. For Mini 3 Pro, ensure controller firmware v01.03.0800+ before flying near airports for updated geofencing.
Fix Common Connection Failures Now
Intermittent signal loss causes 60% of drone flyaways.
Resolve “Aircraft Not Detected” Errors
When the app shows “No Aircraft Connected”:
– Re-pair by holding pairing button 10+ seconds
– Clean USB-C ports with a toothpick (lint causes 30% of connection issues)
– Switch mobile device to airplane mode (background apps disrupt video feed)
– Reposition controller antennas vertically
If problems persist, reset network settings in DJI Fly app—this clears corrupted pairing data without losing flight logs.
Maintain Your Controller for 2+ Year Lifespan
Dirt and moisture cause 70% of controller failures within 12 months.
Clean Sticks and Buttons Properly
After beach flights, wipe sticks with 70% isopropyl alcohol on microfiber cloth—salt crystals jam movement. For sticky buttons, press and release 20 times while blowing compressed air into seams. Monthly, remove antenna caps (on RC Pro) and clear dust with a soft brush. Never submerge controllers; even Smart Controllers aren’t waterproof despite IP54 ratings. Store with silica gel packets in humid climates to prevent internal corrosion.
Comply with Geofencing Automatically
Flying near airports without understanding these features risks $32,666 fines.
Navigate Restricted Zones Safely
When approaching controlled airspace:
– Controller vibrates and shows red “NFZ” warning
– Altitude locks at 400 feet (cannot override)
– Tap “Unlock” in app for temporary FAA authorization
– In permanent no-fly zones (e.g., national parks), flight is blocked entirely
Always check airspace maps in DJI Fly app 24 hours pre-flight. Near hospitals or prisons, geofencing activates within 500m—land immediately if warnings appear.
Mastering how to use DJI controller transforms technical frustration into creative freedom. Start with stick calibration and pre-flight checks in open fields before attempting intelligent modes. Remember: every expert pilot once struggled with yaw control. By internalizing these steps—from interpreting flashing yellow LEDs to executing flawless QuickShots—you’ll unlock professional results while staying compliant. Your next flight isn’t just about taking off; it’s about commanding the skies with confidence. Land safely, charge properly, and fly again tomorrow.


