
You powered up your DJI Phantom 3 controller yesterday without issue. Today, after that firmware update completed successfully, it’s completely dead. No lights, no sounds—just silence when you press the power button. This frustrating scenario has grounded countless Phantom 3 pilots who thought their update went smoothly. The Phantom 3 controller not turning on issue strikes specifically after firmware updates, leaving you staring at an unresponsive remote with no obvious solution.
This widespread problem affects all Phantom 3 controller models (GL300A, GL300B, and GL300C) and follows a predictable pattern: the update completes normally with the standard “please restart your remote controller” message, then your controller refuses to power on. Don’t panic—this isn’t random hardware failure but a documented firmware corruption issue that you can fix 70% of the time with the right approach.
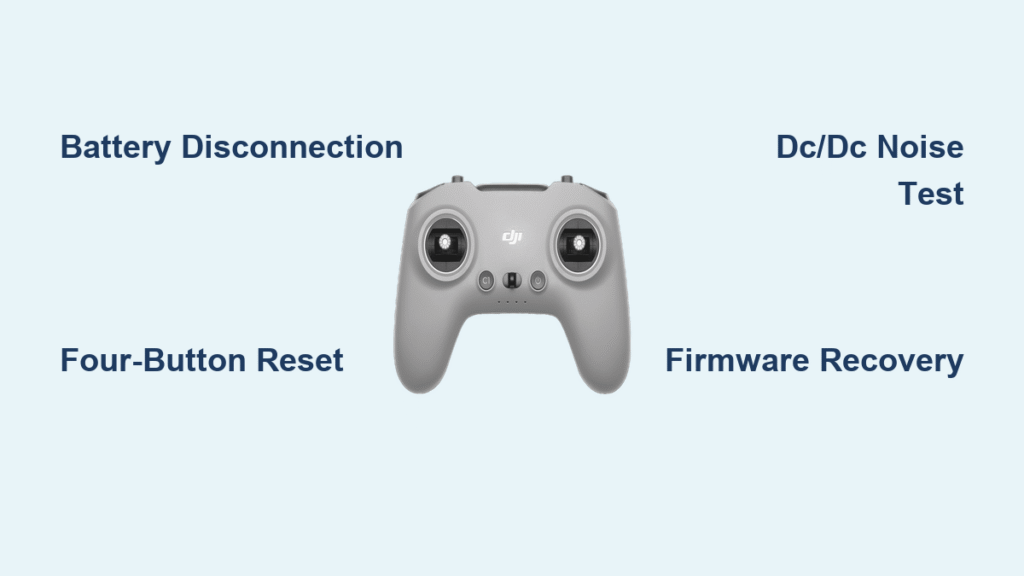
Diagnose Your Phantom 3 Controller Power Failure in 60 Seconds
Listen for the Critical DC/DC Switcher Noise
Press and hold your controller’s power button for 15 full seconds while holding it near your ear. GL300C models often emit a faint electronic whine—the DC/DC switcher noise—even when showing no visible signs of life. This subtle sound confirms your battery has power and the button mechanism works, indicating firmware corruption rather than total hardware failure. If you hear this noise, your controller likely needs the battery disconnection fix. No noise at all suggests deeper issues requiring professional attention.
Test Micro-USB Connection Integrity
Connect your charging cable and gently wiggle the connector at the base of your controller. The micro-USB port frequently develops loose connections from regular use, creating invisible gaps that prevent proper charging. A solid “click” when inserting the cable doesn’t guarantee electrical contact. If your controller still shows no charging indicators after this test, the charging circuit may be frozen rather than broken—proceed to the four-button reset sequence.
Perform the Four-Button Emergency Reset
Hold down C1 + C2 + Record + ISO Scroll Wheel simultaneously while pressing the power button. Maintain this combination for 10 full seconds. This deeper reset sometimes revives controllers that ignore standard power sequences. If your controller responds with lights or sounds during this process, continue holding until it powers on normally. No response? You’ll need to attempt the battery disconnection procedure—the most reliable fix for Phantom 3 controller not turning on issues.
Execute the Battery Disconnection Fix Safely

Gather Essential Tools Before Opening Your Controller
You’ll need a #00 or #000 precision Phillips head screwdriver, plastic spudger (never metal), tweezers for ribbon cable handling, and a small container for screws. This procedure takes 15-20 minutes and voids your warranty, so only proceed if your controller shows DC/DC noise and you’re comfortable with small electronics. Controllers without any power signs should go directly to DJI service.
Complete Disassembly Without Damage
Remove all four rubber pads from the controller’s bottom—they conceal the screws without needing replacement adhesive. Carefully disconnect the USB ribbon cable first, as it’s extremely fragile. Lift the top half straight up to avoid damaging internal connections. Locate the white battery connector near the center and pull straight up with firm, even pressure (never sideways). Wait exactly 30 seconds to ensure capacitors fully discharge before reconnecting.
Reassemble With Critical Attention to Detail
When reconnecting the battery, apply enough pressure for a solid click—partial connections cause intermittent failures. Route the USB ribbon cable through its designated channel before snapping the halves together. Tighten screws until snug but never overtightened, as this cracks the plastic housing. Test power immediately after reassembly; if unsuccessful, repeat the disconnection process ensuring complete battery separation.
Firmware Recovery Options By Controller Model
GL300A USB Recovery Method
If you own the GL300A revision, connect to your computer via micro-USB cable and hold C1 + C2 + Power for 15 seconds to force firmware restore mode. DJI Assistant 2 should detect your controller even when it appears dead. This method works only for GL300A models and requires successful entry into recovery mode—indicated by the software recognizing your device.
GL300B and GL300C Limitations
These later revisions lack USB firmware recovery capabilities. If battery disconnection fails to restore power, professional service becomes your only option. These controllers require successful power-on to initiate any firmware processes, making DIY recovery impossible when completely unresponsive.
Post-Recovery Setup Protocol
After successful power restoration, expect mandatory stick calibration where the controller prompts you to center all sticks. Complete the standard aircraft re-binding procedure as if setting up a new controller. Verify all functions through the DJI GO app before attempting flight—missing this step causes dangerous control issues mid-flight.
Avoid These Critical DIY Repair Mistakes

Never Force the Battery Connector
The battery connector isn’t designed for frequent removal. Excessive wiggling destroys internal traces. Apply firm, straight upward pressure once—if it doesn’t release, check for hidden locking tabs rather than increasing force. Damaged connectors require professional replacement.
Skip Temperature Extremes
Forget forum suggestions about freezing or heating dead controllers. Temperature extremes worsen solder joint failures already stressed by firmware glitches. Maintain room temperature throughout troubleshooting—thermal shock creates new problems.
Use Only Verified Power Sources
DJI’s original charger or certified 5V/2A adapters only. Underpowered phone chargers provide insufficient current for recovery mode, making your controller appear permanently dead when it simply lacks adequate power during critical reset procedures.
When to Seek Professional DJI Service
Clear Service Indicators
Contact DJI immediately if your controller shows zero DC/DC noise with a known-good battery, displays visible physical damage during disassembly, remains under warranty, or fails after battery disconnection attempts. DJI typically replaces rather than repairs controllers with post-update failures—expect 2-3 week turnaround with costs varying by warranty status.
Prevent Future Phantom 3 Controller Failures
Update With Full Power Buffer
Always update firmware with controller battery above 50%. Low-battery updates dramatically increase corruption risk as the controller powers itself during updates. Insufficient charge mid-process causes irreversible boot sector damage leading to the Phantom 3 controller not turning on issue.
Never Interrupt Update Processes
Keep the DJI GO app active and your phone connected until the controller fully restarts post-update. Even brief interruptions corrupt the boot sequence—the exact failure you’re troubleshooting now. Treat firmware updates like surgical procedures: no distractions, no early termination.
Fix Secondary Issues After Successful Recovery
Resolve Stick Calibration Failures
If your controller powers on but shows “Stick Error,” gently move both sticks in full circles five times each. This recalibrates control surfaces after battery disconnection resets neutral positions. Complete this before attempting aircraft binding.
Stop Continuous Beeping
Persistent beeping indicates aircraft binding failure. Hold your aircraft’s link button for 3 seconds, then press the controller’s link button. Successful connection stops the beeping immediately. This often follows battery disconnection procedures.
Final Verification Before Flight
Complete Power-Up Checklist
Before trusting your controller for flight, verify: single-button power activation, all LED indicators functioning, successful aircraft linking, stick inputs registering in DJI GO app, and gimbal responding to wheel control. Missing any item risks mid-flight control failure.
Perform Mandatory Bench Testing
Connect to your aircraft and power both units while stationary. Verify stable video feed and test all stick inputs and gimbal movement through their full range. This bench test prevents dangerous surprises during actual flight and confirms complete recovery from the Phantom 3 controller not turning on issue.
Your Phantom 3 controller failure follows a predictable pattern affecting thousands of pilots after specific firmware updates. Battery disconnection fixes approximately 70% of cases when performed correctly, with the remainder requiring professional service. Document your controller’s exact model and firmware version before future updates—DJI has acknowledged this vulnerability and newer updates include improved error handling specifically targeting this failure mode.


