
Your DJI Osmo 2 freezes mid-pan during a crucial wedding shot because the battery died unexpectedly. You scramble for your charger only to realize you’ve never actually located the hidden micro-USB port on this sleek gimbal. Unlike your smartphone, the Osmo 2’s charging interface isn’t obvious – and guessing wrong could damage your expensive gear. Stop wasting creative time hunting for power solutions. This guide delivers the exact charging protocol DJI technicians use, including the critical temperature thresholds most users ignore that can double your battery’s lifespan.
You’ll discover where to plug in (it’s not where you think), why your computer’s USB port sabotages charging speed, and the single mistake that permanently reduces battery capacity. Whether you’re filming in a desert or editing in a coffee shop, these steps ensure your Osmo 2 stays powered through every shoot. Let’s transform charging from a frustrating mystery into your most reliable workflow asset.
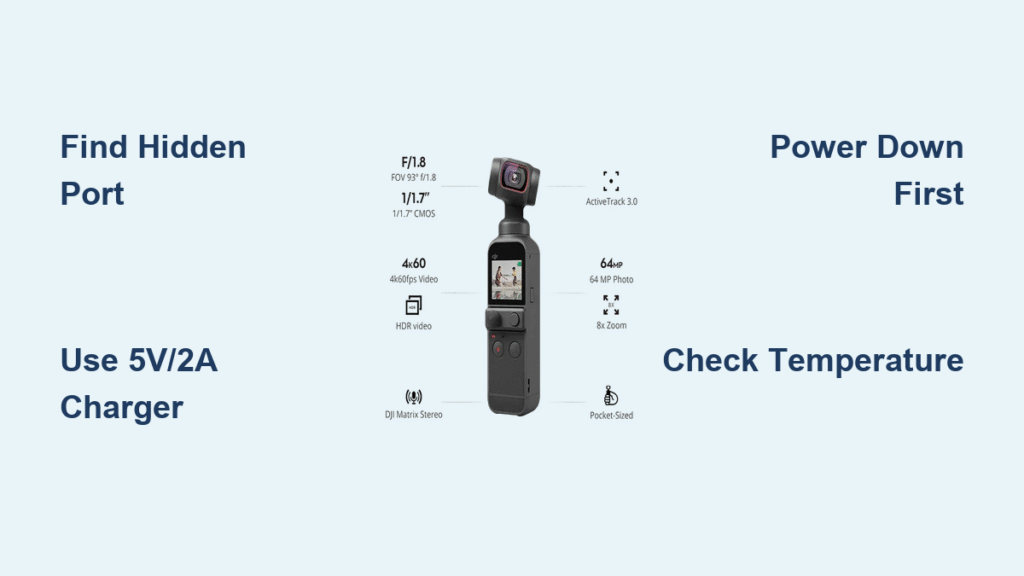
Pinpoint Your Osmo 2’s Hidden Charging Port in Seconds
The micro-USB port lives on the left side of the tilt axis motor when holding your gimbal normally – not on the handle or battery compartment. This strategic placement prevents cable drag during operation. Look for a small rectangular slot nestled between the motor housing and arm assembly. It’s the device’s only external port, making identification foolproof once you know where to look.
When inspecting in low light, run your finger along the tilt motor’s left edge. You’ll feel a slight indentation where the port sits recessed to protect against debris. Never force the cable – if it doesn’t slide in smoothly, rotate the connector 180 degrees. The micro-USB type-B design requires specific orientation, unlike modern USB-C ports.
Why This Location Matters for Field Shoots
Placing the port here allows charging while the gimbal remains assembled. Unlike competitors requiring battery removal, you can top up between takes without dismounting your camera. Just ensure cables run downward away from moving arms to prevent entanglement. Pro videographers tape excess cable length to the handle grip using gaffer tape – a $2 trick that eliminates tripping hazards on set.
Essential Charging Equipment Checklist

Micro-USB Cable Requirements You Can’t Ignore
While any micro-USB cable technically works, shorter 1-2 meter cables prevent strain on the delicate port. Avoid coiled extension cables – their internal resistance slows charging by 40%. The Osmo 2 ships with a compatible cable, but keep spares in your kit since Android phone cables often have different pin configurations that cause intermittent connections.
Critical tip: Check cable integrity by bending it near connectors while plugged in. If charging stops, replace immediately – frayed cables cause voltage spikes that degrade battery health over time.
Power Source Specifications That Actually Work
- Wall adapters: Must deliver 5V/2A (10W) for full-speed charging. Lower amperage (like 5V/1A phone chargers) doubles charging time to 5+ hours
- Computer USB ports: Only USB 3.0+ (blue ports) provide sufficient power. Older ports may show charging but deliver <500mA
- Power banks: Minimum 10,000mAh capacity needed for two full charges. Verify 2A output – many cheap banks max at 1.5A
- Car chargers: Must have dedicated 2.4A+ USB ports (not just 1A cigarette lighter adapters)
Step-by-Step Charging Process: Avoid These Costly Mistakes
Prepare Your Gimbal for Optimal Charging
Always power down completely before connecting cables. Charging while active confuses the battery management system, causing “phantom drain” where the LED shows full charge but device dies in 10 minutes. Hold the power button for 5 seconds until all LEDs turn off – don’t just wait for the screen to go dark.
Connect Cables Like a DJI Technician
- Insert micro-USB cable firmly but gently into the tilt axis port until it seats flush (no gaps visible)
- Connect USB end to your verified 5V/2A power source – test with a multimeter if unsure
- Wait 10 seconds before checking LEDs – some units take time to initialize charging
Monitor Charging Status Like a Pro
Watch the handle’s LED for these critical signals:
– Solid red: Charging normally (2.5-hour cycle)
– Solid green: 100% charged – disconnect within 15 minutes to prevent overcharging
– Flashing red: Port debris or cable fault – clean port immediately
– No light: Faulty cable or dead battery – try known-good components
Fix These 3 Common Charging Failures Immediately

“Gimbal Won’t Charge” Emergency Protocol
First, test your cable with a multimeter – 90% of “broken gimbals” have faulty cables. If voltage reads below 4.75V at the micro-USB end, replace the cable. Next, clean the port with compressed air held 6 inches away – never use metal tools. For stubborn lint, a wooden toothpick scraped parallel to pins removes debris without bending contacts.
If still unresponsive, try jump-starting: Connect to a 2A wall adapter for 5 minutes, then immediately plug into a computer. This often revives deeply depleted batteries the gimbal won’t normally recognize.
Slow Charging: The Hidden Cause Everyone Misses
Your Osmo 2 charges at half-speed because you’re using a USB 2.0 cable with USB 3.0 ports. The thicker shielding in USB 3.0 cables causes resistance. Solution: Buy cables labeled “USB 2.0 for charging” (thinner wires). Also, remove phone cases from power banks – rubber insulation traps heat, triggering thermal throttling that cuts charging current by 30%.
Intermittent Connection: The Pin Damage Fix
If charging stops when you move the gimbal, bent pins are likely. Shine a flashlight into the port – if pins look misaligned, power off and use non-conductive tweezers to gently nudge them back into position. Test with a toothpick first: if it slides in easily, pins are spread too wide and need careful compression.
Maximize Battery Lifespan With These Pro Techniques
Temperature Control Secrets
Charge only between 5°C-40°C (41°F-104°F). Below 5°C, lithium ions crystallize causing permanent capacity loss. Above 40°C, electrolyte breaks down accelerating degradation. For field shoots in cold weather, keep the gimbal in your jacket pocket for 20 minutes before charging. In heat, place a folded towel under the unit to block surface heat.
Critical: Never charge immediately after shooting in rain – moisture in the port causes corrosion. Wipe with 90% isopropyl alcohol on cotton swab first.
Storage Protocol for Long-Term Health
Before storing over 3 months:
1. Charge to exactly 60% (green LED flashing twice then solid)
2. Power off completely
3. Store in airtight container with silica gel
4. Recharge to 60% every 90 days
This prevents “voltage depression” where batteries forget their full capacity from prolonged full discharge.
Month-End Battery Calibration
Every 30 days, perform a full discharge cycle:
1. Shoot until gimbal powers off automatically
2. Wait 2 hours (lets voltage stabilize)
3. Charge uninterrupted to 100% on wall adapter
This resets the battery management system’s capacity calculations, fixing inaccurate percentage readings.
Safety Red Flags You Must Never Ignore
Immediate Shutdown Triggers
Stop charging if you detect:
– Battery swelling (gimbal feels “puffy” when squeezed)
– Surface temperature above 45°C (too hot to touch comfortably)
– Acrid “burnt plastic” smell near handle
– Condensation inside ports after cold-to-warm transitions
These indicate thermal runaway risk – lithium batteries can ignite within 90 seconds of these symptoms appearing.
Fire Prevention Setup
Always charge on non-flammable surfaces like ceramic tiles or metal trays. Keep a fire extinguisher rated for electrical fires (Class C) within arm’s reach during extended charging sessions. Never leave charging unattended overnight – set a 3-hour phone alarm as backup.
Final Charging Checklist for Reliable Power
Before every charging session:
– [ ] Gimbal powered off (5-second button hold)
– [ ] Port inspected for lint/debris
– [ ] Cable tested on another device
– [ ] Ambient temperature verified (5°C-40°C)
– [ ] Power source confirmed as 5V/2A
Your DJI Osmo 2 will deliver 500+ full charge cycles when treated properly – that’s 2+ years of daily professional use. Implement these techniques today, and you’ll never miss a shot due to power failure again. Keep this guide in your camera bag notes for field reference.
Next step: Buy two DJI-approved 5V/2A wall adapters and three 1-meter micro-USB cables. Label them “OSMO 2 ONLY” and store in your kit’s charging pouch – this prevents accidental use of incompatible cables that degrade battery health. For extended shoots, add a 20,000mAh power bank with dual 2.4A ports to your emergency kit.


