
That sleek DJI Osmo just arrived, and you’re staring at buttons, ports, and an app that feels overwhelming. You’re not alone—every professional videographer started exactly where you are. This guide transforms your intimidating new device into a creative powerhouse, walking you through how to use DJI Osmo from unboxing to cinematic shots in under an hour. Whether you’re filming travel vlogs, action sports, or professional content, mastering your Osmo unlocks stabilized footage that previously required expensive rigs. Let’s cut through the confusion and get you recording stunning videos today.
Stop wondering how to use DJI Osmo correctly—this guide covers every model-specific nuance so you avoid common setup mistakes. You’ll learn to harness ActiveTrack, Story Mode, and manual controls that turn shaky clips into shareable masterpieces. By the end, you’ll operate your device with confidence, saving hours of trial-and-error frustration.
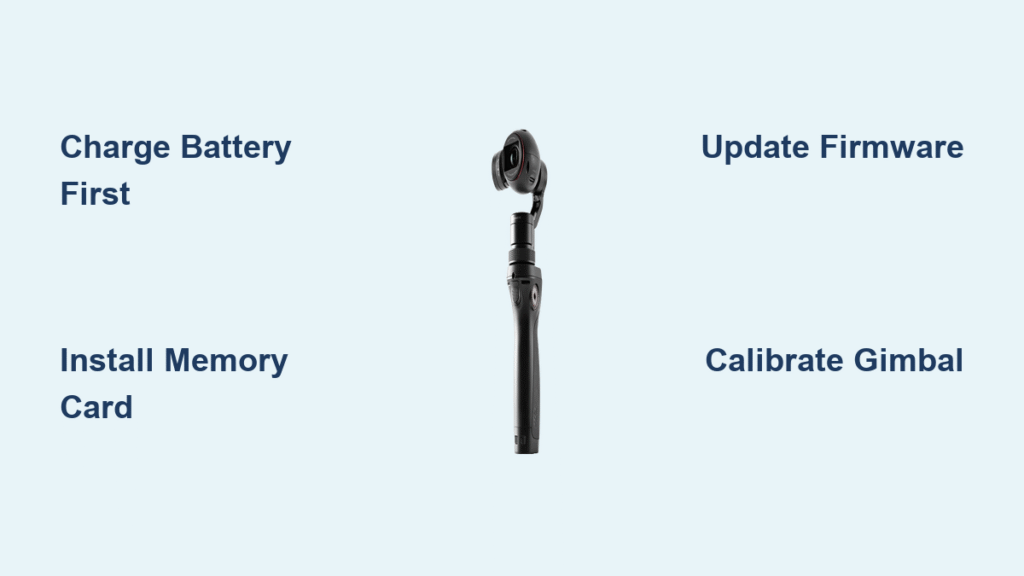
Unbox and Power Up Your Osmo
First Battery Charge Essentials
Plug the USB-C or Micro-USB cable into any 5V charger—never skip the first full charge. Your Osmo’s LED indicators pulse during charging and turn solid when complete (90-120 minutes). Charging to 100% calibrates the battery meter for accurate life estimates. Critical warning: Using partial charges initially causes premature battery degradation. Always store spares at 40-60% charge for extended periods.
Memory Card Installation Guide
Grab a Class 10 or UHS-I microSD card (max 256GB capacity). Insert it gently into the slot until you hear a soft click—never force it. If your computer can’t read footage later, format the card in your Osmo via Settings > Storage > Format. This ensures compatibility with your model’s write speeds, preventing corrupted files during 4K recording.
Firmware Update Process
Connect immediately to DJI Mimo (Osmo Mobile/Pocket) or DJI Go 4 (Osmo+/Action) app. Updates appear as notifications—tap and wait 15-30 minutes. Never interrupt this process; a failed update bricks your device. The app restarts automatically when complete. Check firmware version in Settings > System to confirm success before proceeding.
Model-Specific Setup Steps

Osmo Mobile 6 Quick Setup
- Balance Your Phone: Extend the clamp fully, center your phone, then slide left/right until the gimbal stays level when powered off
- Bluetooth Pairing: Open DJI Mimo → tap device icon → select “Osmo Mobile 6” from the list
- Calibration: Follow the 6-side prompt—place on flat surface, rotate slowly through all orientations. Pro tip: Do this on a non-magnetic surface like wood to avoid sensor errors.
Osmo Pocket 2 First Run
Hold the power button for 2 seconds until LEDs illuminate. Swipe down on the touchscreen to select language, then attach your smartphone adapter (Lightning/USB-C). When “Trust This Device” appears, tap yes—this enables full app control. Visual cue: The status LED turns solid blue when connected.
Osmo Action 3 Initial Prep
Slide the battery door lock gently and lift. Insert the battery until it clicks, then close firmly until you hear the lock engage. Remove the lens protector and check for dust using the microfiber cloth. Program your Quick Switch button by holding it for 3 seconds to cycle through modes like HyperSmooth or Timelapse.
Master Basic Camera Controls
Power Management Made Simple
- On: Hold power 2 seconds (status LED blinks white)
- Off: Hold power 3 seconds until shutdown begins
- Sleep: Single press power button (wakes instantly when moved)
- Battery Check: Press power once while off—LEDs show charge (4 lights = 100%)
Gimbal Mode Selection
Your Osmo offers four core modes via the M button or app:
Follow Mode: Ideal for walking shots—gimbal smoothly pans/tilts while keeping the horizon level. Activate by pressing M once.
Lock Mode: Point at your subject, activate lock mode, and the camera stays fixed regardless of handle movement. Essential for static interviews.
FPV Mode: Creates immersive drone-like footage with full 3-axis freedom. Press M three times to engage.
Sport Mode: Responds faster to movements—perfect for tracking fast action. Press M four times; horizon stabilization reduces for dynamic shots.
Photo and Video Capture
Photo Modes: Single press shutter for standard shots, hold for burst mode (3-7 frames), or access timer through the app for hands-free selfies. Use HDR mode in high-contrast scenes.
Video Recording: Tap the red record button to start/stop. Access resolution settings via the gear icon—4K/30fps for cinematic detail, 1080p/60fps for smooth motion, or 120fps for slow-motion. Pro tip: Enable “Auto Exit Sleep” in settings to start recording faster.
Advanced Shooting Techniques
ActiveTrack Subject Following
Tap your subject on-screen—a white box locks onto them. Your Osmo now tracks even if they briefly move behind objects. Game-changing technique: Show a “V” gesture to start person tracking without touching the screen—perfect for solo creators. Adjust tracking speed in Settings > ActiveTrack for smooth or aggressive following.
Story Mode Templates
Access 15 pre-made templates through the app: Select “Story” → choose a template → follow prompts. The app auto-syncs cuts to music beats and exports in social-optimized ratios (9:16 for Reels, 16:9 for YouTube). Time-saver: Templates turn 5 minutes of clips into polished 30-second stories instantly—ideal for daily vlogging.
Manual Camera Control

Enter Pro Mode to unlock full control:
– ISO: 100 for bright daylight, 1600 for indoor (avoid >3200 to prevent noise)
– Shutter Speed: Double your frame rate (1/60s for 30fps video)
– White Balance: Match lighting—5600K for daylight, 3200K for tungsten bulbs
– Focus: Manual focus with peaking highlights sharp areas in red—critical for cinematic depth
Connect Your Smartphone Seamlessly
DJI Mimo App Deep Dive
The Mimo app transforms your phone into a professional monitor. Access live view, adjust every camera parameter, and browse/download footage wirelessly. Hidden feature: Long-press the record button in-app to start/stop recording without touching your Osmo—prevents gimbal shake.
Wireless Connection Setup
Enable Wi-Fi mode on your Osmo, then connect your phone to the “Osmo-XXXX” network using the password on your device sticker. Maintain 10-15 meters in open areas for reliable control. Connection reset: Hold trigger + mode button for 5 seconds if pairing fails—fixes 80% of dropouts.
File Transfer Speed Guide
- Cable: 100GB transfers in 8-10 minutes (fastest for 4K footage)
- Wi-Fi: Download individual clips quickly; avoid batches over 5GB
- Card Reader: Remove microSD and use reader for 3x faster transfers
- Cloud Sync: Automatic backup with DJI Cloud subscription (paid)
Daily Maintenance Routine
Lens and Gimbal Care
Clean the lens only with the provided microfiber cloth—liquids damage anti-reflective coatings. Perform weekly gimbal calibration: Settings → Gimbal → Auto Calibration. Critical warning: Never force gimbal movement when powered on—this strips motor gears instantly.
Battery Best Practices
Store batteries at 40-60% charge for extended periods. Operating temperature must stay between -10°C to 45°C. Non-negotiable: Avoid leaving in hot cars—battery swelling voids warranty and risks fire.
Storage and Transport
Always use the provided case with silica gel packets to prevent moisture damage. Remove batteries for storage over 30 days. Pro tip: Pack the Osmo in “compact mode” (folded arms) to protect motors during travel.
Troubleshooting Common Issues
Gimbal Problems Solved
Motor Overload: Power off immediately, check for obstructions (hair/debris), restart. Caused by unbalanced phones or sudden impacts.
Horizon Drift: Auto-calibration fixes 90% of issues. If persistent, do manual calibration via app under Gimbal Settings while on a level surface.
Weird Noises: Clean gimbal motors with compressed air—never use sharp objects. Persistent grinding indicates motor replacement needed.
Connection Failures
App Won’t Detect Device: Restart Bluetooth, clear app cache (Phone Settings → Apps → DJI Mimo → Storage → Clear Cache), re-pair. Last resort: Uninstall/reinstall the app.
Wi-Fi Drops Constantly: Switch locations away from 2.4GHz interference (microwaves, baby monitors). Reduce distance to under 10 meters for stable control.
Performance Optimization
Use UHS-I U3 or V30 cards for 4K recording—slower cards cause dropped frames. Enable power-saving mode to extend battery life by 20%. Close background apps on your phone when using Mimo to prevent crashes.
Pro Use Case Setups
Travel Vlogging Kit
Pack your Osmo in compact mode with wrist strap attached. Carry 2-3 spare batteries and a compact power bank. Quick access: Enable quick launch gesture—double-tap power to wake instantly in your preferred mode. Settings: 1080p/60fps, ActiveTrack 3.0, face stabilization.
Action Sports Configuration
Mount accessories strategically: chest mount for immersive POV, helmet mount for following action, or handlebar mount for cycling. Critical settings: 4K/60fps, Sport mode enabled, HyperSmooth stabilization. Always use tether straps—your Osmo becomes a dangerous projectile at high speeds.
Professional Production Setup
Enable dual-operator mode: one person controls gimbal movement via joystick, second operator adjusts camera settings through app. Connect external monitor via HDMI adapter for client viewing. Non-negotiable: Use D-Log color profile for maximum post-processing flexibility in editing software.
Final Note: You now know exactly how to use DJI Osmo to transform shaky footage into cinematic gold. Start with basic modes for 3 days to build muscle memory, then layer in ActiveTrack and manual controls. Remember—the best creators master their tools, not just own them. Charge those batteries, attach your phone or camera, and hit record on your next adventure today. Your audience is waiting.


