
Your DJI drone just hit the ground hard, and now the camera hangs at a strange angle or spins uncontrollably. Before you shell out hundreds for professional dji drone gimbal repair services, know that most post-crash gimbal issues are fixable with basic tools and careful technique. Whether you’re dealing with a Mavic Mini that won’t stabilize its camera or a gimbal making grinding noises, this guide delivers step-by-step solutions that could save you from unnecessary replacement costs. Many drone owners panic when their gimbal malfunctions after impact, but the reality is that 70% of these issues stem from simple problems like disconnected cables or minor misalignments—not catastrophic damage.
When your drone crashes, the delicate gimbal assembly often bears the brunt of the impact. This three-axis stabilization system contains precision motors, fragile ribbon cables, and sensitive calibration that can be thrown off by even minor collisions. The good news? Most crash-related gimbal problems don’t require replacing the entire unit. With proper diagnosis and careful handling, you can often restore full functionality yourself. This guide focuses specifically on DJI Mavic Mini gimbal repairs, but the principles apply to most DJI consumer drones. Let’s get your camera stabilized again.
Diagnose Your DJI Drone Gimbal Damage Before Repairing
Before grabbing tools, perform a systematic damage assessment to determine whether you’re facing a simple fix or complete gimbal replacement. Power on your drone without taking flight and carefully observe the gimbal’s startup sequence.
Watch for these critical failure indicators:
– Gimbal fails initialization with jerky or incomplete movements
– Camera remains tilted at odd angles instead of self-leveling
– Unusual grinding or clicking sounds during startup
– DJI Fly app displaying “Gimbal Motor Overloaded” or “Gimbal Obstructed” errors
Conduct this physical inspection:
– Examine gimbal arms for hairline cracks or bends
– Check ribbon cables for visible tears or disconnection points
– Gently test gimbal movement range (with drone powered off)
– Look for loose screws or damaged motor housings near pivot points
Gather These Essential DJI Gimbal Repair Tools
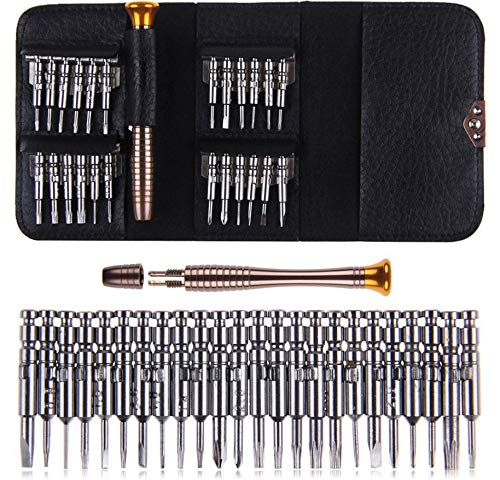
The compact design of DJI gimbals demands specialized tools to avoid causing additional damage during dji drone gimbal repair. Standard household screwdrivers will likely strip the tiny screws or damage delicate components.
Your precision repair toolkit must include:
– Micro screwdriver set (PH000-PH00 sizes specifically)
– Plastic spudgers and anti-static tweezers
– 99% isopropyl alcohol and microfiber cloths
– Small parts organizer with compartment trays
– Magnifying glass or head-mounted visor
– Anti-static mat and wrist strap
Pro tip: Document each disassembly stage with photos. These visual references prove invaluable during reassembly, especially when routing the delicate ribbon cables through their original paths. Losing track of cable positioning is the #1 reason DIY repairs fail during reassembly.
Proper DJI Mavic Mini Gimbal Disassembly Steps
Begin disassembly in a well-lit workspace with your drone powered off and battery removed. The Mavic Mini’s gimbal sits in a protective housing that requires careful handling to avoid snapping plastic clips.
Follow this precise disassembly sequence:
1. Remove gimbal cover: Unscrew the four Torx T3 screws securing the clear plastic gimbal guard
2. Disconnect main cable: Gently unplug the large ribbon cable connecting gimbal to drone body
3. Unscrew gimbal mount: Remove the three Phillips head screws holding the gimbal assembly
4. Extract assembly: Carefully lift the entire gimbal unit while noting cable routing paths
Critical warning: Never force connections. If a component resists removal, recheck for hidden screws or secondary attachment points. Forcing parts can crack the gimbal housing, turning a simple repair into a full replacement scenario.
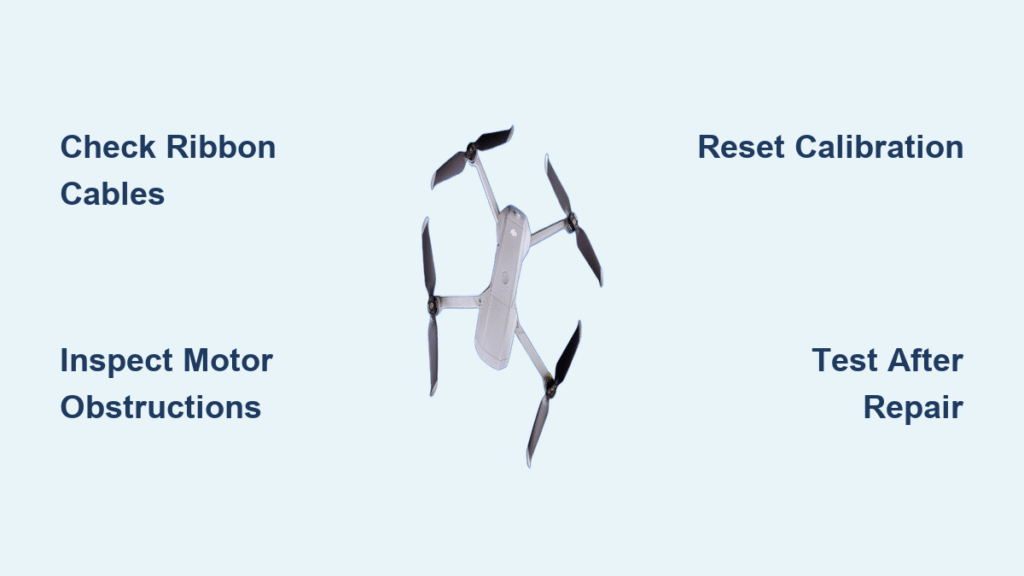
Identify These 3 Common DJI Gimbal Failure Points

With the gimbal assembly removed, perform detailed diagnostics to pinpoint the exact failure. Most post-crash gimbal problems stem from these three areas.
Clear Motor Obstructions Causing “Gimbal Obstructed” Errors
Physical debris lodged in motor gears is the most frequent cause of “Gimbal Obstructed” errors after impacts. Sand, grass, or even tiny plastic fragments can jam the delicate mechanisms.
Effective obstruction clearance method:
– Rotate each axis manually (very gently) to feel resistance points
– Use compressed air canister to blast out dust or sand particles
– Apply microscopic drops of electronic-safe lubricant to sticky pivot points
– Replace motors showing visible damage or excessive wear
Repair Torn DJI Gimbal Ribbon Cables
Torn or disconnected ribbon cables represent the second most common post-crash failure. These flat cables control both gimbal movement and camera feed.
Cable testing protocol:
– Inspect full cable length under magnification for micro-tears
– Check connection points for corrosion or bent pins
– Test continuity with multimeter if available
– Replace cables showing any signs of damage (repair attempts usually fail)
Fix Mechanical Misalignment After Impact
Hard impacts often knock the gimbal’s delicate alignment out of specification, causing tilted horizons or unlevel footage.
Precision realignment technique:
– Check gimbal arms for micro-bends using straightedge
– Verify motor shafts sit perpendicular to mounting points
– Adjust gimbal roll by carefully loosening adjustment screws
– Complete DJI’s built-in gimbal calibration after reassembly
Replace Critical DJI Gimbal Components Correctly
When components fail beyond repair, targeted replacement saves money versus buying entire assemblies. The knowledge base confirms that if the camera gimbal cannot be repaired, you’ll need to replace the gimbal assembly and calibrate the drone.
DJI Gimbal Motor Replacement Process
Gimbal motors rarely survive severe impacts. Replacement requires precision soldering skills and careful calibration.
Motor swap procedure:
1. Desolder old motor by carefully removing three solder points
2. Position replacement motor in exact original alignment
3. Apply minimal heat during soldering to avoid damaging windings
4. Verify smooth rotation before proceeding to reassembly
Install New DJI Ribbon Cables Without Errors
Installing replacement ribbon cables demands exceptional patience. Route cables exactly as original to prevent interference during operation.
Critical installation sequence:
– Start with smallest connector first
– Use anti-static tweezers to position cable ends precisely
– Press connectors straight down (never at angles)
– Verify all clips snap securely into place
– Test connections before mounting gimbal
Reassemble DJI Gimbal System Without Mistakes
Reassembly follows reverse order but requires additional attention to cable management and torque specifications. The knowledge base reminds us to follow disassembly instructions in reverse order.
Critical reassembly points:
– Route ribbon cables through original clips and guides
– Apply minimal thread locker to gimbal mount screws
– Verify smooth gimbal movement before installing cover
– Double-check all electrical connections seat fully
Torque specifications (critical for success):
– Gimbal mount screws: 0.6 Nm (don’t overtighten)
– Cover screws: 0.4 Nm
– Use torque screwdriver if possible—finger-tight isn’t precise enough
Complete DJI Gimbal Calibration After Repair
Post-repair calibration ensures your drone recognizes the repaired gimbal system. This step is crucial even for minor repairs. If you’ve replaced the entire gimbal assembly, calibration becomes mandatory.
Follow this calibration process:
1. Update to latest DJI firmware before calibration
2. Open DJI Fly app → Aircraft Settings → Gimbal Settings
3. Select “Gimbal Auto Calibration” and wait 2-3 minutes
4. Fine-tune roll, pitch, and yaw if auto-calibration seems off
For detailed calibration instructions, watch this official DJI Mavic Mini calibration guide: https://youtu.be/mu03HWXplM4
Test Your Repaired DJI Gimbal Before Full Flight
Before trusting expensive equipment to your dji drone gimbal repair, conduct systematic ground and flight tests.
Ground testing sequence:
– Power on and verify smooth gimbal initialization
– Manually move gimbal through full range using controller
– Confirm stable video feed without flickering
– Test photo/video functions across all modes
Flight testing protocol:
1. Hover test at 3 feet to observe gimbal stability
2. Basic movements forward/back and left/right while filming
3. Controlled direction changes and stops
4. Light wind conditions to test stabilization limits
Prevent Future DJI Gimbal Damage After Repair
Implement protective measures to minimize gimbal damage from future incidents and protect your repair investment.
Physical protection strategies:
– Install gimbal guard during transport and flight
– Use landing pad to reduce debris kick-up
– Apply propeller guards for indoor flying
– Store drone in hard case with gimbal lock engaged
Critical maintenance routine:
– Clean gimbal after each flight session
– Inspect ribbon cables monthly for early damage signs
– Update firmware before important shoots
– Store drone at 50% battery in temperature-controlled environment
Know When Your DJI Gimbal Needs Professional Repair
Despite best efforts, some damage requires professional intervention. Recognize these scenarios early to avoid wasting time and causing further damage.
Clear replacement indicators:
– Multiple motor failures across different axes
– Cracked gimbal arms or housing (visible structural damage)
– Water damage beyond simple drying procedures
– Persistent firmware errors after multiple calibration attempts
Cost comparison:
– Professional repair: $200-400 (with potential warranty)
– New gimbal assembly: $150-300 (DIY replacement)
– Complete drone replacement: $400-800 (last resort)
Successfully completing your dji drone gimbal repair restores both functionality and confidence in your equipment. While the process demands patience and precision, most crash-related gimbal issues prove fixable with proper technique. Remember that prevention ultimately trumps repair—implement protective measures and safe flying practices to keep your gimbal stable for countless future flights.


