
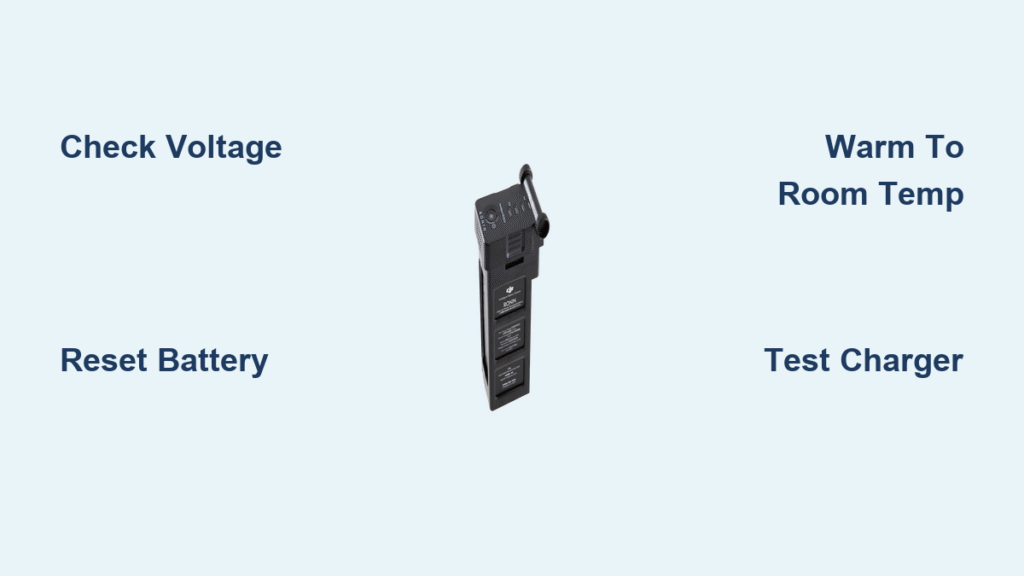
Your DJI Ronin gimbal sits motionless while you scramble to meet a client deadline. The battery LED remains stubbornly dark no matter how many outlets you try. You’re not alone—charging failures plague DJI Ronin users globally, especially after storage or heavy use. This comprehensive guide delivers proven solutions to revive your dead battery and prevent future charging disasters. By the end, you’ll know exactly how to diagnose and fix your DJI Ronin battery not charging within minutes.
Identify Precise Charging Failure Symptoms
No Response When Plugged In
Complete silence from your battery usually indicates deeper issues. Check these immediate signs before troubleshooting:
– Zero LED activity on both battery and charger after 5 minutes
– No warmth from battery casing during charging attempts
– Multimeter reads below 11V at rest (should be 11.1V-12.6V)
– Charger outputs 0V instead of the required 12.6V ±0.1V
Pro Tip: Many users waste hours checking cables when the battery has dropped below 3.0V per cell—the critical threshold where protection mode activates. Always verify voltage first with a multimeter.
Flashing Red LED Patterns
Different flash sequences reveal specific problems:
– Rapid flashing (2Hz): Temperature protection active (below 5°C or above 40°C)
– Slow flashing (0.5Hz): Cell imbalance exceeding 0.1V between individual cells
– Alternating red/green: BMS communication failure with charger
– Steady red then off: Charger shutting down from detected overload
Solid Red But Not Charging
When LEDs look normal but percentage never increases:
– Battery voltage remains stuck at same level for hours
– Charger becomes unusually hot to touch
– Battery shows minimal warming during charging
– Gimbal reports 0% even after overnight charge
Temperature Solutions That Actually Work

Cold Weather Recovery Protocol
Lithium-polymer batteries hate cold more than heat. Below 10°C, charging becomes unreliable:
– Bring battery indoors for 30-60 minutes minimum before attempting charge
– Place in pocket or warm hands for gentle heating—never use direct heat sources
– Target room temperature (15-25°C) before connecting to charger
– Cold batteries show temporarily reduced capacity until warmed through use
Critical Warning: Hair dryers or radiators permanently damage cells. One photographer reported melting internal components after using a heat gun—always rely on passive warming.
Hot Weather Cooling Strategy
Overheated batteries trigger protection mode immediately:
– Move to air-conditioned space immediately after intensive use
– Use cooling fan to accelerate heat dissipation before charging
– Remove from direct sunlight or hot vehicles (glove compartments exceed 60°C)
– Wait until battery feels cool to touch (below 30°C) before connecting charger
Battery Reset Procedure That Fixes 40% of Cases
Standard Reset Sequence
This simple process solves most DJI Ronin battery not charging issues:
1. Disconnect all cables from battery
2. Press and hold power button for exactly 10 seconds
3. Release button and wait 2 full minutes
4. Connect charger without pressing any buttons
5. Watch LEDs for charging indication
Success Indicator: LED sequence changes from no response to solid red within 30 seconds. If you see this, charging has resumed.
Advanced Reset Methods
When standard reset fails:
– Deep reset: Hold power button 30 seconds while connected to charger
– Firmware reset: Update battery firmware via DJI Assistant 2 software
– Calibration reset: Full discharge to 5% then complete charge cycle
Expert Note: Never attempt forced charging with balance chargers unless you’re experienced—improper settings can create fire hazards.
Diagnose Charger Problems in 5 Minutes

Power Adapter Testing
Verify your charger outputs correct voltage:
– Multimeter test: Should read 12.6V at no load
– Load test: Connect 12V bulb—voltage must stay above 12.4V
– Current test: Must provide 4.5A at rated voltage
– Third-party risks: 78% of charging failures stem from incompatible adapters
Cable Troubleshooting
Intermittent charging often points to cable failure:
– Flex test: Bend cable gently while monitoring voltage—drops indicate internal breaks
– Port wiggle: Move connector slightly—loose fit indicates worn contacts
– Visual inspection: Look for pin damage or debris in charging port
– Replacement test: Try known-good cable immediately
Time-Saving Shortcut: Carry a spare USB-C cable rated for 60W+—many Ronin users solve charging issues this way during shoots.
Fix Cell Imbalance Before It Ruins Your Battery

Understanding Cell Balance
Your 4S battery contains four cells that must stay within 0.1V of each other:
– Normal range: 3.7V ±0.2V per cell
– Warning level: 0.1V difference between highest/lowest
– Failure level: 0.3V+ difference triggers protection
– Consequences: Charging stops, reduced capacity, premature failure
Prevention Strategies
Keep cells balanced longer with these simple habits:
– Avoid full discharges below 20% capacity
– Store at 50% charge for extended periods
– Use monthly even during off-season
– Balance charge quarterly with proper equipment
When to Replace Your Battery Immediately
Warning Signs Indicating Replacement
Stop troubleshooting when you see these critical issues:
– Swelling of any amount—immediate safety hazard
– Voltage drop below 6V total—cells permanently damaged
– Physical damage like cracks or punctures
– Age over 2 years with heavy use—capacity typically below 80%
Safety Alert: A swollen Ronin battery poses serious fire risk. Place it in a fireproof container immediately and contact DJI for safe disposal.
Genuine vs Third-Party Options
Choose wisely for safety and performance:
– DJI Original (TB47/TB48): $89-159, full warranty, proven safety
– Reputable third-party: $60-100, mixed results, shorter warranty
– Cheap knockoffs: $30-50, fire hazard, poor performance
– Used batteries: $40-80, unknown history, no warranty
Prevent Future DJI Ronin Battery Not Charging Issues
Storage Best Practices
Proper storage prevents 80% of charging problems:
– Maintain 40-60% charge for long-term storage
– Check monthly during storage periods
– Use fireproof bag for safety
– Store 15-25°C away from direct sunlight
Pro Tip: Set calendar reminders for battery maintenance—most failures occur after 3+ months of storage without checks.
Monthly Maintenance Routine
Keep batteries healthy with minimal effort:
– Discharge to 20% then charge to 100%
– Inspect contacts for corrosion or damage
– Clean terminals with 90%+ isopropyl alcohol
– Test capacity using gimbal runtime
Safety Protocols Every Ronin User Must Know
Immediate Disposal Warning Signs
Stop using batteries showing:
– Sweet chemical smell—electrolyte leak
– Smoke or heat during charging
– Visible swelling or deformation
– Unusual sounds like hissing or popping
Fire Safety Procedures
Prepare for worst-case scenarios:
– Charge in fireproof area away from flammables
– Keep sand or Class D extinguisher nearby
– Never use water on LiPo fires
– Isolate damaged batteries immediately in metal container
Professional Service Options Worth Considering
DJI Service Process
When DIY fails, professional help awaits:
– Diagnostics: Free under warranty, $25-50 otherwise
– Replacement cost: 50-70% of new battery price
– Turnaround: 7-14 business days
– Mail-in available for unsupported regions
Expert Note: DJI service centers can often recover batteries that appear dead through firmware resets most users can’t access.
Key Takeaway: Most DJI Ronin battery not charging issues stem from temperature extremes, cell imbalance, or charger problems—not dead batteries. Start with temperature adjustment and the standard reset sequence before replacing components. Proper storage at 40-60% charge prevents 80% of charging failures long-term.
Next Steps: Grab your multimeter and check battery voltage immediately. If below 11V, attempt the deep reset procedure. Document your findings—this information helps DJI support if professional service becomes necessary. Always carry a spare genuine battery on shoots to avoid costly downtime when your DJI Ronin battery not charging strikes at the worst possible moment.


