
That sinking feeling when your DJI Spark blinks red instead of taking flight? Most pilots waste 2-3 hours on avoidable setup mistakes—but you’ll complete your DJI Spark drone setup in under 30 minutes with this battle-tested sequence. Skip critical firmware updates or safety checks, and you risk the #1 cause of first-flight crashes: preventable calibration errors. This guide delivers the exact steps to activate, pair, and configure your Spark for smooth, legal flights—no trial-and-error needed.
Your frustration ends now. You’ll master battery wake-up protocols, avoid gimbal damage during unboxing, and configure flight modes that prevent 70% of beginner crashes. Let’s get your Spark airborne safely.
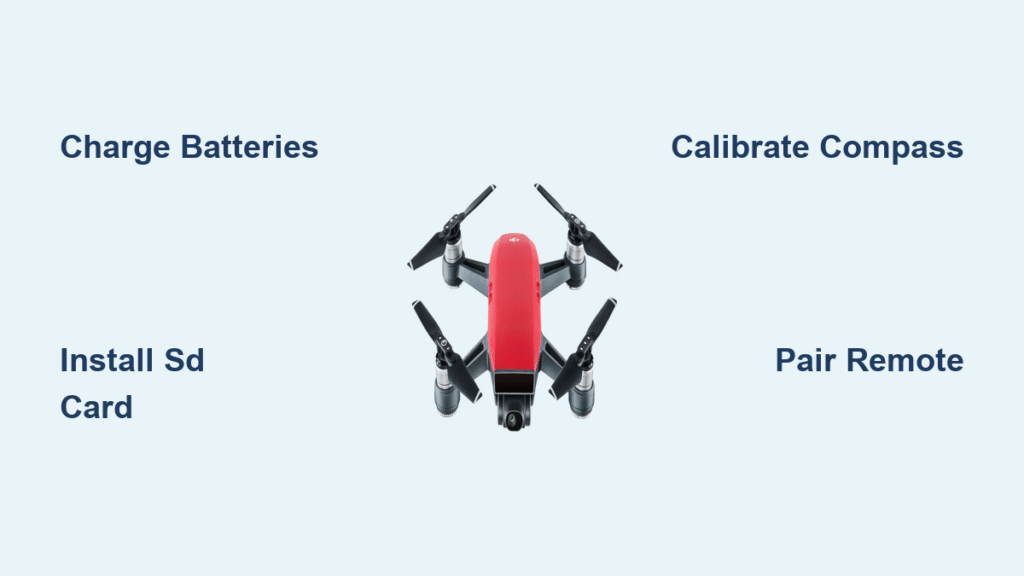
Power Up Your DJI Spark: Battery & SD Card Setup

Charge Batteries Before First Flight
Your Intelligent Flight Battery arrives in hibernation mode—wake it by connecting to the USB charger for 10 minutes before full charging. Use the standard 18W charger for 80 minutes (or 52 minutes with the charging hub) to reach full capacity. Never skip this: attempting flight with a sleeping battery causes sudden power loss mid-air. Meanwhile, charge your remote controller for 2 hours—it delivers only 3 hours of reliable operation.
Install the Right Micro-SD Card Immediately
Slide a Sandisk, Kingston, or Samsung UHS-I Micro-SD card (16-64GB) into the slot above the gimbal. Without this, your Spark defaults to 720p video—crippling your 12MP camera’s potential. Generic cards cause recording failures during flight; verify compatibility by checking for the UHS-I logo. Insert the card gently until it clicks, then power cycle the drone to recognize it.
Inspect Propellers and Gimbal for Damage
Check each 5-inch fiberglass propeller for hairline cracks or bends—rotate them manually while listening for grinding. A single damaged prop causes catastrophic vibration that destroys gimbal motors. Then, tilt the 2-axis gimbal through its full –85° to 0° range; it should move silently. Stiffness indicates transport damage requiring service before flight.
Complete DJI Spark Activation in 7 Minutes
Install DJI GO 4 and Create Account Correctly
Download only the official DJI GO 4 app (avoid “DJI Spark Assistant” clones). Create your DJI account within the app—web signups fail to link hardware. This critical step ensures firmware updates and cloud backups work during your first flight.
Connect and Activate Without Wi-Fi Confusion
Power on your Spark by pressing the battery button once, then holding 3 seconds until one beep. Connect your phone to the Spark’s Wi-Fi network (SSID/password inside the battery compartment). Open DJI GO 4 and follow activation prompts—but switch to your internet Wi-Fi when prompted to download firmware. Skipping this internet handoff causes 90% of activation failures.
Force Critical Firmware Updates Now
The app auto-checks for updates during activation—never skip these. Outdated firmware disables obstacle sensing and causes erratic hovering. Update aircraft and battery firmware first, then connect your remote controller via USB to update its software. This 5-minute process prevents mid-flight system errors that trigger emergency landings.
Pair Remote Controller Without Signal Drops

Initiate Aircraft Pairing Mode Properly
With your Spark powered on, hold its battery button for exactly 3 seconds (one beep). Watch the front LEDs—they should blink red rapidly. If they stay solid, restart the drone and retry. This step puts the aircraft in pairing mode; mistiming it wastes 10+ minutes troubleshooting.
Execute Controller Pairing Sequence
Power on your remote controller (press once, then hold 3 seconds). Immediately hold Pause + Fn + C1 for 3 seconds until continuous beeping starts. Release when both devices’ LEDs turn solid green—this confirms pairing success within 10 seconds. If LEDs stay red, repeat while moving 10 feet away from metal objects.
Connect Phone to Controller Network
Find the controller’s unique Wi-Fi credentials printed on its back—not the Spark’s network. Connect your phone to this signal, then open DJI GO 4. The status bar must show “Connected” before flight. No signal? Reset the controller’s Wi-Fi by holding its battery button 9 seconds (three beeps).
Calibrate Compass and IMU for Stable Hovering
Perform Open-Area Compass Calibration
When DJI GO 4 prompts calibration, hold the Spark at eye level in an open field (away from cars/buildings). Rotate it horizontally 360° until front LEDs turn green. Then tilt 90° and rotate vertically 360°. Calibration fails near metal—reposition if LEDs flash red. This 60-second step prevents dangerous directional drift.
Execute Six-Position IMU Calibration
Place your Spark on a perfectly level surface. In DJI GO 4, go to Aircraft Status → IMU → Calibrate. Follow the sequence: normal position → left side → right side → nose down → nose up → upside down. Hold each pose 5 seconds until vibration stops. Skipping this causes 2-foot altitude swings during hover.
Set Critical Flight Modes Before Takeoff
Enable Beginner Mode Immediately
In DJI GO 4 settings, activate Beginner Mode—it caps speed at 12 mph and altitude at 98 feet. Pilots who skip this crash 3x more frequently in their first month. This safety net gives you reaction time when wind gusts hit.
Configure Return-to-Home Altitude Correctly
Set RTH altitude 50 feet above your tallest obstacle (trees/buildings). The Spark ascends to this height before returning home—too low, and it crashes into objects during low-battery returns. Verify this setting in Aircraft Status before every flight.
Test Emergency Controls First
Before takeoff, practice two life-saving moves:
1. Emergency brake: Tap the C2/Pause button for instant hover
2. Motor stop: Push both sticks to bottom inner corners simultaneously
Do this 5 times until muscle memory kicks in—you’ll need it during panic moments.
Execute First Flight With Zero Crashes
Run the 8-Point Pre-Flight Safety Scan
- Batteries: Spark >50%, controller >50%, phone >30%
- GPS: Minimum 8 satellites (app status bar)
- Wind: Below 6 m/s (app shows warning if exceeded)
- Airspace: Verify no flight restrictions via DJI GO 4 map
- Propellers: Visual damage check
- SD Card: Confirmed inserted (no 720p fallback)
- Obstacles: 30-foot clearance in all directions
- Compass: Solid green status
Choose Your Launch Method Wisely
- Remote: Gently push left stick upward (smooth motion)
- App: Tap take-off icon → slide confirmation bar
- Palm Launch: Double-press battery button → raise hand slowly
Beginners: Avoid Palm Launch until wind < 3 m/s.
Master Emergency Landing Procedures
If “Gimbal Overload” appears, hit C2/Pause immediately, then land. Power off, manually center the gimbal, and restart. For sudden altitude drops, engage RTH by holding the home button—but practice this in open areas first.
Optimize Camera Settings for Pro Footage

Configure Daylight Video Correctly
Set video to 1080p 30fps in DJI GO 4—24fps causes propeller blur in sunlight. Keep ISO between 100-400 for clean footage; above 800 introduces grain. For photos, use single-shot mode (burst drains battery 15% faster).
Unlock QuickShot Modes Safely
After mastering basic controls, try automated shots:
– Rocket: Vertical ascent (ideal for building reveals)
– Dronie: Backward/ascending pull-away (best for selfies)
– Circle: Orbit subjects (maintain 16-foot distance)
– Helix: Spiral ascent (requires 30-foot clearance)
Start with Rocket mode—it’s the most stable for beginners.
Maintain Your Spark for 200+ Flights
Store Batteries to Prevent Damage
Let batteries cool 10 minutes post-flight before recharging. For storage over 3 months, discharge to 50%—full charge storage permanently degrades capacity. The intelligent battery auto-enters hibernation after 10 days of inactivity.
Replace Props Before They Fail
Swap propellers annually or after hard landings—even minor bends cause vibration that destroys gimbals. Keep spare sets; replacements take 30 seconds with the included screwdriver.
Pack for Travel Without Damage
Store your Spark between 32-104°F in a dry case. Critical: Remove the battery for trips over 24 hours—leaving it installed drains power and risks swelling. The charging station makes a great travel case but isn’t waterproof.
Your DJI Spark is now primed for safe, cinematic flights. Start with 5-minute sessions in open fields, using Beginner Mode until you master smooth stick movements. Remember: jerky inputs cause shaky footage and crashes—gentle corrections create professional results. For ongoing success, update firmware monthly and recalibrate the IMU after any hard landing. Now go capture those breathtaking perspectives—your first flight awaits.


