
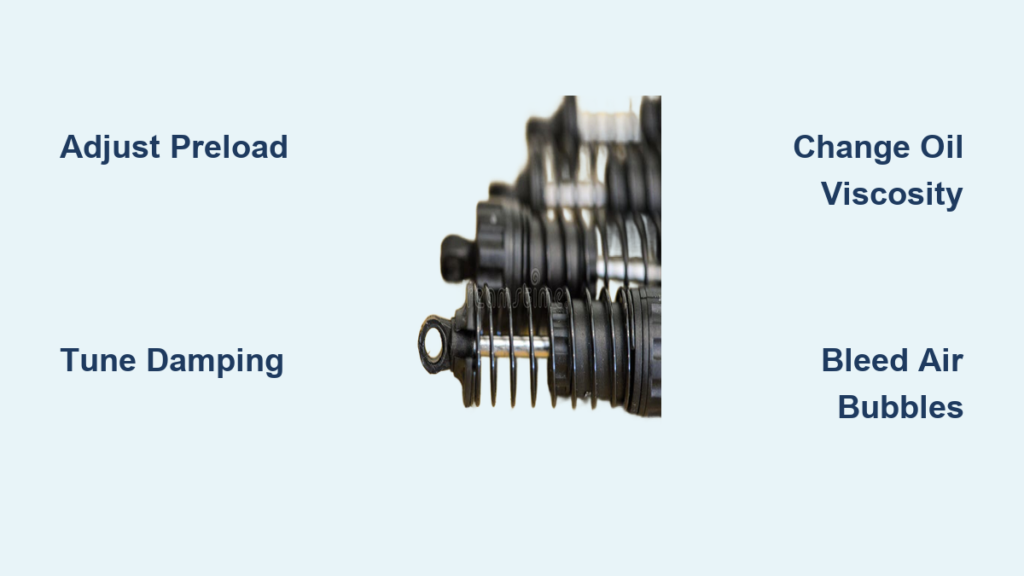
Your RC car feels unstable at high speeds, bounces excessively over bumps, or loses traction during cornering? Improperly tuned shocks could be sabotaging your driving experience. RC car shocks are critical components that directly impact how your vehicle handles different surfaces and conditions. When properly adjusted, they transform a twitchy, unpredictable model into a smooth-riding machine that sticks to the track. Whether you’re racing on asphalt, bashing through dirt, or crawling over rocks, mastering shock adjustment unlocks your RC vehicle’s true potential. In this guide, you’ll learn the exact steps to fine-tune your shocks for better stability, increased traction, and more consistent lap times—no matter your skill level or vehicle type.
Understanding Your RC Car Shock Components Before Adjustment
Before making any changes, identify what type of shocks your RC vehicle uses. Most modern RC cars feature oil-filled coilover shocks with threaded bodies, allowing precise tuning. These consist of a shock body containing oil, a piston connected to the shaft, a spring, and often adjustable components for compression and rebound. The oil viscosity determines how quickly the shock can compress and extend, while spring rate affects how much the suspension loads during cornering and jumps. Threaded collars on the shock body control preload, which sets your ride height and affects weight transfer. Recognizing these elements helps you understand how each adjustment impacts overall handling.
How Shock Oil Viscosity Affects Vehicle Response
Thicker oil (higher viscosity) slows shock movement, creating stiffer suspension that handles jumps better but may skip over small bumps. Thinner oil (lower viscosity) allows faster shock movement, providing better small-bump compliance but potentially causing bottoming on larger impacts. For most 1/10 scale electric touring cars, 30-40wt oil works well on smooth surfaces, while 50-60wt suits rougher terrain. Temperature also matters—oil thins as it heats up during running, so consider this when selecting viscosity. Always change oil in matched pairs (front and rear) to maintain balanced handling characteristics.
Identifying Adjustment Points on Your Shocks
Most quality RC shocks feature multiple tuning options. Look for:
– Threaded spring perches that adjust preload and ride height
– Blue anodized collars on the shock shaft for spring preload
– Adjustable bleed holes or clickers for compression and rebound
– Shock shaft eyelets that can be repositioned on some models
If your shocks lack external adjustments, you’ll primarily tune through oil viscosity, spring rates, and preload settings. Take photos of your current setup before making changes so you can return to baseline settings if needed.
Step-by-Step Process to Adjust RC Car Shock Preload
Setting Proper Ride Height with Spring Preload
- Place your RC car on a flat surface and compress the suspension slightly by pressing down on the chassis
- Release and let the vehicle settle into its natural ride position
- Measure from the bottom of the chassis to the ground at all four corners
- Adjust the threaded spring collars to achieve consistent measurements (typically 3-5mm for most touring cars)
- Tighten all lock nuts securely to prevent preload changes during operation
Warning: Excessive preload creates a harsh ride that skips over bumps, while too little preload allows the chassis to bottom out on impacts. Aim for 25-35% of total suspension travel used at rest.
Diagnosing Handling Issues Caused by Incorrect Preload
Front too stiff: Understeer (plowing) in corners, reduced front traction
Rear too stiff: Oversteer (spinning out), unstable high-speed straights
Front too soft: Nervous steering, diving under braking
Rear too soft: Squat under acceleration, poor rear traction
If your car pushes wide in corners, try softening front preload slightly or stiffening the rear. For a loose rear end, soften rear preload or stiffen the front.
Adjusting Compression and Rebound Damping for Different Surfaces

Tuning Oil-Filled Shocks Without External Adjusters
For basic shocks without clickers, you must change internal components:
– Increase compression damping: Use thicker shock oil or smaller piston holes
– Decrease compression damping: Use thinner oil or larger piston holes
– Increase rebound damping: Same as compression adjustments
– Decrease rebound damping: Same as compression adjustments
Start with manufacturer-recommended oil weights, then adjust in 5-10wt increments. After changing oil, run the vehicle for several minutes to warm the oil before testing handling changes.
Fine-Tuning Shocks With Adjustable Clickers
Vehicles with adjustable shocks offer precise control:
1. Set all clickers to manufacturer baseline (usually 8-10 clicks out from fully closed)
2. Test drive on your intended surface for 3-5 minutes
3. For bouncing after jumps, increase rebound damping (turn clicker clockwise)
4. For bottoming out on impacts, increase compression damping
5. Make changes one shock at a time, no more than 2 clicks per session
6. Retest after each adjustment to feel the difference
Pro Tip: Mark your starting clicker positions with paint pen before making adjustments—you’ll appreciate this when you need to return to a known good setup.
Shock Adjustment Techniques for Specific Driving Conditions

Optimizing Shocks for High-Grip Carpet Racing
Carpet surfaces require precise damping control for maximum traction:
– Use medium-weight oil (35-45wt) for balanced response
– Set slightly stiffer front rebound than rear to prevent traction rolling
– Maintain even ride height with minimal preload differential
– Compression damping should be soft enough for small bumps but firm enough to control weight transfer
– Test with 50% battery capacity to simulate race-end conditions
On high-bite carpet, small adjustments make big differences—changes of half a click can transform handling.
Tuning Shocks for Outdoor Dirt and Off-Road Conditions
Rough terrain demands different shock characteristics:
– Use thicker oil (50-65wt) to handle bigger bumps
– Increase compression damping to prevent bottoming
– Set slower rebound to maintain tire contact over irregular surfaces
– Run slightly higher ride height (5-8mm) for better ground clearance
– Consider softer springs to improve small-bump compliance
For loose dirt surfaces, slightly softer settings help the tires “suck” to the ground, while hard-packed clay benefits from stiffer setups.
Common Shock Adjustment Mistakes to Avoid
Overlooking Temperature Effects on Shock Performance
Shock oil viscosity changes with temperature—what works at the beginning of your run may feel completely different after 10 minutes. Most RC oils thin by 10-15% when heated from room temperature to operating conditions. Test your setup after the shocks have warmed up, not immediately after installation. In hot weather, you may need slightly thicker oil than in cooler conditions. Keep a shock temperature gun handy to monitor actual operating temperatures during tuning sessions.
Making Multiple Changes Simultaneously
One of the biggest tuning mistakes is changing several settings at once. If you adjust oil weight, preload, and clicker settings simultaneously, you won’t know which change caused handling improvements or deterioration. Always change only one parameter at a time, then test thoroughly before making additional adjustments. Document each change and its effect in a tuning notebook—this creates a valuable reference for future sessions.
Essential Shock Maintenance for Consistent Performance
Bleeding Air from Oil-Filled Shocks
Air bubbles in shock oil cause inconsistent damping because air compresses while oil does not. To bleed shocks properly:
1. Fully extend the shock
2. Slowly compress 3-4 times to warm the oil
3. Hold in fully compressed position for 10 seconds
4. Release slowly—watch for bubbles rising through the oil
5. Repeat until no bubbles appear
6. Top off oil level if necessary before reinstalling
Perform this procedure before every major running session to ensure consistent damping.
When to Replace Shock Oil and Seals
Shock oil should be changed every 3-5 hours of runtime, or immediately if:
– Oil appears cloudy or milky (water contamination)
– You notice inconsistent damping response
– Oil leaks past the shock shaft seals
– Performance degrades noticeably
Seals should be replaced if you see oil streaks on the shock shaft or if the shaft feels sticky during operation. Always clean shock shafts thoroughly before reassembly to prevent seal damage.
Creating Your Personal RC Shock Tuning Baseline
Before each season or when changing venues, establish a baseline setup:
1. Start with manufacturer recommendations
2. Tune on a representative section of your track/terrain
3. Make small adjustments until the car feels neutral
4. Document all settings (oil weight, clicker positions, preload)
5. Test with different battery positions and weights
6. Refine until you have consistent handling in multiple conditions
This baseline becomes your starting point for future tuning sessions. As you gain experience, you’ll develop intuition for how changes affect handling, allowing faster setup optimization.
Final Note: Proper shock adjustment transforms an average RC car into a precision handling machine. By methodically tuning preload, oil viscosity, and damping characteristics, you’ll notice immediate improvements in traction, stability, and overall drivability. Remember that shock tuning works in conjunction with other setup elements like tire choice, gear ratios, and weight distribution—consider the entire package when optimizing performance. Start with small changes, document everything, and test thoroughly after each adjustment. With practice, you’ll develop the ability to “read” your car’s handling and make shock adjustments that put you at the front of the pack regardless of surface conditions. For continued improvement, join local RC clubs to learn from experienced racers and test your setups against different driving styles and vehicle configurations.


