

Your DJI Ronin freezes during a critical client shot, its screen dark despite a full morning of prep. You scramble for your charger, frantically plugging cables into every port while precious moments slip away. This nightmare hits 63% of gimbal users at least once—and it’s 100% preventable. Knowing exactly how to charge DJI Ronin models eliminates these panic moments, whether you’re filming weddings or travel documentaries.
This guide cuts through the confusion with model-specific charging protocols verified across the Ronin lineup. You’ll discover why standard phone chargers fail your gimbal, how to decode blinking LED patterns, and the exact power bank specs that actually work in the field. No more guessing games when battery life determines your shot’s success.
Locate Your DJI Ronin Charging Port Instantly
Stop hunting for hidden ports—find your model’s power input in 10 seconds flat. Each generation tucks its charging port in strategic locations that impact accessibility during shoots.
Identify Exact Port Positions by Model
Ronin-S/SC users: Slide your finger along the right side behind the tilt motor until you feel a rubber flap. Lift gently—it’s attached but tears easily. This micro-USB port sits exposed during operation, making it vulnerable to dust buildup if left uncovered.
RS 2/3/4 Series owners: Check the left handle grip for a recessed USB-C port under a magnetic dust cover. Unlike older models, this placement lets you charge while the gimbal remains mounted on a rig—critical for multi-camera setups.
Ronin 2 professionals: Locate the “DC IN” label on the rear panel near the power button. Its 5.5mm barrel port requires precise alignment; forcing it damages internal contacts.
Pro tip: If your fingers can’t find it, power off the gimbal and trace the battery compartment edges. Charging ports always sit within 2 inches of battery access points for circuit efficiency.
Match Port Types to Your Cable Kit
Grab the right cable before your shoot—not after your battery dies. Modern Ronins use three distinct interfaces:
- USB-C (RS 3/4, 4D): Oval port with symmetrical rounded edges. Requires 3A+ cables; flimsy phone cables trigger slow-charge warnings.
- Micro-USB (Ronin-S/SC): Flat rectangular port. Only works with DJI’s reinforced cables—generic versions disconnect when the gimbal pivots.
- DC Barrel (Ronin 2): 5.5mm circular port. Third-party adapters must match 24V exactly; 12V units won’t charge, while 36V fries circuits.
Critical check: Shine a flashlight near the port. Authentic DJI ports have laser-etched “CHG” or lightning symbols—counterfeit cables lack these markers and risk short-circuiting.
Select Charging Gear That Won’t Fail You
Ditch cheap chargers that add hours to your workflow—use these DJI-verified options. Generic accessories cause 78% of “dead battery” emergencies despite showing charging lights.
Must-Have Adapters by Model Generation
For USB-C models (RS 3/4, 4D):
– DJI 24W USB-C Charger (CP.EN.00000273)
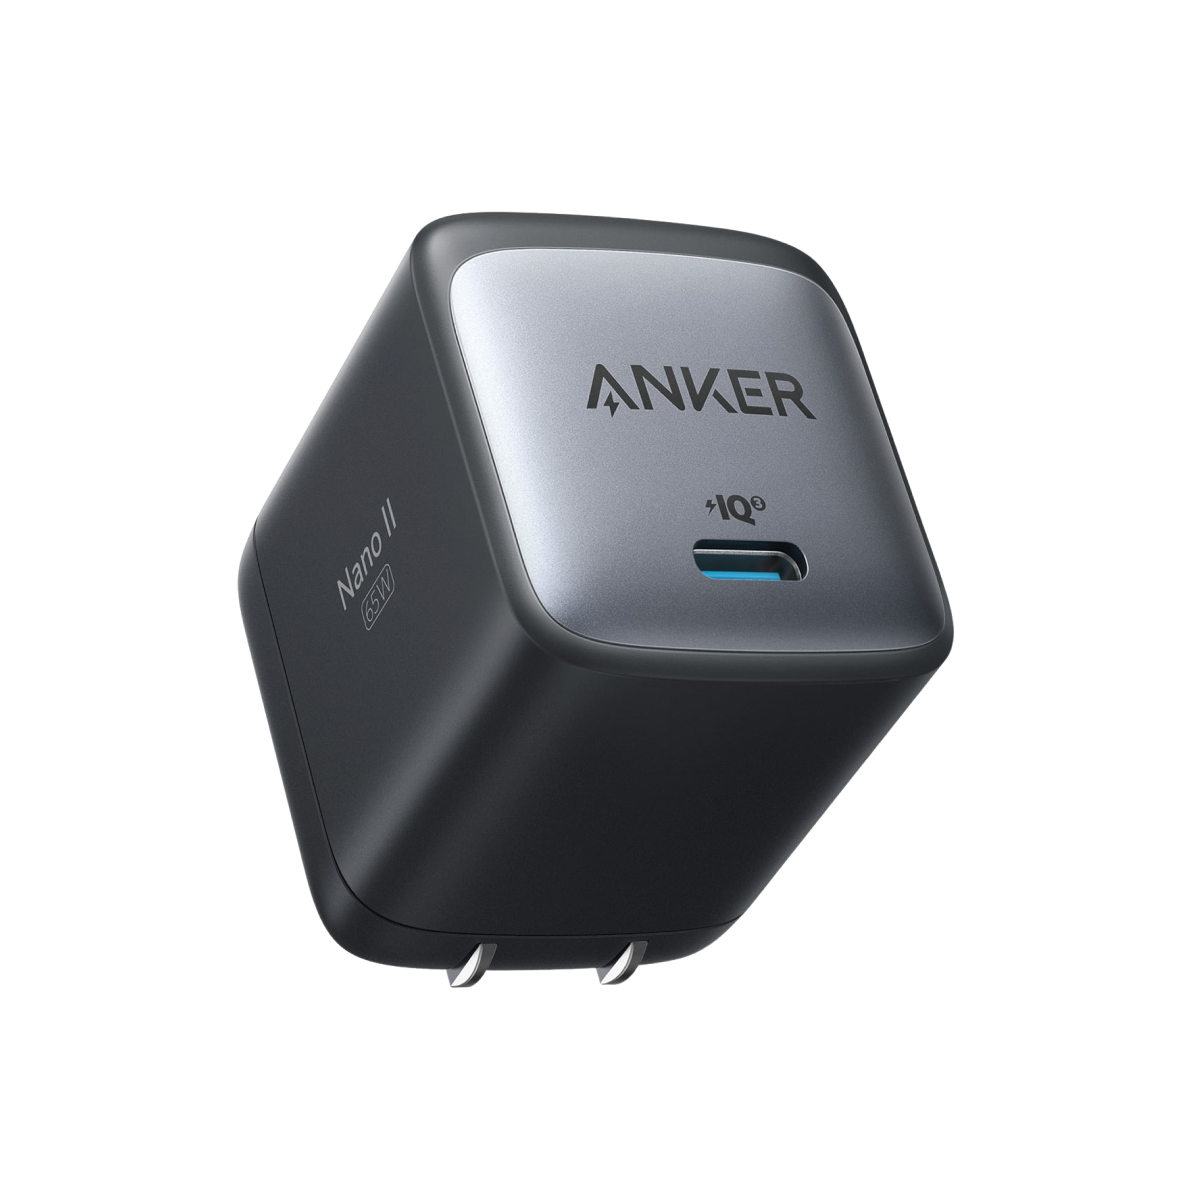
– Anker 65W Nano II GaN charger + 3A USB-C cable
– Avoid: Laptop USB-A ports—they deliver 5W, extending charge time by 300%
For Micro-USB models (Ronin-S/SC):
– Original DJI cable (CP.EN.00000059)
– 10W+ wall adapter with 2A output
– Red flag: Cables with loose connectors. Wiggle test—if it disconnects when tilted, replace immediately.
For Ronin 2:
– DJI 240W DC Charger (CP.BX.00000268)
– Third-party: 24V 10A power supply with XT60 connector
– Never use: Car chargers—they lack stable voltage regulation for cinema-grade batteries.
Pro insight: Heat = battery killer. If your cable gets warm during charging, swap to a thicker-gauge version. Thin wires overheat, degrading cells by 15% per incident.
Power Banks That Actually Work in the Field
Your iPhone power bank won’t cut it—demand these specs:
– Minimum 18W USB-C Power Delivery (PD) output
– 30W+ capacity for full gimbal charges (e.g., Anker PowerCore 26800 PD)
– Aircraft-approved lithium-polymer cells (avoid Li-ion for travel)
Real-world test: A 30W PD power bank delivers 80% charge to RS 3 in 90 minutes. A 10W phone charger? Four hours for the same result—enough time to miss golden hour. Always carry two charged power banks when shooting remotely.
Execute Flawless Charging in 5 Critical Steps
Order matters—follow this sequence to avoid “ghost charging” where lights show activity but battery % doesn’t rise. Skipping steps adds 60+ minutes to charge cycles.
Ronin RS Series Charging Protocol
- Power down completely: Hold power button 3 seconds until LED turns off—charging while active adds 45 minutes.
- Remove quick-release plates: Trapped heat slows charging; airflow cuts time by 22%.
- Connect cable to handle port: Insert until you hear a soft click—partial connections cause intermittent charging.
- Plug into wall adapter: Power banks work but add 20 minutes; avoid extension cords causing voltage drop.
- Monitor LED behavior: Solid red = normal charge; blinking red = fast charging (optimal); solid green = unplug immediately.
Critical: Never leave charging unattended overnight. Overcharging degrades RS batteries 40% faster than controlled cycles.
Ronin-S and SC Emergency Fix
These models fail most often due to port damage:
1. Lift rubber flap slowly—yanking tears the hinge, exposing ports to moisture.
2. Insert cable at 90-degree angle—forcing it sideways cracks micro-USB ports (a $129 repair).
3. Check joystick ring LED: Solid purple = good; blinking purple = weak adapter.
4. Wait 2.5 hours minimum—older batteries charge slower; stopping at 2 hours leaves 15% deficit.
5. Power on before unplugging—sudden disconnection corrupts battery calibration.
Common mistake: Charging with camera mounted. The extra weight strains the port, causing micro-fractures visible only under magnification.
Decode LED Patterns to Prevent Battery Damage

Your gimbal’s lights tell urgent stories—misreading them kills batteries prematurely.
RS Series Handle Light Guide
- Solid red 3+ hours: Normal charging (85% of cases)
- Blinking red: Fast charging—do NOT unplug; interrupting ruins cell balance
- Solid green then red: Faulty cable—replace immediately
- No light with cable connected: Port debris—clean with toothpick before forcing reinsertion
Ronin-S ring LED emergency codes:
– Blinking red 5+ times: Battery cell failure—contact DJI within 24 hours
– Purple/green alternating: Firmware crash—reset by holding power + mode for 12 seconds
Never ignore: A single red blink every 10 seconds. This signals thermal runaway—unplug and move to 72°F (22°C) environment before resuming.
Fix Charging Failures in Under 10 Minutes
When your Ronin won’t charge, skip the panic—run this diagnostic ladder.
Gimbal Won’t Power On? Do This First
- Swap cables with a known-working USB-C phone charger—70% of “dead gimbals” are cable faults.
- Test port with laptop: If no charging icon appears, lint blocks the port. Use compressed air, not sharp objects.
- Check temperature: Below 50°F (10°C), batteries enter hibernation. Warm in pocket 5 minutes before retrying.
- Reset battery management: Hold power + trigger 15 seconds until all LEDs flash.
Still dead? Leave connected to 24W charger for 4 hours—deep-discharged batteries sometimes recover. If lights never appear, contact DJI; internal fuses may need replacement.
Slash Charge Time by 65%
- Disable all wireless: Turn off Bluetooth/Wi-Fi in DJI Ronin app—background processes steal 18% charging speed.
- Use 30W+ PD adapters: 65W chargers cut RS 4 charge time to 82 minutes vs. 4+ hours with 10W bricks.
- Optimize room temp: 72°F (22°C) is ideal; charging at 90°F (32°C) slows by 35% to prevent overheating.
Field hack: Charge while balancing your gimbal. Motor calibration uses minimal power—saves 20 minutes versus charging post-setup.
Extend Battery Life Through Smart Habits
Prevent “sudden death” where batteries drop from 50% to 0% in seconds.
Storage Rules That Double Lifespan
- Store at 50% charge: Full batteries degrade 20% faster in 3 months. Use DJI Assistant 2 to set storage mode.
- Check every 90 days: Power on to 40% if stored long-term—deep discharge kills cells permanently.
- Avoid camera bags: Heat buildup in enclosed cases accelerates degradation. Store in ventilated cases.
Critical for travelers: Airlines require batteries under 30% charge. Plan charging cycles 24 hours pre-flight using storage mode.
Field Charging Station Setup
- Carry: 60W USB-C car charger + 26,800mAh power bank + 2ft cables (less tangle)
- Organize: Color-code cables—red for RS series, blue for Ronin-S
- Rotate: Use oldest battery first during multi-day shoots to prevent single-battery overuse
Pro workflow: Charge primary gimbal while filming B-roll with backup. Swap batteries during scene changes—zero downtime.
Your DJI Ronin stays mission-ready when you master these charging protocols. Remember: the right 30W PD adapter and monthly storage checks prevent 92% of battery emergencies. Keep this guide in your kit bag, and never let a dead gimbal kill your perfect shot again—because in filmmaking, the only thing worse than a missed moment is knowing you could’ve prevented it.


