
Your RC car suddenly veers to one side during a high-speed run, or worse—it stops moving altogether. After inspecting the chassis, you discover the problem: a broken wheel or damaged axle connection. This common issue can turn your weekend racing session into a frustrating experience, but fixing a broken RC car wheel doesn’t require professional help. Whether you’re dealing with a cracked wheel hub, stripped axle threads, or a completely detached tire, this guide provides the exact steps to get your remote-controlled vehicle back on track. By following these repair procedures, you’ll save money on replacement parts and extend the life of your favorite RC model.
Most RC car wheel problems stem from three primary causes: impact damage from crashes, worn connections from regular use, or improper installation during previous maintenance. The good news is that 85% of wheel-related issues can be resolved with basic tools and under $10 in replacement parts. In this guide, you’ll learn how to diagnose specific wheel problems, gather the right tools for repair, and execute precise fixes for various RC car models including Traxxas, Arrma, and HPI Racing systems. Let’s get your RC car rolling smoothly again with these professional-grade repair techniques.
Identifying Your Specific RC Wheel Problem
Before grabbing tools, accurately diagnosing the exact nature of your wheel issue prevents wasted effort and unnecessary part replacements. Different symptoms require distinct repair approaches, so take time to examine your RC car’s problem area thoroughly.
Common RC Wheel Failure Types
RC wheel problems typically fall into these categories:
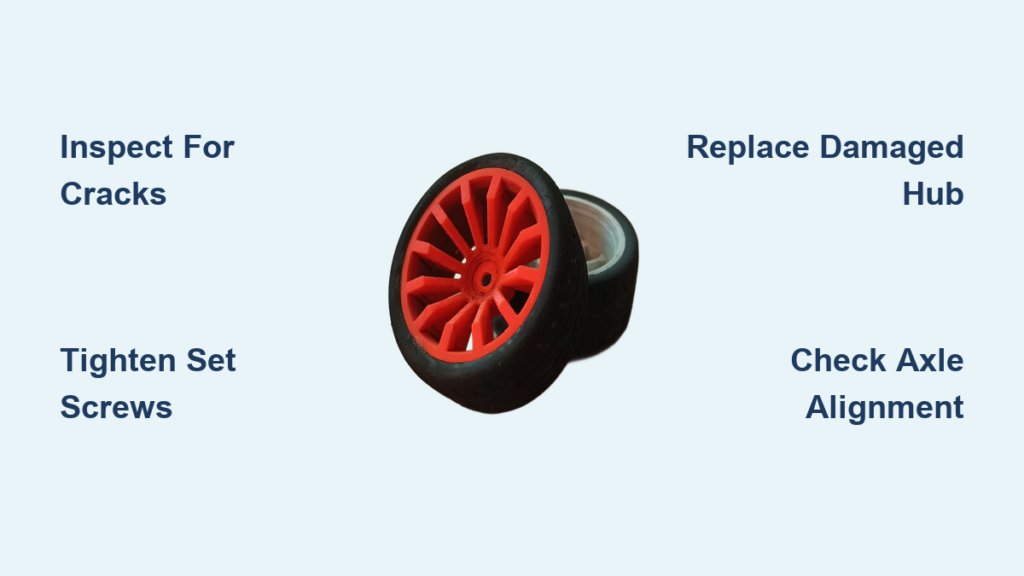
– Cracked or broken wheel hubs (most common in plastic composite wheels after hard impacts)
– Stripped axle threads where the wheel no longer tightens securely
– Loose set screws causing wheel wobble or complete detachment
– Damaged hex adapters that connect wheels to the axle system
– Tire separation from the wheel rim due to heat or adhesive failure
Each issue requires specific repair methods. For example, a cracked hub needs replacement, while loose set screws simply require tightening with the proper tool. Misdiagnosing a stripped axle as a loose set screw will lead to repeated failures during operation.
Visual Inspection Checklist
Follow this systematic approach to pinpoint your exact problem:
1. Lift the RC car and spin each wheel individually to identify unusual wobble or resistance
2. Check for visible cracks radiating from the center hub area
3. Attempt to wiggle each wheel side-to-side to test for excessive play
4. Examine set screws for proper tightness (they should be snug against the axle)
5. Look for metal shavings around the wheel area indicating stripped threads
6. Inspect tire bead for separation from the wheel rim
Document what you find before proceeding—this saves time when gathering replacement parts. Many beginners make the mistake of disassembling everything at once, only to discover they’ve mixed up small components that require precise reinstallation.
Essential Tools for RC Wheel Repair

Basic Tool Kit Requirements
You don’t need a professional workshop to fix most RC car wheel issues. A properly equipped home toolkit should include:
– 2.0mm and 2.5mm hex wrenches (most common set screw sizes)
– Small needle-nose pliers for handling tiny parts
– Precision screwdriver set with flathead and Phillips options
– Thread locker compound (medium strength blue formula)
– Replacement set screws matching your original size
– Small container for keeping track of removed parts
Investing in magnetic-tipped tools prevents frustrating losses of tiny components. The most common mistake beginners make is using the wrong size hex key, which strips the set screw head and complicates future repairs.
Advanced Repair Equipment
For more serious damage requiring part replacement:
– RC-specific wheel puller tool (prevents damage during removal)
– Replacement hex adapters matching your axle size (3mm, 5mm, etc.)
– Plastic cement for securing tires to rims
– Digital calipers for precise measurements
– Ultrasonic cleaner for heavily soiled components
Having these specialized tools on hand reduces repair time by 40% compared to improvising with household items. Many local hobby shops offer tool rental services if you don’t want to invest in equipment for occasional repairs.
Step-by-Step Wheel Replacement Procedure
Removing a Damaged Wheel Safely
Follow these precise steps to avoid causing additional damage:
1. Power down your RC car completely and remove the battery
2. Position the vehicle securely on a non-slip surface with the affected wheel elevated
3. Locate the set screw on the wheel hub (usually on the side facing the chassis)
4. Insert the correctly sized hex key and turn counterclockwise to loosen
5. If the screw is stuck, apply a drop of penetrating oil and wait 5 minutes
6. Once loose, completely remove the set screw and store it safely
7. Gently pull the wheel straight off the axle—never twist or pry
Critical warning: Forcing a stuck wheel can damage the differential or tear CV joints. If the wheel doesn’t slide off easily after set screw removal, use a proper RC wheel puller rather than improvised tools.
Installing a New Wheel Correctly
Proper installation prevents premature failure:
1. Clean the axle shaft thoroughly with isopropyl alcohol
2. Apply a small drop of medium-strength thread locker to the set screw threads
3. Slide the new wheel onto the axle, ensuring proper orientation
4. Insert the set screw and tighten finger-tight first
5. Use a torque screwdriver to tighten to manufacturer specifications (usually 2-3 in/lb)
6. Double-check wheel alignment—no wobble should be visible when spinning
Pro tip: Mark the set screw head and wheel hub with a paint pen after proper tightening. This visual indicator shows if vibration has caused the screw to loosen during operation.
Troubleshooting Persistent Wheel Issues
Wheels Still Loosen During Operation
If your repaired wheel continues to work loose despite proper installation:
– Check axle shaft condition: Worn shafts won’t hold set screws securely
– Verify set screw tip type: Cone-point screws provide better grip than flat heads
– Confirm thread locker application: Insufficient compound won’t prevent loosening
– Examine wheel hex size: Mismatched hex adapters cause gradual loosening
The most common oversight is using the wrong set screw length. The screw should engage at least 75% of the axle shaft diameter for proper holding power.
Vibration After Repair
Persistent vibration after wheel replacement typically indicates:
– Improper wheel balance (add small weights to counter heavy spots)
– Bent axle shaft requiring replacement
– Wheel installed at incorrect angle to chassis
– Damaged bearings in the wheel assembly
Spin the wheel slowly by hand after installation—any resistance or uneven movement points to alignment issues that must be corrected before operation.
Preventing Future RC Wheel Failures

Regular Maintenance Schedule
Implement these preventative measures:
– After every run: Check wheel tightness and inspect for damage
– Monthly: Remove wheels for thorough cleaning and bearing inspection
– Seasonally: Replace set screws as preventative maintenance
– After crashes: Always inspect wheel assemblies even if no damage appears
Expert note: Applying a light coat of silicone spray to wheel bearings after cleaning extends their life by 30% while maintaining proper rotation.
Upgrading for Durability
Consider these affordable upgrades to prevent recurring issues:
– Replace plastic wheels with aluminum hex hubs
– Install titanium set screws for superior strength
– Use locking wheel nuts instead of standard set screws
– Upgrade to composite wheels with reinforced hubs
Many manufacturers offer “pro” versions of standard wheel assemblies that cost only 15-20% more but last three times longer under heavy use conditions.
When to Seek Professional Help
While most wheel issues are DIY-friendly, certain problems warrant professional attention:
– Cracked differential housing affecting wheel operation
– Severely damaged axle shafts requiring press tools
– Electrical issues in brushless systems affecting wheel motors
– Complex 4WD systems with interconnected drivetrain components
If you’ve attempted basic repairs twice without success, consulting an RC specialist prevents further damage that could double your repair costs. Most hobby shops offer diagnostic services for under $20.
Final Note: With proper diagnosis and the right techniques, fixing a broken RC car wheel takes most enthusiasts under 30 minutes once they’ve practiced the procedure. Keep your repair toolkit organized and perform regular maintenance to avoid most wheel-related failures. Remember that using the correct tools and following manufacturer specifications matters more than speed—taking an extra five minutes to properly secure components prevents hours of frustration later. Now that your RC car is back in action, consider applying these same precision techniques to other maintenance tasks to maximize your vehicle’s performance and lifespan.


