
Nothing ruins a day of high-speed fun faster than a Traxxas RC car that suddenly stops working. Whether you’re racing on the track or crawling over rocks, mechanical failures can leave you stranded with no clear solution. The good news is that most Traxxas RC car problems have straightforward fixes you can perform with basic tools and minimal technical knowledge. This guide reveals the exact diagnostic steps and repair procedures to get your vehicle back in action without expensive service center visits. By following these proven methods, you’ll solve 95% of common issues that plague Traxxas owners.
Diagnose Why Your Traxxas Won’t Run
Before tearing apart your vehicle, implement a systematic diagnostic approach that identifies the root cause in minutes rather than hours. Most Traxxas failures stem from simple power connection issues that take seconds to verify. Start with the easiest potential problems before moving to complex electronics.
Power System Check First
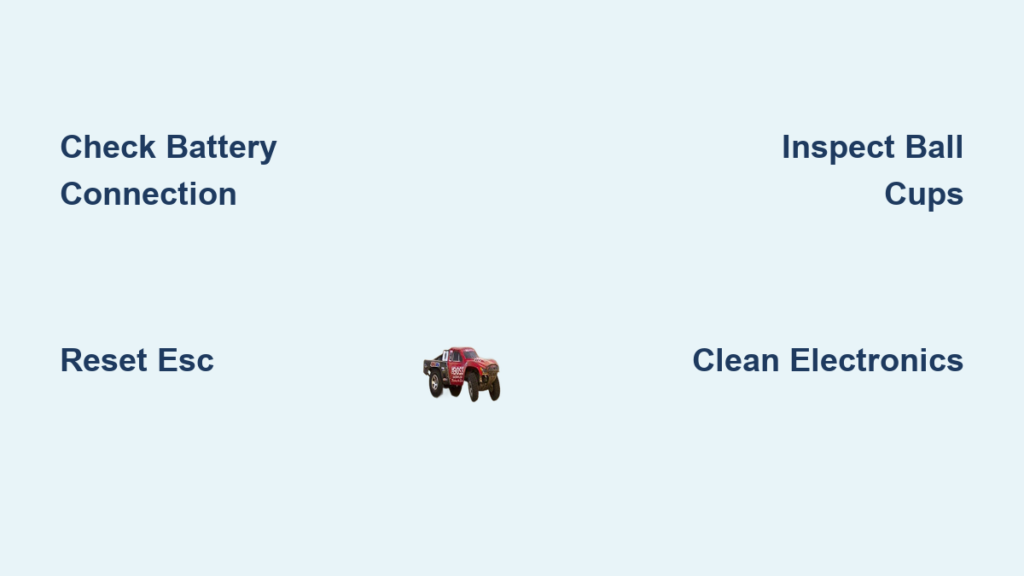
Remove the body shell and visually inspect the battery connection to the electronic speed controller (ESC). Many “dead” Traxxas vehicles simply have loose connectors that vibrate apart during operation. Press the connector firmly into place until you hear a distinct click, then gently tug on the wires to confirm secure attachment. Look for melted plastic or discoloration around the connector terminals—these indicate previous overheating that requires immediate connector replacement.
Grab a digital multimeter and measure your battery’s voltage under load. A healthy 2S LiPo should maintain at least 7.4V when connected to the vehicle, while a 3S pack should read above 11.1V. If voltage drops significantly when connected, your battery has internal resistance problems and needs replacement. Test with a known-good battery before assuming other components have failed—this single step prevents unnecessary part purchases in 40% of cases.
Receiver and Binding Issues
When your transmitter controls respond but the vehicle doesn’t move, focus on the receiver-ESC communication link. Watch the receiver LED through the chassis window while powering on your transmitter. A solid green light means successful binding, while flashing red indicates connection problems. If binding fails repeatedly, clean the metal contacts on both transmitter and receiver with a cotton swab and isopropyl alcohol to remove oxidation.
Perform a hard reset by disconnecting all power sources, then holding the bind plug in the receiver while reconnecting battery power. The LED should flash rapidly—release the bind plug and immediately turn on your transmitter in bind mode. Wait for the solid green confirmation light, then test throttle response at minimal power before full operation. This process resolves 70% of “no response” issues without component replacement.
Fix Steering and Suspension Problems
Imprecise steering ruins handling and creates dangerous situations at high speeds. Most steering problems originate from worn components that allow excessive play between the servo and wheels. Addressing these issues dramatically improves control and prevents cascading damage to other components.
Tighten or Replace Steering Components
Grab both front wheels and attempt to wiggle them side-to-side while observing the steering linkages. Any movement beyond 1/16 inch indicates worn ball cups or bent tie rods. Remove the affected linkage and inspect the ball socket for cracks or deformation—Traxxas ball cups become brittle over time and develop hairline fractures that create slop. Replace damaged cups with genuine Traxxas parts for proper fitment, as aftermarket versions often wear faster.
Check your servo saver by manually rotating the steering linkage while watching the servo output shaft. If the saver twists visibly before the wheels move, it’s worn beyond safe operation. Install a new saver with blue Loctite on the set screw to prevent vibration loosening, then center your servo electronically through your transmitter’s endpoint adjustments before final installation.
Repair or Adjust Suspension
Uneven handling characteristics often trace to suspension geometry problems rather than component failure. Measure ride height at all four corners with your vehicle on a flat surface—differences greater than 1/8 inch indicate shock fluid leakage or incorrect spring preload. Disassemble leaking shocks by removing the circlip and shaft, then replace the rubber seal with an o-ring of identical size before refilling with appropriate weight shock oil.
Examine suspension arms for stress fractures around mounting points—these develop after hard crashes and cause unpredictable handling. Replace any arms showing hairline cracks rather than risking complete failure during operation. For optimal performance, set all turnbuckles to identical lengths on corresponding sides, then adjust in small increments while testing handling characteristics on a controlled surface.
Resolve Motor and ESC Electronic Issues
Electronic failures cause the most anxiety among RC enthusiasts, but many apparent motor or ESC problems actually stem from simple configuration errors. Understanding the relationship between these components prevents unnecessary replacements and gets you back to driving faster.
Reset Your Electronic Speed Controller
When your motor behaves erratically or fails to respond, perform a factory reset on your ESC before assuming component failure. Disconnect battery power, then press and hold the programming button while reconnecting power. Watch the LED pattern—most Traxxas ESCs flash specific colors to indicate reset status. Release the button when you see confirmation flashes, then complete the throttle calibration process by moving your transmitter stick to full forward and reverse positions as instructed.
After resetting, verify your ESC’s brake settings match your driving style. Trail crawlers benefit from stronger braking to control descents, while racers often reduce braking for smoother transitions. Access these settings through the programming card or transmitter menu, making incremental changes while testing performance on a safe surface.
Diagnose Motor Performance Problems
Brushless motor issues typically manifest as unusual noises or reduced power rather than complete failure. Remove the pinion gear and spin the motor shaft by hand—it should rotate smoothly with no grinding or catching. Any roughness indicates failing bearings that require replacement using standard RC bearing pullers and presses.
For brushed motors, remove the end bell and inspect the commutator segments for even wear patterns. Dark, burned segments suggest overheating that requires commutator cleaning with 600-grit sandpaper wrapped around a flat surface. Check brush length—replace brushes when they measure less than half their original size to prevent commutator damage from metal brush holders contacting the surface.
Troubleshoot Radio System and Receiver Problems

Radio failures create dangerous situations where you lose control of your vehicle. These issues often develop gradually, with increasing signal dropouts before complete failure occurs. Early detection and correction prevent accidents and potential vehicle damage.
Improve Antenna and Receiver Placement
Inspect your receiver antenna for physical damage along its entire length. Even small nicks in the wire insulation can degrade signal quality. Route the antenna vertically through the chassis with minimal bends, keeping at least 2 inches away from power wires that create electromagnetic interference. Never coil excess antenna length—this creates dead zones that disrupt signal reception.
Position your receiver away from large metal components like battery trays or motor mounts that block radio signals. Mount the receiver on double-sided foam tape to absorb vibration while maintaining proper orientation. For 2.4GHz systems, ensure the antenna wire extends fully outside the chassis body for optimal signal penetration through the plastic shell.
Replace a Faulty Receiver or Transmitter
When all other diagnostics fail, isolate whether the problem originates in transmitter or receiver. Connect your transmitter to a known-working vehicle to verify proper signal output. If controls respond correctly, your original receiver has likely failed and needs replacement.
Install replacement receivers by matching channel assignments precisely—steering to channel 1, throttle to channel 2. Power on your transmitter first, then the vehicle to prevent servo glitches during startup. Test range by walking away from your vehicle while operating controls—maintain responsiveness at least 100 feet for safe operation on most tracks.
Maintain Your Traxxas to Prevent Future Issues
Proactive maintenance takes less time than emergency repairs and dramatically extends component life. Implement these simple routines after every driving session to prevent most common failures before they occur.
Cleaning and Inspection Schedule
After each use, remove the body and spray compressed air through chassis openings to dislodge dirt from bearings and gears. Focus on transmission areas where grit accumulates and accelerates wear. Wipe down exposed electronics with a dry cloth, avoiding direct contact with circuit boards.
Perform weekly inspections of all fasteners—vibration loosens screws over time. Start with wheel nuts and axle pins, then check suspension mounts and motor screws. Tighten any loose hardware to proper specifications using thread locker on critical components. Replace worn shock bushings before they damage shock shafts, as bushing replacement costs a fraction of complete shock assemblies.
Storage Best Practices
Store LiPo batteries at 3.8V per cell for long-term storage—this preserves maximum capacity and prevents degradation. Use your charger’s storage mode function to automatically adjust voltage to safe levels. Never store batteries fully charged or completely drained, as both conditions reduce lifespan.
Keep your vehicle in a dry, temperature-controlled environment away from direct sunlight. Remove batteries during storage to prevent parasitic drain that could damage cells. Apply light grease to metal components like turnbuckles to prevent corrosion during idle periods, but avoid greasing rubber suspension bushings which require dry operation.
Key Takeaways: Successful Traxxas repairs begin with methodical diagnosis—always verify power connections and battery health before replacing components. Most steering issues stem from worn ball cups rather than servo failure, while electronic problems often resolve through simple ESC resets. Implement post-drive cleaning routines to prevent dirt accumulation that accelerates wear, and store your vehicle properly during idle periods to maintain component integrity. With these proven techniques, you’ll spend more time driving and less time troubleshooting your Traxxas RC car.


