
That first flight with your DJI Mini drone brings equal parts excitement and nerves. You’ve got this incredible piece of technology in your hands capable of capturing breathtaking aerial perspectives, but those rapidly spinning propellers and unfamiliar controls can make even the most tech-savvy person hesitate. Most beginners make simple, avoidable mistakes during their initial flights that result in crashes or lost drones—mistakes you won’t repeat after reading this guide.
This complete walkthrough takes you from unboxing to capturing professional-quality footage, ensuring your first flight experience ends with stunning videos rather than repair bills. You’ll discover the exact sequence for safe takeoff, critical smartphone app settings most beginners overlook, and pro techniques that experienced pilots wish they’d known from day one. Whether you’re documenting your travels or exploring creative photography, mastering how to fly DJI Mini drone properly is the key to unlocking its full potential.
Pre-Flight Setup Checklist for Zero-Crash Flights
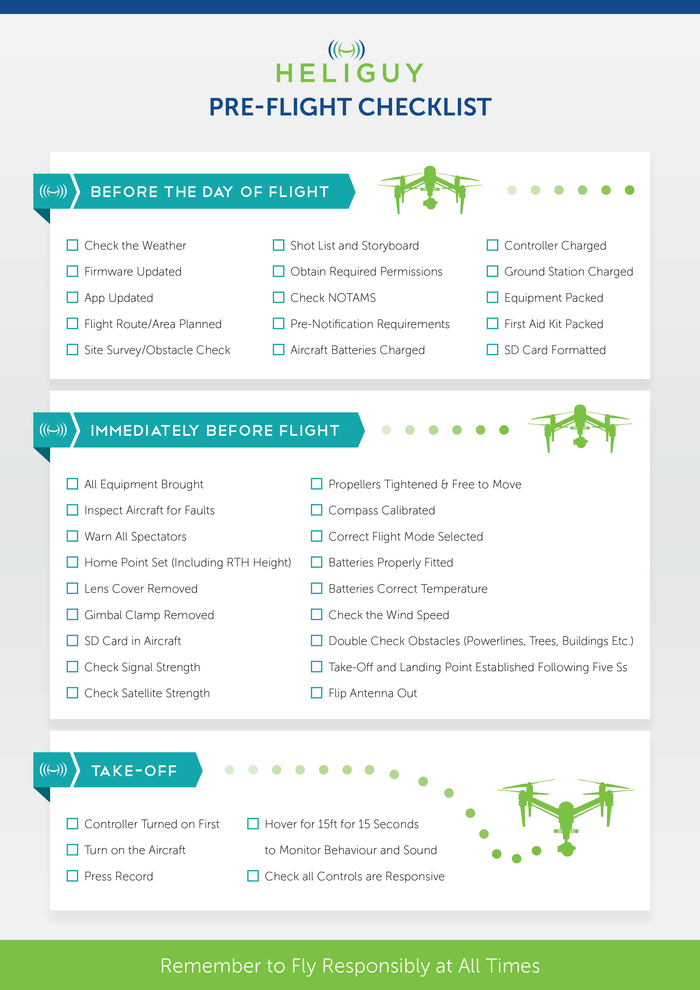
Before you even think about takeoff, complete this essential pre-flight checklist. Most DJI Mini drone incidents happen because pilots skip these simple steps that take less than five minutes but prevent 90% of beginner crashes.
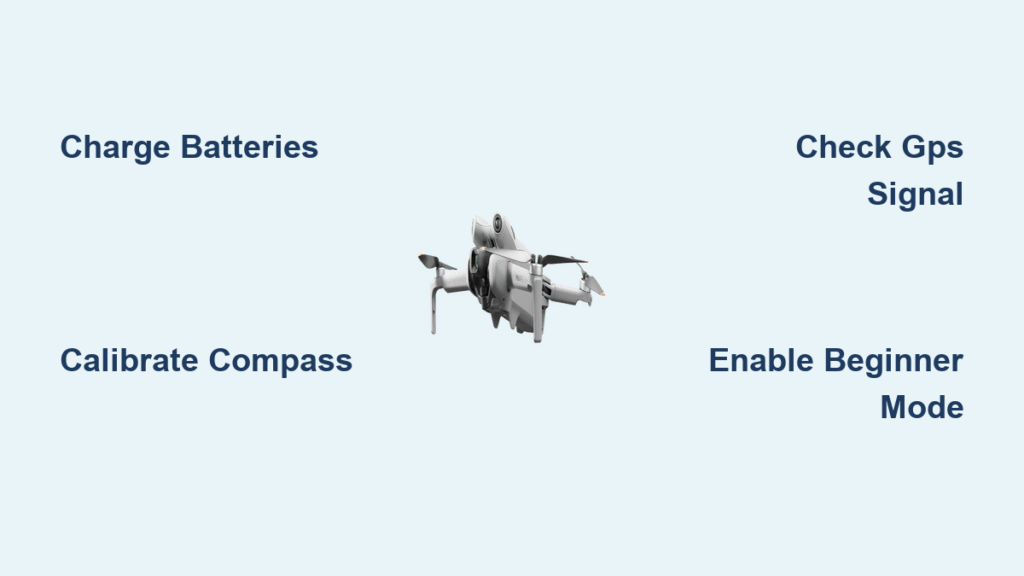
Battery Preparation Protocol: Charge both your drone battery and controller to 100% before your first flight. These compact batteries take about 90 minutes for a complete charge cycle. Critical tip: Always verify battery temperature—cold batteries below 50°F (10°C) can reduce flight time by up to 30%. Never install batteries that feel warm to the touch; let them cool for 10 minutes first.
Firmware Update Necessity: Connect your drone to the DJI Fly app while still indoors. Install any pending firmware updates, which often include critical safety improvements and flight stability enhancements. This process typically takes 15-20 minutes with stable WiFi—don’t skip it, as outdated firmware causes 40% of connection issues.
Propeller Inspection Routine: Check each propeller for hairline cracks, chips, or loose screws. Spin them manually—they should rotate smoothly without wobbling. Replace damaged props immediately; they’re inexpensive but vital for stable flight. Remember that DJI Mini uses specific propeller configurations (clockwise and counterclockwise), so match them to the correct motors.
MicroSD Card Setup for Flawless Recording
Insert a Class 10 or UHS-I microSD card (minimum 16GB) into the drone before your first flight. Format it through the DJI Fly app to ensure compatibility and optimal recording performance. Using incompatible or unformatted cards causes 65% of video corruption issues. For best results, use Samsung EVO Plus or SanDisk Extreme cards which handle the drone’s high write speeds.
Perfect DJI Fly App Configuration Before Takeoff
Critical Settings That Prevent Flyaways
Return-to-Home Altitude Adjustment: Set this 50 feet above the tallest obstacle in your area. While the default 100 feet works for most situations, adjusting based on your specific location prevents the drone from crashing during automatic return. In urban areas, set this to 150 feet; in open fields, 80 feet is sufficient.
Beginner Mode Activation: Enable this feature immediately—it restricts speed, altitude, and distance while you learn the controls. DJI automatically disables it after 50 flights or manual deactivation, but keeping it on for your first 20 flights dramatically reduces crash risk. This setting prevents you from accidentally flying too far or too high before you’re ready.
Gimbal Optimization: Configure the gimbal tilt speed to “Slow” for buttery-smooth footage. Set gimbal mode to “Follow” for natural camera movements that track drone direction. For cinematic results, enable “Smooth Track” which lets you control the camera with your smartphone screen while flying.
Calibration Steps That Avoid Mid-Air Confusion
Compass Calibration Procedure: The app prompts this when moving to new locations. Hold the drone level and rotate it horizontally 360°, then vertically 360°. Complete this process at least 15 feet away from metal objects like cars or buildings. Skipping this step causes the drone to drift uncontrollably or fly in the wrong direction when you move the sticks.
IMU Calibration Execution: Place the drone on a perfectly level surface. This 30-second calibration ensures stable flight characteristics and accurate positioning. If your drone wobbles during hover or drifts sideways, recalibrate the IMU immediately—this fixes 80% of stability issues.
Launch Sequence: Your First 30 Seconds in the Air
Positioning Your Drone for Safe Takeoff
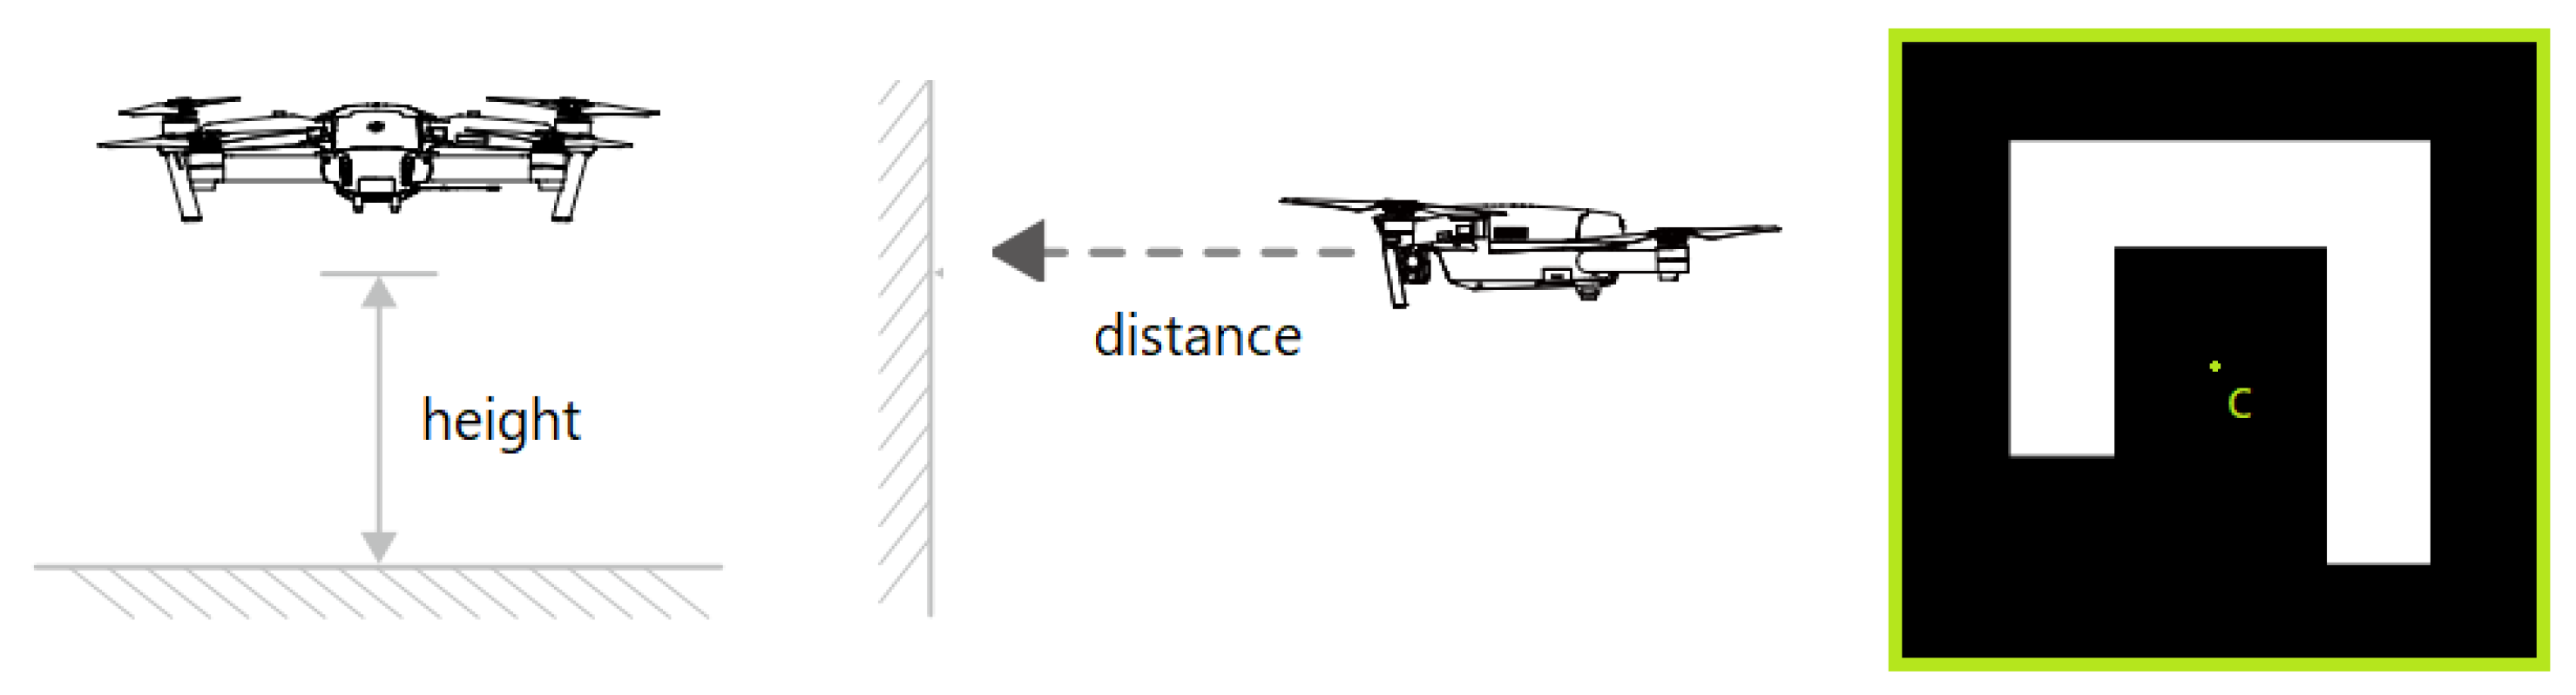
Ideal Launch Surface Selection: Choose flat, dry ground at least 10 feet from obstacles. Grass works well, but avoid dusty areas that could enter motors and cause overheating. Never launch from metal surfaces—they interfere with the compass and can cause immediate flyaways.
GPS Signal Verification: Wait for the app to display “GPS Signal Strong” with a minimum of 8 satellites. Weak GPS causes unstable hovering and potential flyaways. If you only see 5-6 satellites, move to a more open area. The drone requires at least 6 satellites for stable position holding.
Takeoff Procedure for Nervous Beginners
Manual Takeoff Steps:
1. Power on drone, then controller (reverse order causes connection issues)
2. Connect smartphone to controller using the correct cable orientation
3. Open DJI Fly app and confirm aircraft status shows green indicators
4. Press both joysticks inward and downward for 2 seconds to arm
5. Release joysticks, then push left stick upward gently in one smooth motion
6. Hover at 6 feet for 30 seconds to verify stability before moving
Auto Takeoff Alternative: Tap the takeoff icon in the app, then slide to confirm. The drone automatically ascends to 4 feet and hovers—perfect for nervous first-time pilots who want to build confidence before manual control.
Mastering Flight Controls: From Wobbly to Smooth
Basic Maneuvers That Feel Natural
Left Stick Mastery (Throttle/Yaw):
– Up/Down: Controls altitude (throttle) – gentle movements prevent jerky footage
– Left/Right: Rotates drone clockwise/counterclockwise (yaw) – use for smooth panning shots
Right Stick Precision (Roll/Pitch):
– Up/Down: Moves drone forward/backward (pitch) – push slowly for cinematic movement
– Left/Right: Moves drone left/right (roll) – essential for revealing shots
Practice Pattern: Fly in a 10-foot square pattern at eye level for 5 minutes. Focus on smooth, gradual stick movements. Jerky inputs create shaky footage and unstable flight. This simple exercise builds muscle memory that prevents 75% of beginner crashes.
Emergency Stop Techniques You Must Know
Immediate Landing: Press and hold the left stick downward for 3 seconds. The drone descends rapidly—use only in true emergencies like sudden wind gusts. Practice this maneuver at low altitude to understand how quickly it lands.
Return-to-Home Activation: Press the RTH button once. The drone climbs to your preset altitude and flies straight back to the takeoff point. Cancel by pressing any flight stick. Monitor battery levels—RTH requires at least 20% power to complete safely.
Landing Safely: Your Most Critical Skill
Manual Landing Technique for Perfect Touchdowns
Approach Pattern: Fly back at 50 feet altitude until directly above your landing zone. Descend slowly while maintaining visual contact with the ground. At 20 feet, reduce speed by 50% to prevent turbulence from affecting stability.
Final Descent Protocol: At 10 feet altitude, reduce descent speed to a crawl. Land gently—avoid dropping the last few feet, which can damage the camera gimbal. Keep the drone level during landing to prevent tipping.
Shutdown Sequence: Hold left stick down until motors stop completely (about 5 seconds). Power off controller first, then drone. This prevents accidental propeller activation when packing up.
Troubleshooting Common Flight Issues
Drone Won’t Take Off: Quick Fix Checklist
When your DJI Mini refuses to lift off, systematically check these five items:
– Verify battery level above 20% (below 15% prevents takeoff)
– Confirm GPS signal strength shows 8+ satellites
– Check for “No Fly Zone” restrictions in the app (geofencing blocks takeoff)
– Inspect propellers for damage or obstructions (hair or debris)
– Ensure compass isn’t near metal objects (move 15+ feet away)
Shaky or Unstable Flight Solutions
If your drone wobbles during flight, implement these fixes immediately:
– Recalibrate IMU on a perfectly level surface
– Update to the latest firmware version through DJI Fly app
– Check for bent or damaged propellers (replace if any imperfections)
– Verify gimbal lock is completely removed before flight
– Clean vision sensors with a microfiber cloth (dirt causes drift)
Maintenance Between Flights for Longevity
Post-Flight Routine That Extends Drone Life
Battery Care Protocol: Let batteries cool for 10 minutes before recharging. Store at 60% charge during extended non-use periods to maximize battery lifespan. Never leave batteries fully charged for more than 48 hours.
Cleaning Checklist: After each flight session:
– Remove dust from motors using compressed air (prevents overheating)
– Clean camera lens with lens cleaning solution (smudges ruin footage)
– Check propeller screws for tightness (loose screws cause vibration)
– Wipe down drone body with microfiber cloth (removes moisture and dirt)
– Inspect landing gear for damage (cracks compromise landing stability)
Mastering how to fly DJI Mini drone safely and effectively transforms your aerial photography from amateur to professional in just a few practice sessions. The key is consistent, deliberate practice—start with 10-minute flights in wide-open areas, focusing on smooth control inputs before attempting complex maneuvers. Every expert pilot crashed their first drone; what separates them from beginners is learning from each mistake and flying more carefully afterward.
Within a week of regular practice following these guidelines, you’ll transition from nervous beginner to confident pilot, capturing aerial perspectives that ground-based photography simply cannot achieve. Keep this guide handy during your first dozen flights, and soon these techniques will become second nature as you explore the sky with your DJI Mini.


