
Your RC car’s custom decal job separates hobbyists from true builders. Without professional-looking decals, even the most detailed scale model feels unfinished. You’ve probably struggled with peeling vinyl, blurry prints, or decals that bubble under clear coat. Learning how to make RC car decals properly solves these frustrations—and you don’t need expensive equipment. This guide reveals factory-level techniques using $20 home tools, based on proven hobbyist methods. You’ll create durable, bubble-free decals that survive crashes and washes while making your RC stand out at the track.
Essential Decal Types for RC Scale Models
Vinyl Decals vs. Water Slide Options
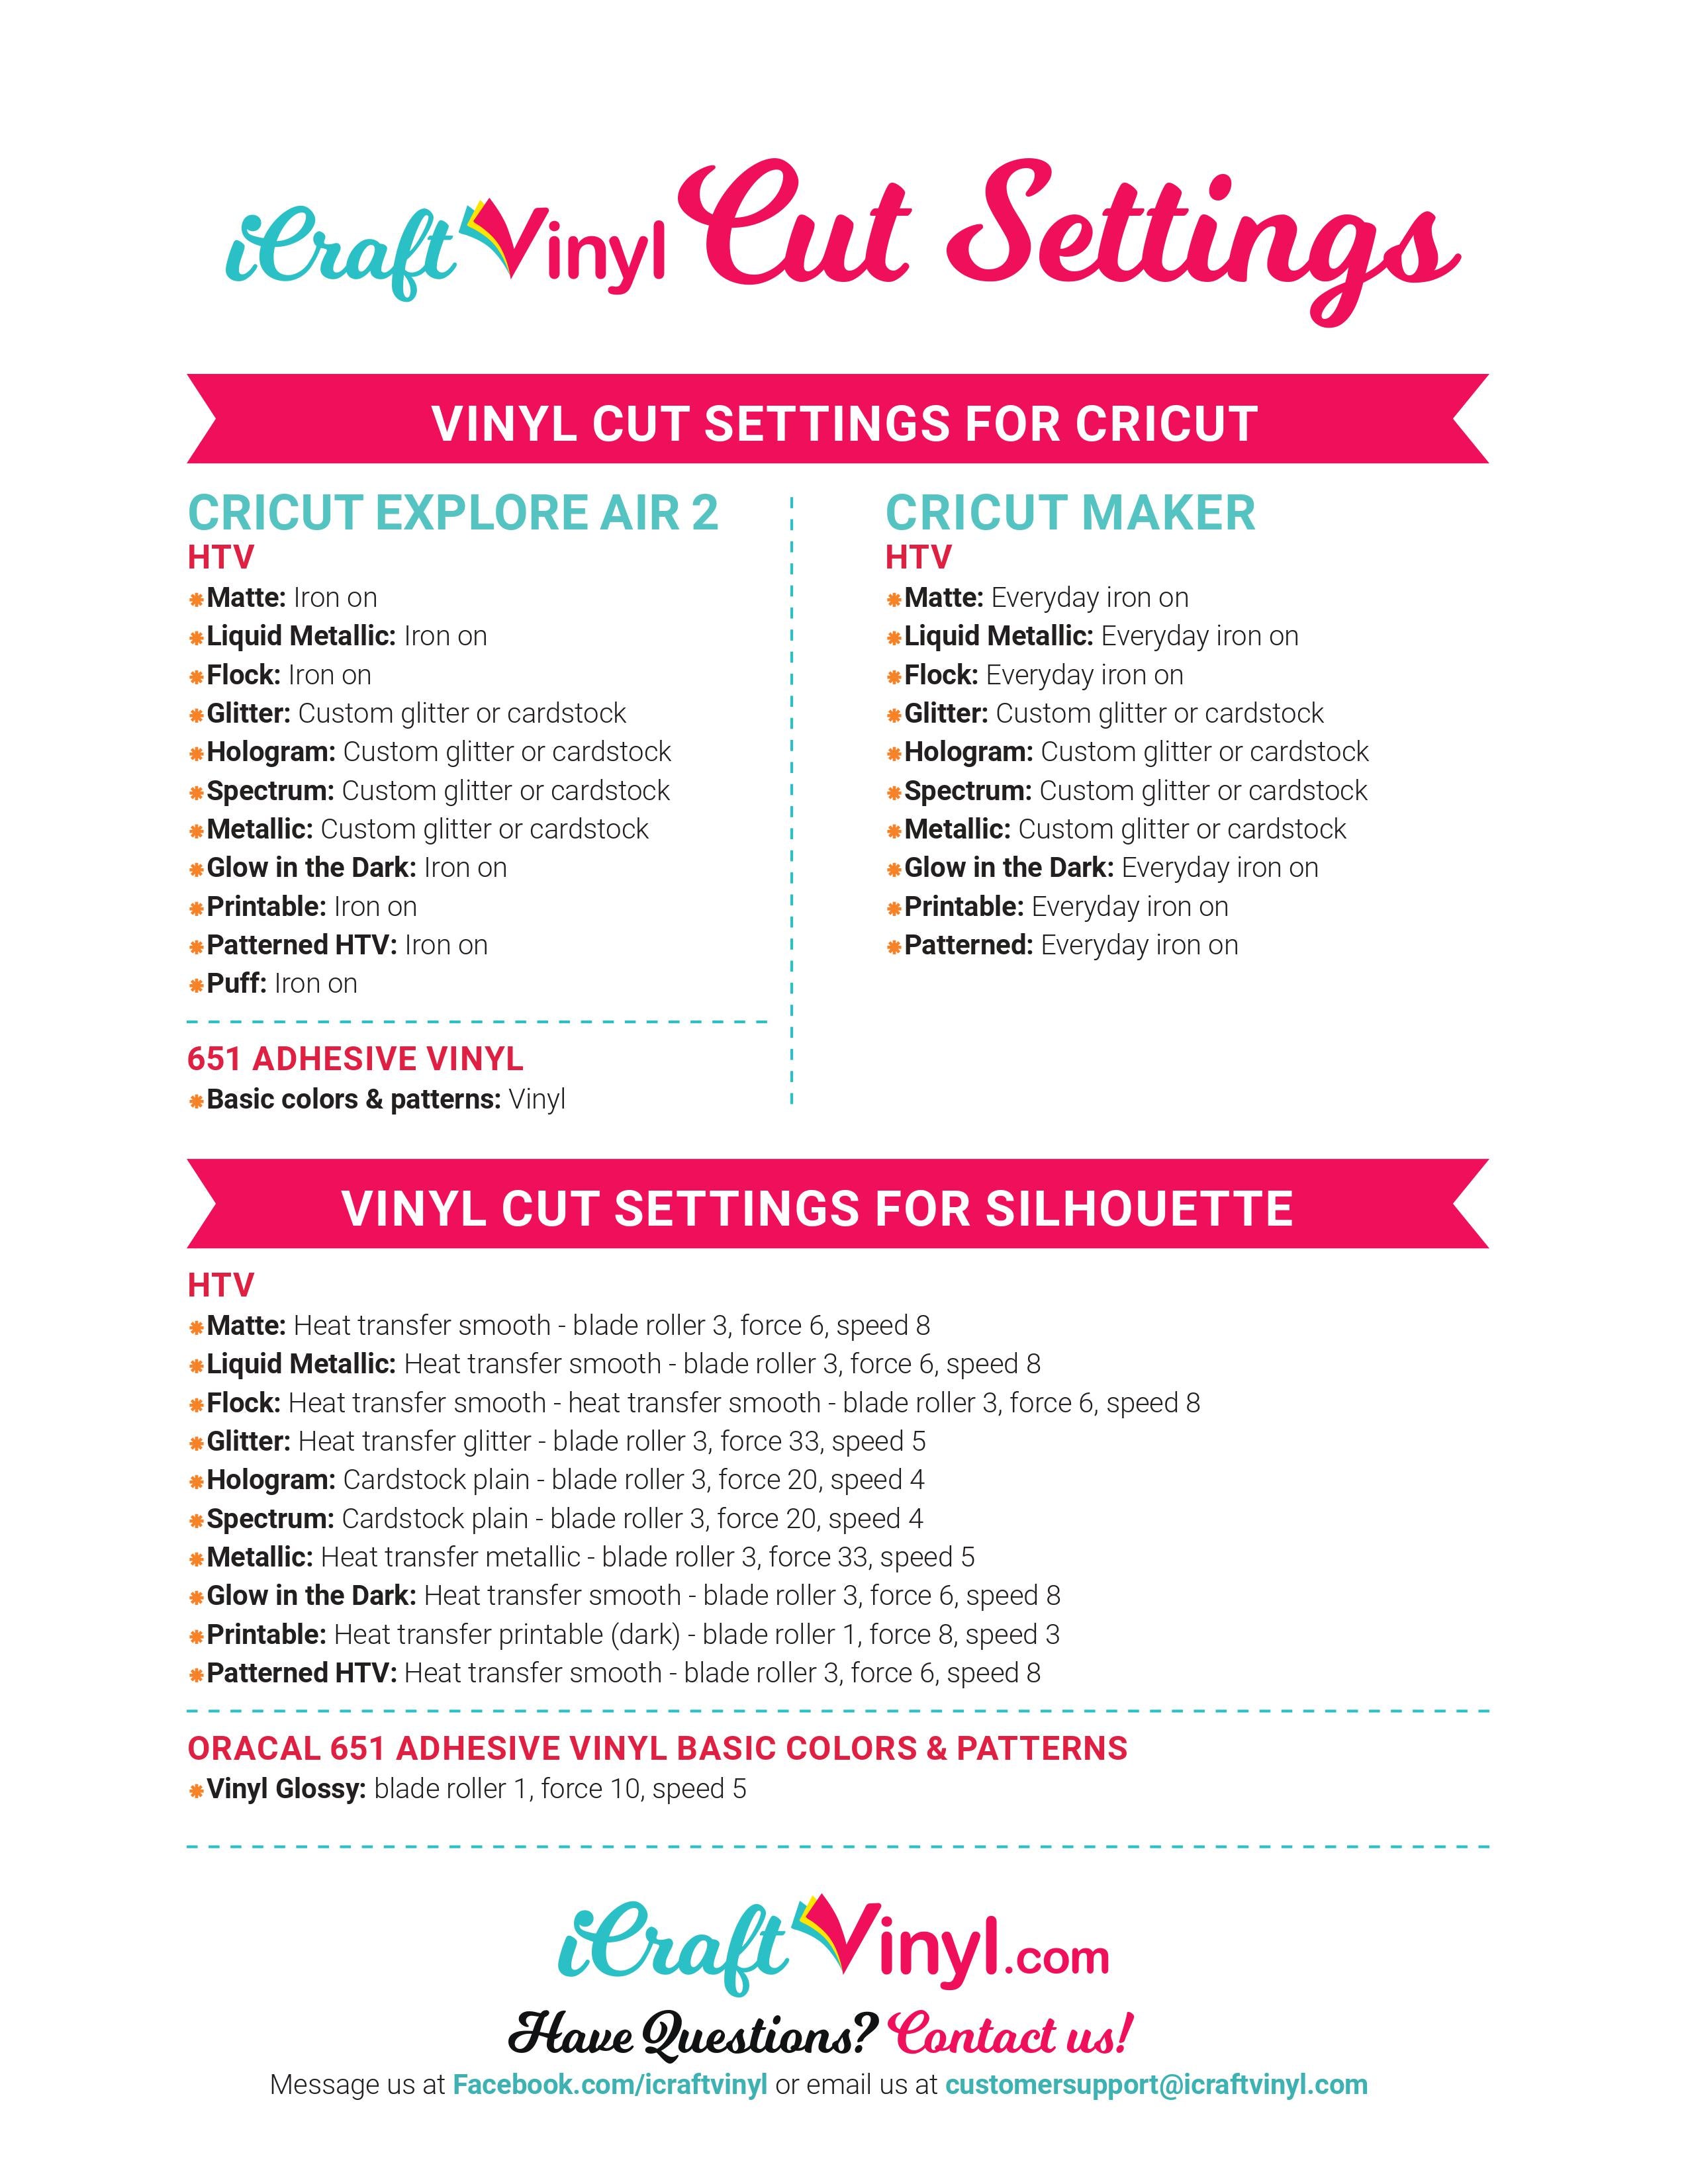
Vinyl decals suit flat panels like hoods or roofs. They’re cut from adhesive-backed sheets using hobby cutters (like Cricut Explore Air 2). Cut vinyl holds up to 3 years outdoors but struggles with compound curves. Water slide decals work better for complex shapes like roll cages or roll bars—they transfer printed designs onto any surface using water activation.
Choosing Your Decal Material
For vinyl: Use 3M Controltac 180mC-10 film. Its air-channel adhesive prevents bubbles on textured RC bodies. Avoid cheap vinyl—it cracks under RC tire flex. For water slides: Print onto OraJet 3142RT film. Its polyester base won’t tear when wet, unlike paper decals. Never use standard printer paper—it disintegrates during transfer.
Preparing Your Decal Design Files
Scaling Designs to RC Body Dimensions
RC bodies distort scale at 1/10 size. A real Mustang’s 4-inch logo becomes 0.4 inches on your RC—too small to cut accurately. Resize logos to 1.5–2 inches minimum for clean edges. Use Adobe Illustrator’s “Scale Tool” to proportionally enlarge while maintaining sharpness.
Critical File Setup for Clean Cuts
Convert all text to outlines before cutting. Otherwise, missing fonts cause jagged edges. Set stroke widths to 0.25pt minimum—thinner lines won’t cut cleanly on vinyl. For water slides, save designs as 300 DPI PNG files with transparent backgrounds. Lower resolutions create pixelated edges that bleed during transfer.
Cutting Vinyl Decals: Avoiding Common Failures
Machine Settings That Prevent Peeling
Most hobbyists cut too deep. Use 120g blade pressure on 60lb vinyl—not the default 150g. Test cuts on scrap material first: if you see white lines through the backing, pressure is too high. For curved RC body panels, reduce speed to 10mm/s. Faster cuts cause vinyl to lift at corners.
Weeding Techniques for Tiny Details
Use a #11 Exacto blade for logos under 0.5 inches. Hold it vertically to avoid catching surrounding vinyl. For intricate shapes like race numbers, wee from the center outward—not edge-to-edge. If vinyl sticks to your tool, lightly dust the transfer tape with cornstarch first.
Water Slide Decal Application: No-Bubble Method
Pre-Treatment Steps for Problem Surfaces
Sand glossy RC bodies with 600-grit sandpaper before applying water slides. Glossy surfaces cause decals to slide off during transfer. Wipe with isopropyl alcohol afterward—never touch with bare hands. Oils from skin create invisible barriers that cause lifting.
The 3-Second Transfer Rule
Soak decals in room-temperature water for exactly 30 seconds. Longer soaking weakens the adhesive layer. Slide the decal onto your RC body using a toothpick. Press firmly with a lint-free cloth for 10 seconds—this activates the glue. Wait 2 hours before clear coating; rushing causes cloudiness.
Clear Coating Decals Without Distortion
Choosing the Right Topcoat Formula
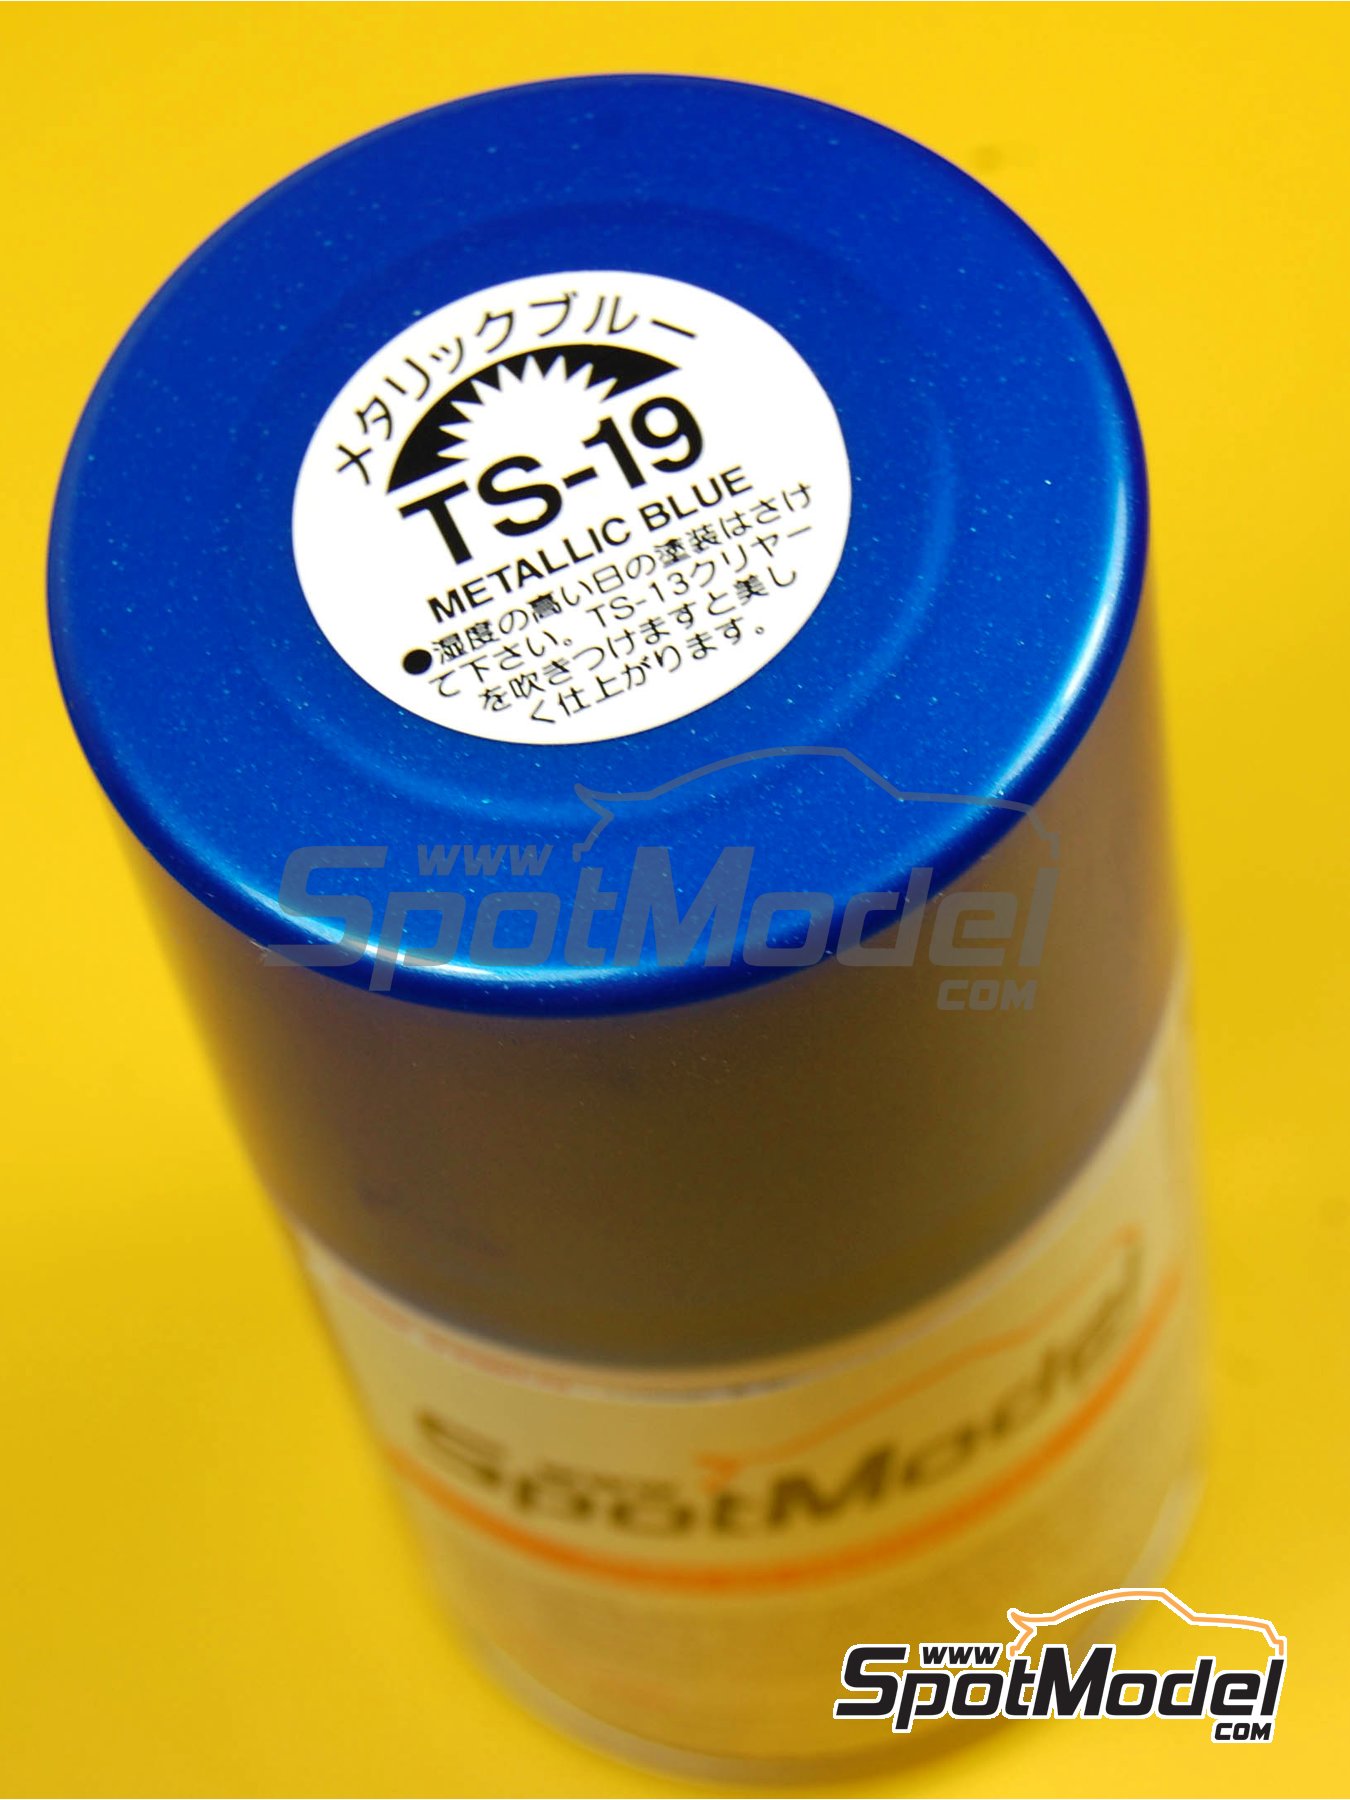
Never use acrylic clear coats—they react with vinyl adhesives and cause yellowing. Apply Tamiya TS-19 Semi-Gloss in 3 thin layers. Between coats, sand with 2000-grit wet/dry paper to remove texture. For water slides, use Mr. Surfacer 1200 as a sealant first—it fills microscopic pores that trap air bubbles.
Avoiding the “Fish Eye” Effect
Contaminated air hoses cause clear coat craters. Attach a moisture trap to your compressor before spraying. Hold the can 12 inches from the RC body—closer distances create orange peel texture. Spray in single-direction passes, not circles, to prevent uneven buildup over decals.
Troubleshooting Peeling and Cracking Decals

Fixing Edge Lifting During Racing
Peeling starts at cut edges. Seal vinyl decals with Micro Set solution using a cotton swab. Work the solution under lifted edges—it reactivates the adhesive. For water slides, apply a 1:1 mix of Future Floor Polish and water over the decal. This creates a waterproof barrier against track dust.
Repairing Cracks from Tire Flex
RC tires flex the body, cracking decals over wheel wells. Cut replacement decals 10% larger than the damaged area. Apply transfer tape over both old and new vinyl, then burnish the seam with a credit card. The overlapping adhesive bonds the sections invisibly.
Cost-Effective Material Alternatives
Budget Vinyl Options That Actually Work
Oracal 651 vinyl costs $8/yard versus 3M’s $25—but only use it on flat surfaces. Its thinner adhesive fails on curved RC hoods. For water slides, print on Avery 22805 film instead of OraJet. It’s half the price but requires 24-hour drying time before soaking (OraJet needs only 1 hour).
Reusing Leftover Decal Material
Save vinyl scraps for small details like headlights. Cut 0.5-inch strips from leftovers to make racing stripes. For water slides, print test designs on the back of failed decals—most films are printable on both sides.
Pro Tips for Competition-Ready Finishes
Creating Depth with Layered Decals
Real race cars have raised logos. Apply a base vinyl decal, then top it with a water slide of the same design. The vinyl’s thickness creates subtle dimension. Seal between layers with Micro Sol solution to prevent delamination.
Making Decals Survive Car Washes
Seal edges with Testors Dull Cote before clear coating. Its matte finish hides seam lines. After final clear coat, buff with Meguiar’s M205 polish—this closes microscopic pores that trap water.
Maintenance: When to Replace Decals
Spotting Early Failure Signs
Check decals after every race day. White haze under vinyl means moisture intrusion—replace within 48 hours. For water slides, blurred edges indicate adhesive breakdown. Don’t wait for peeling; reseal immediately with Future Floor Polish.
Quick Field Repairs for Track Days
Carry Micro Set in a 1oz bottle. Apply to lifted edges, then press with a warm spoon (heat activates adhesion). For water slides, dab clear nail polish on cracks—it dries transparent in 5 minutes.
Final Note: Mastering how to make RC car decals transforms your build from generic to show-winning. Focus first on perfecting vinyl cutting for flat surfaces—it’s the fastest technique for beginners. Always seal edges before clear coating, and never skip the 2-hour drying window for water slides. For your next project, try layered decals on a truck bed or roll cage to add realism that judges notice. Remember: the difference between a good RC model and a great one lives in the details. Start small with door logos, then scale up to full-body designs as your skills improve. Your next decal job won’t just look factory-fresh—it’ll survive harder crashes than the original.


