
Nothing beats the thrill of watching your RC car rocket down the track at blistering speeds, but how do you know exactly how fast it’s going? Whether you’re verifying manufacturer claims, comparing upgrades, or preparing for competition, accurately measuring your RC car’s speed transforms guesswork into data-driven decisions. RC vehicles range from casual 10 MPH crawlers to 100+ MPH speed demons, and knowing your precise speed helps optimize performance and track progress. This guide reveals four proven measurement methods—from professional GPS systems to simple manual calculations—so you can determine your RC car’s true speed with confidence. You’ll learn exactly how to set up each method, avoid common measurement errors, and interpret results for maximum performance gains.
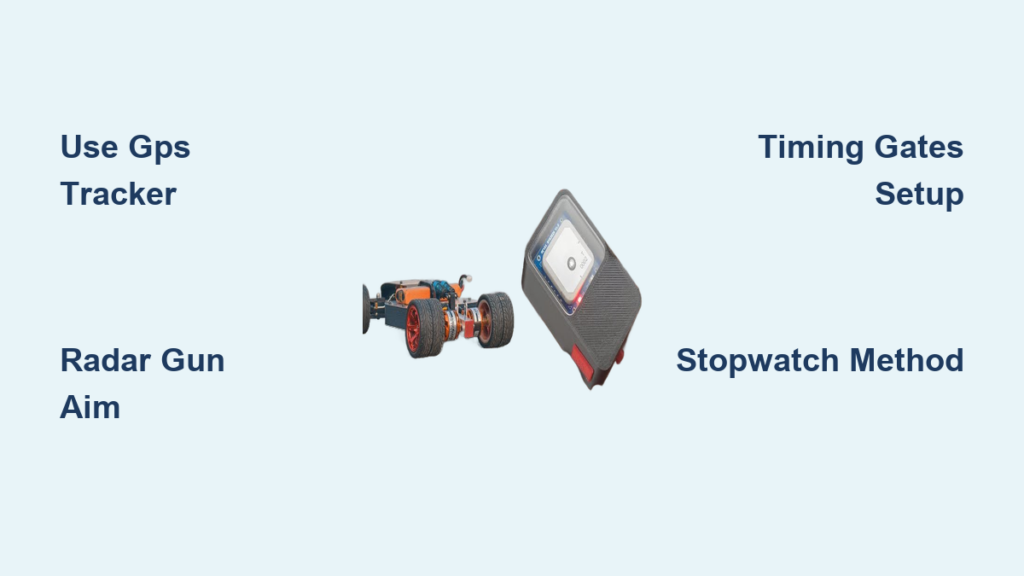
GPS Speed Measurement Techniques

GPS speedometers deliver the most accurate outdoor speed readings for RC cars, capturing velocity within 0.1 MPH of actual speed through satellite triangulation. Modern RC-specific GPS units like the Carrerra RC GPS Speedy sample position data 10 times per second, tracking both peak and average speeds while eliminating mechanical wear concerns. Unlike physical sensors, these devices require no contact with moving parts—just secure mounting on your vehicle with vibration-dampening foam tape or Velcro straps to maintain signal integrity during high-speed runs.
Optimal GPS Mounting for Reliable Data
Position your GPS unit near the vehicle’s center of gravity with the antenna facing skyward for maximum satellite reception. Avoid mounting near metal components or carbon fiber surfaces that could block signals. For vehicles exceeding 80 MPH, select GPS models with 10+ Hz sampling rates to accurately capture brief speed peaks that slower units might miss. Always allow 30 seconds for satellite lock before testing and verify clear sky visibility—urban environments or tree-covered areas will degrade accuracy significantly.
Interpreting GPS Speed Readings Correctly
Your GPS display shows both instantaneous and average speed, but understanding the difference is critical. Peak speed represents the highest velocity achieved during acceleration, while average speed reflects overall performance across your run. A large gap between these values often indicates traction issues where wheel spin wastes power. Record multiple runs to establish consistent baselines, and cross-reference GPS data with another method like radar gun readings to verify accuracy before making performance decisions.
Radar Gun Speed Tracking
Handheld radar guns provide instant speed readings without attaching equipment to your RC car, making them ideal for quick outdoor testing sessions. Units designed specifically for RC applications like the Bushnell Speedster measure Doppler shift in radio waves to calculate speed within 1-2 MPH accuracy when used correctly. This portable approach works best in open areas with minimal electromagnetic interference from other electronics.
Proper Radar Gun Technique for RC Vehicles
Stand 15-30 feet from your track with the radar gun pointed directly at your car’s path—not at an angle—for accurate readings. Begin measuring when your vehicle reaches full speed and maintain a steady aim throughout the run. Environmental factors like crosswinds or extreme temperatures can affect readings, so take five consecutive measurements and calculate the average to minimize error. Never test near metal structures or power lines that could reflect signals and distort results.
Common Radar Gun Mistakes That Skew Results
Most inaccurate readings stem from improper technique rather than equipment failure. Trying to measure speed during acceleration phases instead of steady-state running creates unreliable data. Moving the radar gun while tracking your vehicle introduces significant error—mount it on a tripod for consistent results. Also, remember that radar guns measure relative speed, so testing on a moving surface like a treadmill requires compensating calculations you can’t easily perform in the field.
Timing Gate Systems Explained
Professional timing gate systems like LiveRC’s Race System deliver exceptional accuracy by measuring the time your RC car takes to cross between two infrared beams spaced 10-50 feet apart. These setups calculate average speed across the distance with precision down to 0.01 seconds, making them ideal for competitive racing where fractions of a second matter. Commercial systems offer plug-and-play operation, while DIY versions using Arduino controllers cost significantly less but require technical expertise.
Setting Up Reliable Timing Gates
Position gates on a straight track section with perfectly aligned emitters and detectors facing each other directly. Clean all lenses before testing and verify beam continuity by walking through the detection zone. For 1/10 scale vehicles, set the beam height at 1-2 inches off the ground to avoid triggering from dust or debris. Test the system with a slow-moving vehicle first to confirm consistent triggering before attempting high-speed runs.
Interpreting Timing Gate Data for Performance Insights
The calculated speed represents average velocity between gates, not peak speed—place gates at the end of your longest straightaway to capture maximum velocity. Record multiple runs to identify consistency issues: if your times vary by more than 0.05 seconds, check for beam misalignment or surface inconsistencies. Advanced users can install three gates to measure acceleration between sections, revealing where your vehicle gains or loses speed during the run.
Manual Speed Calculation Methods

When specialized equipment isn’t available, you can estimate RC car speed using basic tools and simple math. Mark a 50-foot straight section of track with visible tape or cones, then time your vehicle’s transit with a smartphone stopwatch. This approach works best for speeds under 30 MPH where human reaction time introduces less error.
Accurate Stopwatch Timing Technique
Position yourself at the midpoint of your measured section for consistent trigger timing. Start the stopwatch as your car reaches the first marker and stop it at the second marker—don’t try to time from a distance. Record five runs and discard the fastest and slowest times before calculating the average. For better accuracy, use your phone’s slow-motion video (120 fps) to count frames between markers: divide frame count by frame rate to get seconds, then apply the speed formula.
Speed Calculation Formula Simplified
Use this calculation: (Distance in feet ÷ Time in seconds) × 0.6818 = Speed in MPH. For example, if your car covers 50 feet in 2.5 seconds: (50 ÷ 2.5) × 0.6818 = 13.64 MPH. Keep a conversion chart visible during testing: 50 feet per second = 34 MPH, 75 feet per second = 51 MPH. Remember that manual methods measure average speed over the distance—you won’t capture peak velocity with this approach.
Factors That Skew RC Speed Measurements
Environmental conditions significantly impact measurement accuracy across all methods. GPS units lose precision when satellite signals bounce off buildings (multipath interference), while radar guns struggle in high winds that push your vehicle off course. Electromagnetic interference from your transmitter or nearby electronics can disrupt sensor readings, particularly with timing gates.
Temperature Effects on Measurement Accuracy
Extreme temperatures affect both your equipment and vehicle performance. Cold batteries deliver reduced voltage, lowering actual speed during winter testing. Electronic components operate outside their optimal temperature ranges, causing measurement drift. Always allow equipment to acclimate for 15 minutes before testing and record ambient temperature alongside your results for meaningful comparisons across sessions.
Surface and Traction Variables
Track surface conditions dramatically influence achievable speed. A smooth concrete surface might yield 10% higher speeds than asphalt with identical setup due to reduced rolling resistance. Wet or dusty conditions decrease traction, limiting acceleration even if your vehicle’s potential hasn’t changed. Document surface type and condition with each measurement—this context explains performance variations that might otherwise seem like measurement errors.
Troubleshoot Common Measurement Problems
Inconsistent readings often stem from equipment limitations rather than user error. If your GPS shows wild speed fluctuations, check for signal obstruction—the unit needs direct line-of-sight to at least four satellites. Radar gun inconsistencies usually indicate improper aiming technique; mount the unit on a stable surface rather than hand-holding. Timing gate errors frequently result from misaligned beams or dirty sensors.
Solving Peak Speed Capture Issues
Most measurement systems miss true peak speed because they sample too slowly. A vehicle accelerating from 60-70 MPH in 0.5 seconds requires 2 Hz sampling to capture the peak—many basic GPS units only update once per second. Solution: position timing gates at the exact spot where your vehicle reaches maximum speed, typically 10-15 feet before the end of your longest straight section. For radar guns, focus on the middle third of your run where speed stabilizes.
Verifying Measurement Accuracy
Cross-validate your primary method with a secondary approach—compare GPS readings against radar gun measurements at the same location. Test against a known reference: drive your RC car alongside a bicycle moving at verified speed (use bike computer or phone GPS). Record multiple data points across different sessions; consistent results across time confirm reliable methodology while variations highlight measurement flaws.
Expert Tips for Precise RC Speed Results
Establish standardized testing protocols for reliable comparisons. Use the same track section, battery charge level (always test at 100% capacity), and ambient conditions for all measurements. Allow three warm-up runs before official timing to ensure components reach operating temperature. Record comprehensive notes including date, temperature, humidity, battery voltage, and tire type alongside each speed reading.
Data Collection Best Practices
Create a spreadsheet template with columns for all relevant variables: date, time, ambient temperature, surface type, battery voltage, motor temperature, and multiple speed readings. Calculate averages and standard deviations to identify consistent performers versus erratic results. Photograph your setup for each test session—these visual records help identify subtle changes that might affect performance.
Safety-First High-Speed Testing
Never sacrifice safety for speed measurements. Establish clear 15-foot safety zones around your track during high-speed runs. Wear safety glasses when testing vehicles exceeding 40 MPH. Secure all components with threadlocker to prevent failures at speed, and inspect drivetrain parts before each session. Test in areas with ample runoff space—never near people, animals, or property that could be damaged by a runaway vehicle.
Understanding how to measure RC car speed accurately transforms your hobby from casual enjoyment to performance-driven passion. By implementing these proven methods and troubleshooting techniques, you’ll gain reliable data to optimize your setup and verify performance gains. Remember that consistent testing conditions matter more than absolute precision—tracking relative improvements with the same methodology provides the insights you need to push your RC car’s limits safely and effectively.


