
Ever experienced that frustrating moment when you power up your RC car, press the throttle, and nothing happens? The most common culprit is a failed connection between your transmitter and receiver—a problem easily solved by properly programming your remote control to your RC car. Whether you’re setting up a new vehicle, replacing a lost transmitter, or troubleshooting connection issues, understanding the radio binding process saves time and prevents damage to your investment. Modern RC systems use sophisticated 2.4GHz technology that makes programming straightforward, but getting the sequence wrong can leave you with an unresponsive vehicle.
This guide breaks down the exact steps to successfully program any standard RC remote control to your car, covering different binding methods, troubleshooting tips, and essential best practices. You’ll learn how to establish that critical radio link so you can spend less time fiddling with electronics and more time enjoying your RC car.
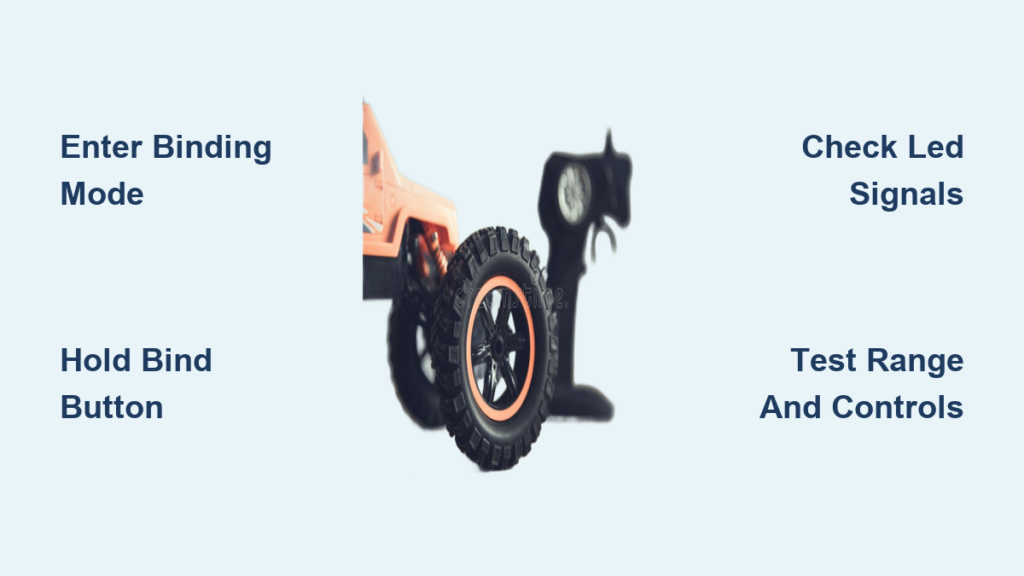
Locate and Activate Your Receiver’s Binding Mode

Your RC car’s receiver needs to enter binding mode before it can connect to a transmitter. Start by finding the receiver unit, typically mounted near the center of your vehicle’s chassis beneath the body shell. Most modern receivers feature a small LED indicator light and either a dedicated binding button or a binding port requiring a special plug.
For receivers with a physical bind button, press and hold it while connecting the battery to your RC car. You’ll know you’ve succeeded when the LED shifts from a steady glow to rapid flashing—this indicates the receiver is actively searching for a transmitter signal. If your receiver uses a bind port instead, insert the included bind plug (a small jumper wire) into the designated port before powering up. The flashing LED confirms binding mode activation. Take careful note of your receiver’s specific binding indicator pattern, as different brands use distinct light sequences to communicate status.
What to Watch For During Activation
The LED behavior provides crucial feedback during binding. A rapidly flashing light means the receiver is ready to pair, while a slow pulse indicates it’s already bound to another transmitter. If the light remains completely off after power-up, check your battery connections and verify the receiver is receiving power. Some systems require you to press the bind button within a specific timeframe after power application—typically 2-5 seconds—so have your finger ready before connecting the battery.
Execute Transmitter Binding Sequence Correctly
With your receiver in binding mode, it’s time to activate your transmitter’s pairing function. Different manufacturers use varying methods: some require holding a dedicated bind button while powering on, others need specific stick positions, and premium systems might require navigating menu options.
For most standard transmitters, power on your remote while holding the bind button (often located near the battery compartment or under a small cover). On pistol-grip controllers, you’ll typically need to hold the steering wheel fully left and throttle trigger fully down during startup. High-end systems like Spektrum DX6 require accessing the “Link” menu option before selecting “Bind.” Keep both units stationary during this critical phase—movement can disrupt the initial handshake process.
Common Transmitter Binding Mistakes to Avoid
Many binding failures stem from simple user errors during transmitter activation. The most frequent mistake is releasing the bind button too soon—maintain pressure for at least 5 seconds after power-up. Another common issue involves incorrect stick positioning; if your system requires specific stick inputs, even slight deviations can prevent binding. Some transmitters require you to select the correct vehicle type (car, truck, buggy) in the menu before binding, so double-check this setting. Always verify your transmitter’s battery is sufficiently charged, as weak power can cause intermittent binding that fails during the final handshake.
Confirm Successful Binding with Verification Tests

Don’t assume binding succeeded just because the lights changed pattern—perform these essential verification steps. First, power cycle both units: turn off your transmitter, disconnect and reconnect the RC car battery, then power everything back on. A successfully bound system will show a steady LED on the receiver without returning to rapid flashing.
Next, perform a channel check without the motor connected. Move each control stick slowly through its full range while watching the steering servo and electronic speed controller (ESC) response. The steering should move smoothly left and right with the steering wheel input, and the ESC should emit its startup beeps when you apply throttle. If any channel responds sluggishly or not at all, rebinding may be necessary.
Range Testing for Reliable Operation
Before your first drive, conduct a proper range test to ensure reliable control at distance. With your RC car stationary and pointed away from you, have a friend monitor the vehicle while you walk backward. Start with small throttle inputs at 10-foot intervals, gradually increasing distance while checking for any control lag or dropouts. Most quality 2.4GHz systems maintain control up to 300 feet, but obstacles and interference can reduce this range. If you experience signal loss at short distances, recheck your antenna positioning—vertical orientation typically provides optimal reception.
Troubleshoot Failed Binding Attempts Systematically
When binding fails, approach troubleshooting methodically rather than randomly repeating the process. Begin with power verification: weak batteries cause more binding failures than any other single factor. Test both your transmitter and RC car batteries with a voltage checker—anything below 7.2V for a standard 7.4V LiPo pack indicates insufficient power for reliable binding.
Next, eliminate RF interference by moving away from potential signal disruptors. Common culprits include WiFi routers, Bluetooth speakers, microwave ovens, and other RC vehicles operating nearby. Move at least 30 feet away from these devices and try binding again. If you’re in a location with multiple RC users, binding failures often indicate channel congestion—wait for others to complete their binding processes before trying again.
Compatibility Checks That Save Hours of Frustration
Confirm your transmitter and receiver operate on the same frequency protocol before wasting time on incompatible systems. While most modern equipment uses 2.4GHz, some budget models still employ older 27MHz or 49MHz technology. Even within 2.4GHz systems, proprietary protocols like Futaba’s FASST or Spektrum’s DSMX prevent cross-brand binding. Check for matching protocol identifiers on both units—these often appear as small logos or text near the antenna connection. If you’ve replaced components, verify the new parts match the original specifications rather than assuming “any 2.4GHz receiver will work.”
Optimize Your Radio System for Maximum Performance
After successful binding, implement these professional tuning techniques for reliable operation. Position your receiver antenna vertically and route it away from electrical noise sources like motor wires and speed controllers. Most manufacturers recommend leaving at least 6 inches between the antenna and high-current components. For vehicles with metal chassis, mount the receiver on foam padding to prevent signal dampening from the conductive surface.
Update your transmitter firmware to the latest version, as manufacturers frequently release binding protocol improvements. Many high-end transmitters feature signal strength indicators—monitor these during operation to identify developing connection issues before they cause loss of control. Consider binding your system in the environment where you primarily drive, as local RF conditions affect optimal channel selection during the binding process.
Maintain Your Binding Connection Long-Term
Proper maintenance prevents future binding issues. After each use, power down your transmitter before disconnecting the RC car battery—this sequence preserves the binding relationship in some systems. Store your equipment in a dry, temperature-controlled environment, as moisture and extreme temperatures can degrade electronic components over time.
When upgrading components, understand how replacement parts affect your binding. Newer transmitters often support multiple vehicle memories, allowing you to bind several RC cars to one controller. If replacing your receiver, check whether it requires clearing the transmitter’s memory first—some systems become confused when binding to a new receiver without deleting the old vehicle profile. Always rebind after significant firmware updates, as these sometimes reset radio protocols to factory defaults.
Final Summary: Programming a remote control to an RC car requires precise timing between activating your receiver’s binding mode and initiating the transmitter’s pairing sequence. Success depends on using compatible equipment, maintaining strong power sources, and following manufacturer-specific procedures. When binding fails, systematically check battery levels, eliminate RF interference, and verify component compatibility before attempting again. Proper antenna positioning and regular system maintenance ensure your radio connection remains reliable through countless driving sessions. By mastering these binding techniques, you’ll minimize setup frustration and maximize your time enjoying the thrill of RC car operation. Remember that most binding issues stem from simple oversights rather than equipment failure—take your time with each step, and you’ll establish that perfect transmitter-receiver connection every time.


