
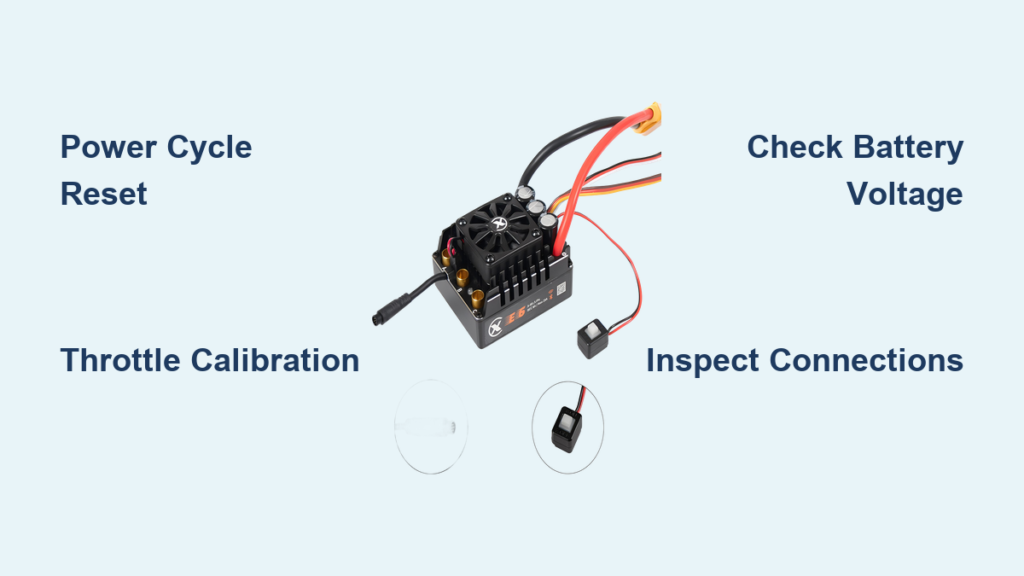
Your RC car suddenly jerking backward when you hit the throttle or refusing to move despite a fully charged battery is incredibly frustrating. The culprit is often the Electronic Speed Controller (ESC), the critical component that translates your transmitter inputs into precise motor control. When your RC car’s performance becomes erratic or unresponsive, knowing how to reset ESC on RC car properly can save you from unnecessary repairs or replacements. This guide delivers proven reset methods that work across most ESC models, helping you diagnose issues and get back to racing in minutes.
Why Your RC Car ESC Needs Resetting
The ESC serves as the critical link between your RC car’s battery, motor, and receiver. It processes throttle signals from your transmitter and delivers precise power to the motor, all while managing features like braking, reverse, and cutoff protection. Under normal conditions, your ESC handles these tasks flawlessly. However, certain situations can disrupt its internal settings or calibration, causing erratic behavior that requires a reset.
Common scenarios that necessitate an ESC reset include unexpected motor reversal (running backward when you accelerate), stuttering or jerky acceleration, complete motor shutdown during operation, failure to respond to throttle inputs, and irregular braking performance. Additionally, many ESCs require a reset after firmware updates or significant programming changes to ensure new settings take effect properly. Some models also benefit from periodic resets as part of routine maintenance, especially if you’ve been running the car hard or in challenging conditions like extreme heat or dusty environments.
Understanding why your ESC needs attention helps you choose the right reset method and prevents unnecessary troubleshooting. Most issues stem from calibration drift, signal interference, or settings corruption—problems that a proper reset typically resolves without requiring component replacement.
Essential Safety Precautions Before Resetting
Before touching any components on your RC car, safety must come first. Working with lithium batteries and electrical systems carries inherent risks that proper preparation eliminates. Taking a few minutes to set up your workspace correctly protects both you and your equipment.
Begin by removing any propeller or drive gear from the motor shaft. This prevents accidental starting during the reset process, which could cause injury or damage. If your RC car uses a brushless motor, the exposed shaft can catch clothing or fingers, so covering it or ensuring it’s in a safe position matters. For nitro-powered vehicles, the safety protocol differs slightly—you’ll want to ensure the engine is cool and the fuel system is sealed, though most ESC resets on nitro vehicles focus on the electronic components rather than the engine itself.
Charge your battery to approximately 50-70% capacity rather than leaving it fully charged or completely depleted. A partially charged lithium battery is more stable during repeated power cycles and reduces the risk of deep discharge damage if something goes wrong. Inspect all connections for damage, corrosion, or loose wires—these issues can cause reset failures or, worse, short circuits. Keep your workspace clear of flammable materials, and never perform resets on carpet or other surfaces that can build up static electricity.
Quick Power Cycle Reset Method for Immediate Fixes
The simplest reset technique works approximately 60% of the time for minor ESC glitches. This power cycle method clears temporary settings and forces the ESC to reinitialize from scratch, often resolving calibration drift or minor software hiccups without affecting your programmed preferences.
To perform a power cycle reset correctly, first power off your transmitter completely and set it aside. Disconnect the battery from your ESC, ensuring the connection is fully removed. Press and hold the ESC’s power button (if equipped) for 10-15 seconds to drain any residual capacitor charge—this step is crucial for a complete reset. While waiting, move the throttle stick on your transmitter to full throttle and hold it there.
After the waiting period, reconnect your battery to the ESC. You should hear a series of initialization tones from the ESC, typically indicating motor pole count and battery cell count. Release the throttle stick to center position once you hear these tones. Power on your transmitter and wait for the ESC to complete its startup sequence, which usually includes a final confirmation tone. Test the throttle response at low speed to confirm normal operation before running at full power.
This method works best for temporary glitches, post-crash resets, and routine recalibration after removing the battery for charging. If your ESC doesn’t respond with the expected tone sequence, or if the motor behaves erratically after the reset, proceed to the full calibration procedure.
Full Throttle Calibration Reset for Persistent Issues
When simple power cycling fails to resolve your ESC issues, a full throttle calibration reset gives the ESC a clean slate by reprogramming its understanding of your transmitter’s throttle range. This procedure is more involved but addresses most calibration-related problems, including incorrect endpoint settings and reversed throttle direction.
Begin with your RC car on a stable surface and wheels free to rotate. Power off the transmitter and ensure the throttle stick is in the neutral (center) position. Connect your battery to the ESC but do not power on the transmitter yet—the ESC should remain off at this stage. For most ESCs, you enter calibration mode by holding the calibration button (often located on the ESC itself or the programming card) while powering on the ESC. Hold this button for approximately three seconds until you hear a specific tone pattern, typically two short beeps followed by a longer tone.
With the ESC in calibration mode, power on your transmitter. Move the throttle stick to full throttle position and hold it there. Press the calibration button once to save the full throttle endpoint—you should hear a confirmation tone. Next, move the throttle stick to full brake or reverse position (the opposite extreme from full throttle) and press the calibration button again to save this endpoint. Finally, return the throttle stick to neutral position and press the calibration button a third time to complete the calibration.
The ESC should now emit a final confirmation tone and initialize normally. If you hear error tones or the motor doesn’t respond correctly, repeat the calibration process carefully, ensuring you hit each endpoint precisely. Some ESCs require specific timing between button presses, so consult your documentation for model-specific requirements.
Troubleshooting Common ESC Reset Failures
Even with proper technique, ESC resets sometimes fail to resolve underlying issues. Understanding why resets don’t work helps you identify the actual problem and take appropriate action, whether that’s component replacement or professional repair.
If your ESC doesn’t produce any tones during initialization, the issue likely lies in the power supply rather than the ESC itself. Test the battery with a multimeter to verify voltage—fully charged LiPo cells should read 4.2V per cell under no load. Check all connectors for damage, bent pins, or corrosion that could interrupt power delivery. Try a different battery if available, as a faulty cell can prevent ESC startup while still showing nominal voltage on a meter.
When the ESC initializes normally but the motor runs backward, your throttle channel is reversed at either the transmitter or ESC level. Check your transmitter settings first—many controllers have a channel reverse function. If the transmitter settings are correct, your ESC calibration may have saved incorrect endpoints. Repeat the full calibration procedure, paying close attention to the order of throttle positions and button presses.
Intermittent operation after reset often indicates overheating or loose connections. Inspect all solder joints and connector points for hairline cracks that expand with vibration. Check that the ESC’s heat sink isn’t clogged with debris and that cooling fans (if equipped) spin freely. Consider adding additional cooling if you frequently run in demanding conditions.
Extending ESC Lifespan Through Proper Maintenance

Regular maintenance extends your ESC’s lifespan and reduces the frequency of reset procedures by preventing the issues that necessitate them. Incorporating simple checks into your routine keeps your RC car running reliably and saves money on premature replacements.
After each running session, inspect the ESC casing for cracks, scorch marks, or melted plastic—these indicate excessive heat or electrical problems that require attention. Clean the ESC with compressed air to remove dust and debris, paying special attention to cooling vents and fan blades. For ESCs exposed to water or mud, disconnect and dry all connections thoroughly, applying contact cleaner if corrosion has begun to form.
Monitor temperatures during operation whenever possible. Many modern ESCs include temperature protection that shuts down the unit before permanent damage occurs, but consistent overheating degrades components over time. If your ESC regularly triggers thermal cutoff, consider upgrading to a higher-rated unit, improving airflow, or reducing gear ratios to decrease load.
When to Seek Professional Help or Replace the ESC

Sometimes an ESC problem goes beyond what reset procedures can fix. Recognizing the signs of permanent damage prevents wasted time and helps you make informed decisions about repair versus replacement.
Physical damage to the ESC casing, burnt components visible on the circuit board, or melted connectors indicate catastrophic failure that requires professional assessment or complete replacement. Similarly, ESCs that repeatedly fail to initialize despite multiple reset attempts, power cycling with verified good batteries, and confirmed transmitter functionality likely have internal component failures.
Water damage presents a particular challenge. While some ESCs claim water-resistant construction, submersion or prolonged exposure typically causes progressive failure even after they appear to work initially. If your ESC has been wet, a thorough cleaning and drying by a professional may save it, but ongoing reliability is questionable.
Cost analysis favors replacement over repair for most modern ESCs. Professional diagnosis fees often approach or exceed the cost of new units, particularly in the mid-range price segment where most hobbyists shop. However, high-end racing ESCs or specialty units for large-scale vehicles may warrant professional repair attempts, especially if custom programming or specialized components are involved.
A properly reset ESC should respond immediately to throttle inputs with smooth, predictable power delivery. If you’ve worked through these methods without success, the issue likely requires component-level attention. Start with a different ESC if possible to confirm whether the problem lies with the controller or another system component. Document any error codes, unusual behaviors, or circumstances leading to the failure—this information helps technicians diagnose issues more efficiently and may reveal patterns that inform future maintenance practices.


