
Nothing kills the excitement of your first nitro RC car session faster than pressing the glow starter and hearing nothing but silence. That frustrating moment when you’ve double-checked everything, yet the engine refuses to cough to life—it’s a rite of passage for every nitro RC enthusiast. If you’ve ever watched fuel pool uselessly in the carburetor or felt the panic as your glow starter clicks into place but delivers no heat, you know this struggle intimately. Mastering the glow starter technique transforms those failed attempts into reliable ignition every time you hit the track. This guide delivers the precise steps, troubleshooting methods, and maintenance secrets that turn beginners into confident nitro RC operators who spend more time driving and less time wrestling with stubborn engines.
The glow starter isn’t just another accessory—it’s the critical ignition source your nitro engine depends on. When properly connected to the glow plug in your engine’s cylinder head, the glow starter delivers enough power to heat the plug’s platinum coil to 1,000-1,200 degrees Celsius. This intense heat ignites the nitro methane fuel mixture during the cranking process, creating the combustion needed to get your RC car moving. Without a functioning glow starter and properly attached connection, your engine simply won’t start, no matter how much throttle you apply or how many times you pull the pull-start cord.
Charge Your Glow Starter to Maximum Capacity Before First Use
Skipping proper glow starter charging causes more failed starts than any other preventable mistake. Before attempting to start your nitro RC car for the first time, verify your glow starter has a full charge by pressing the test button (if equipped) or connecting it to a known-good glow plug. Most glow starters require 3-4 hours for a complete initial charge, with the exact duration clearly printed on the device body—ignoring this specification risks permanent battery damage.
The charging process must mimic how you’ll attach the starter to your glow plug during operation. Insert the nut-shaped charging end firmly into the glow starter’s locking socket until you feel it click into place, then connect the charger to a standard wall outlet. Never leave your glow starter charging overnight—a single overcharge cycle can permanently reduce its capacity by up to 30%. After the initial charge, only recharge when the unit shows clear signs of depletion during use, such as dimming glow plug illumination or failure to maintain heat for more than 15 seconds. This disciplined charging approach extends your glow starter’s lifespan by at least 50% compared to hobbyists who charge after every session.
Attach Glow Starter to Glow Plug Using the Two-Hand Locking Technique
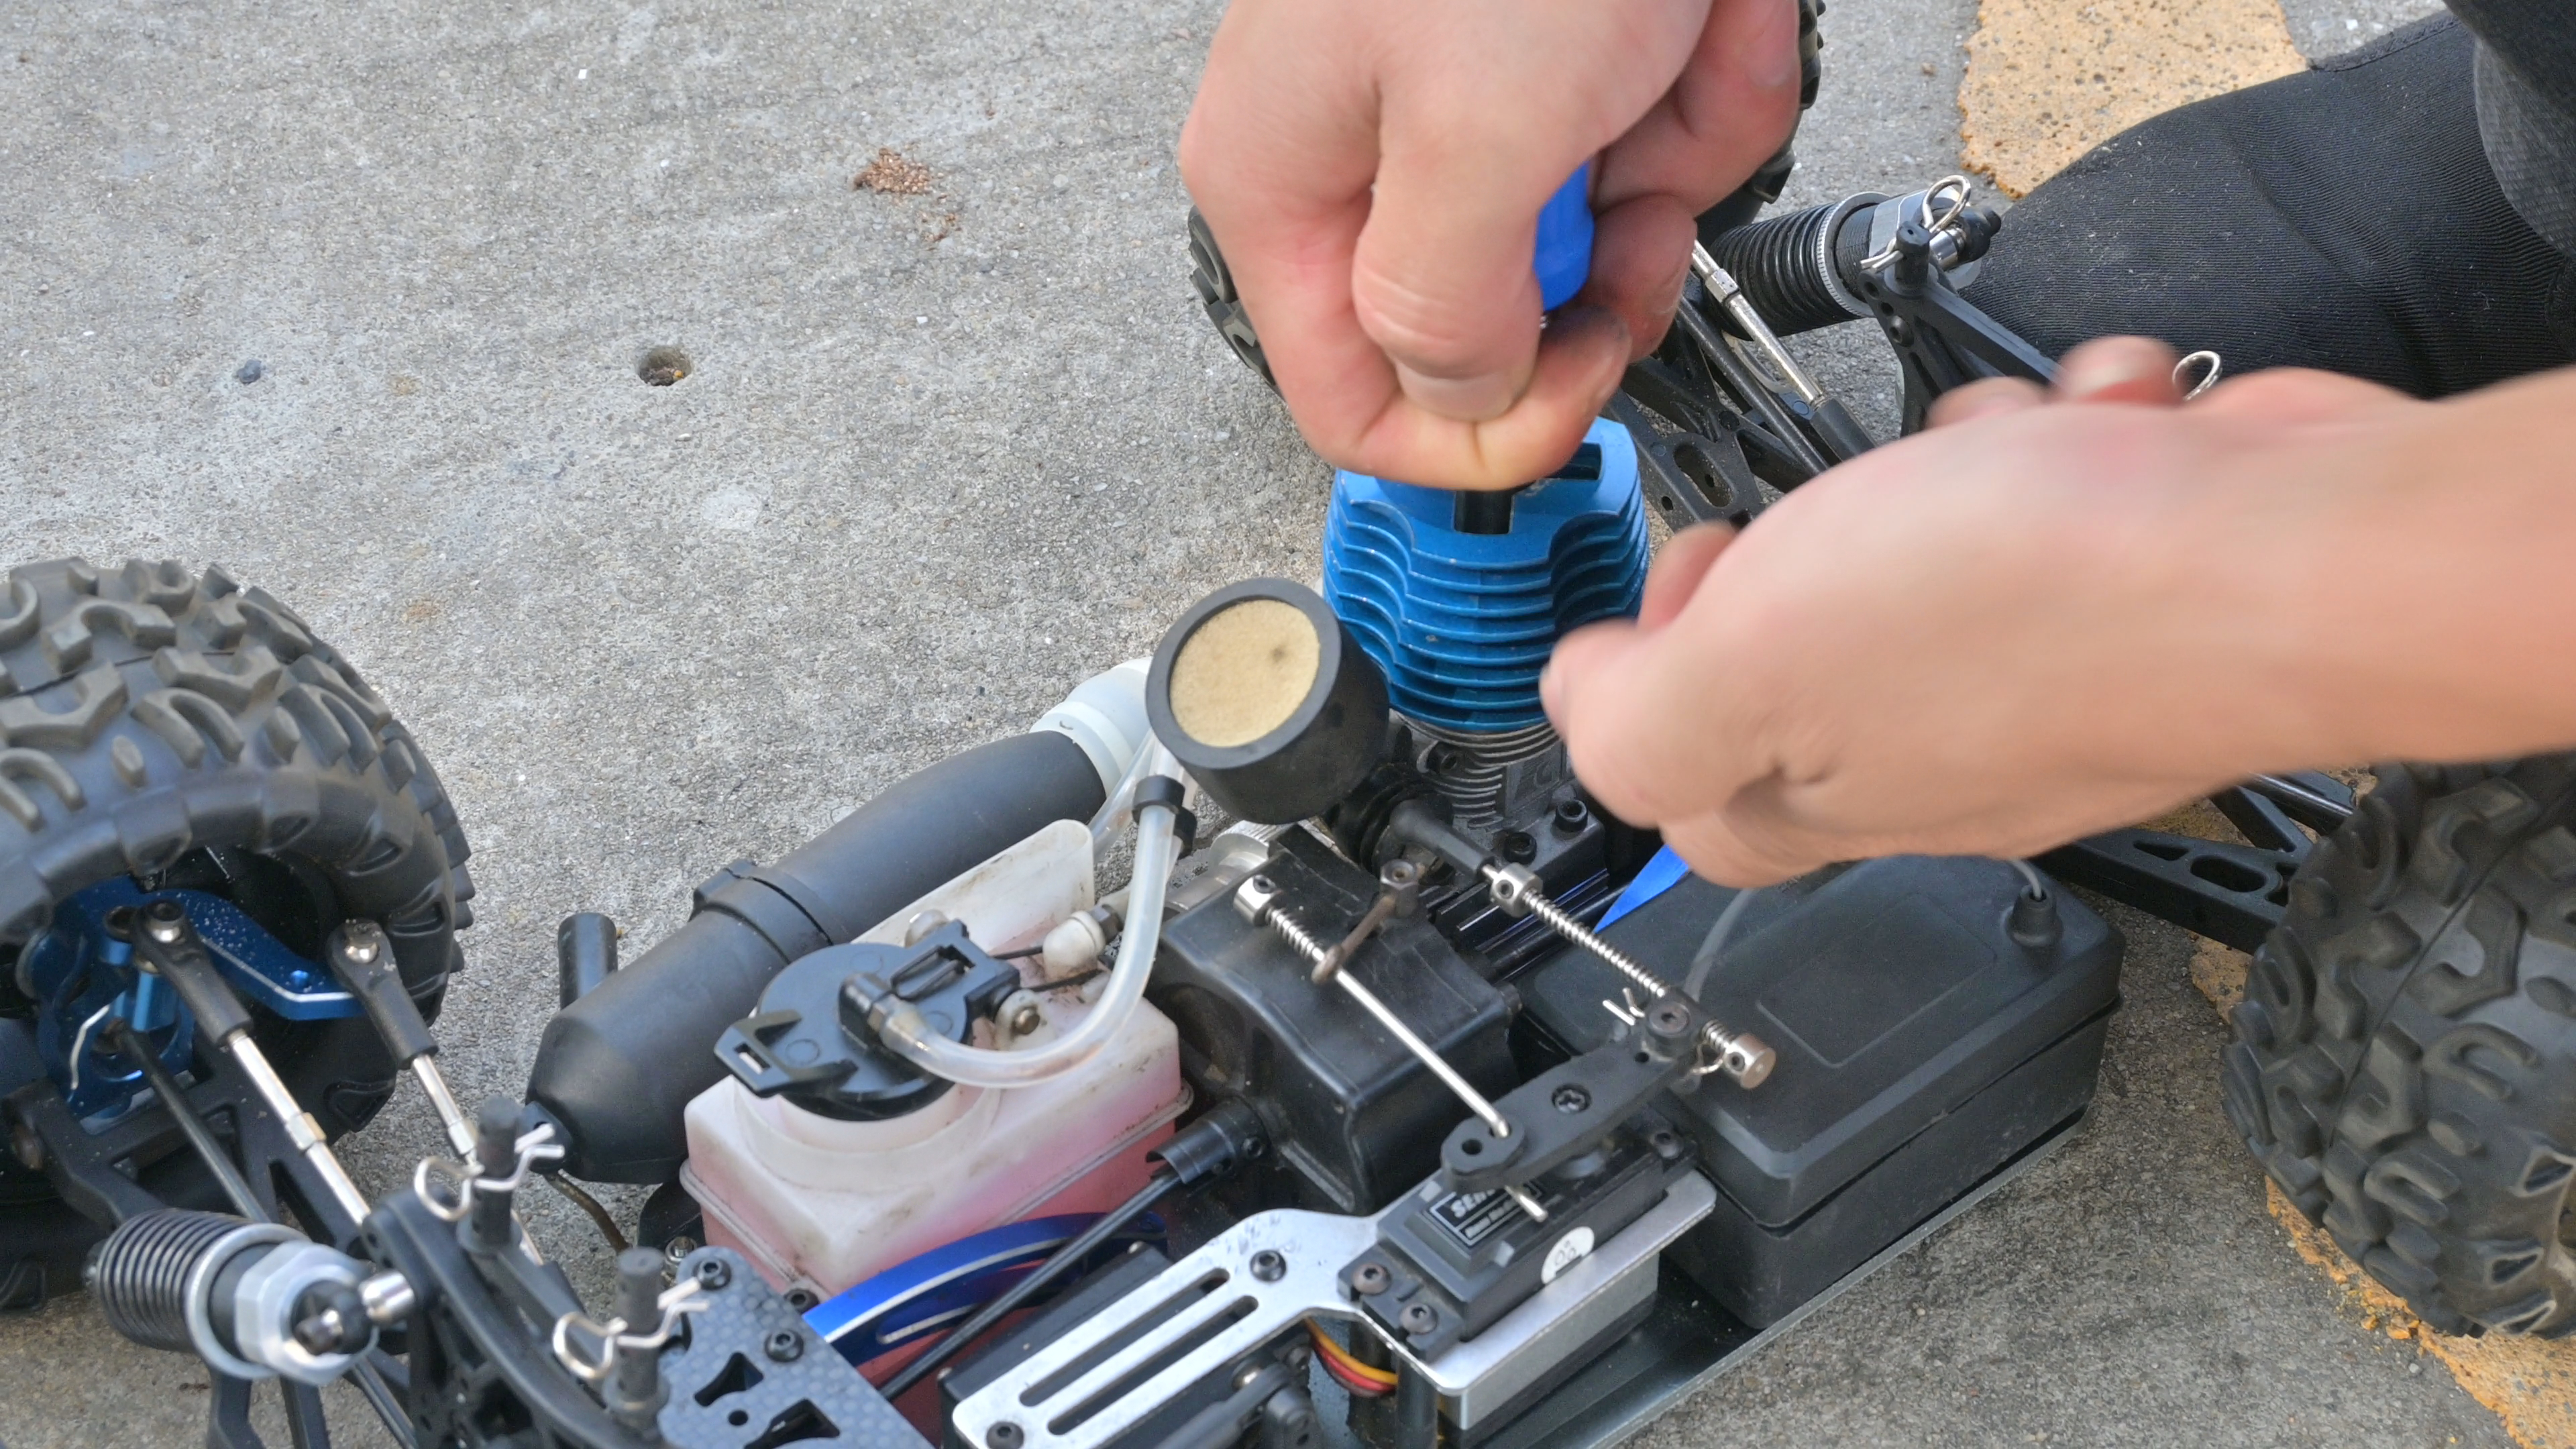
The difference between a successful start and frustrating failure often comes down to how securely you attach the glow starter to the glow plug. Begin by positioning yourself directly above the engine so you can see the glow plug’s hexagonal head clearly. Place your palm flat on top of the glow starter body while using your fingers to pull the plunger upward—this dual-motion action opens the locking claws inside the starter.
As you lower the glow starter toward the glow plug, maintain gentle downward pressure with your palm while keeping the plunger pulled up. When the claws fully cover the glow plug’s hexagonal portion, release the plunger while continuing palm pressure. You’ll hear a distinct metallic click as the locking mechanism engages—this audible confirmation means you’ve achieved a secure, hands-free connection. Test the attachment by gently tugging upward; if the glow starter stays firmly in place without your hand, you’ve mastered the technique. Practice this motion 5-6 times with your engine off before attempting your first real start—it becomes second nature after just a few sessions.
Why Your Glow Starter Keeps Slipping Off During Cranking
If your glow starter consistently disengages when you apply throttle, inspect both components for wear. The locking claws inside your glow starter may have become bent from repeated use, preventing proper grip on the glow plug. Similarly, a worn glow plug hex head will slip even with a new glow starter. Replace either component if you notice visible damage—this $10 investment saves hours of frustration at the track. For immediate relief, clean both surfaces with isopropyl alcohol to remove fuel residue that reduces grip.
Start Your Nitro RC Engine in 4 Precise Steps
With your glow starter properly attached and charged, follow this exact sequence for reliable ignition every time. First, set your transmitter throttle trim to the 25% position—this provides enough fuel for combustion without flooding the engine. Second, hold the glow starter firmly in place while slowly pulling the pull-start cord in smooth, consistent motions (not jerky yanks). Third, listen carefully for the distinctive “popping” sound that indicates fuel ignition—this typically occurs within 3-5 pulls when everything functions correctly.
The critical fourth step comes immediately after hearing that first successful pop: remove the glow starter within 2 seconds while maintaining slight throttle. This timing prevents the glow plug from overheating while allowing the engine to sustain combustion using its own heat generation. If the engine sputters but doesn’t catch, repeat the process but increase throttle trim to 30%—this common adjustment compensates for cooler ambient temperatures that require richer fuel mixtures.
Why Your Engine Starts Then Dies Immediately After Glow Starter Removal
This frustrating scenario almost always indicates a lean fuel mixture rather than a glow starter problem. When the engine runs only while the glow starter is attached but dies immediately after removal, your high-speed needle valve needs adjustment. Turn the needle valve counterclockwise by 1/8-turn increments until the engine sustains idle without assistance. Test after each adjustment—over-rotating causes flooding and requires restarting the entire process. Most nitro RC beginners fix this issue within 3-4 needle valve adjustments when following this precise method.
Avoid These 3 Costly Glow Starter Mistakes That Damage Your Engine

Leaving your glow starter attached for more than 30 seconds after successful ignition is the single most destructive habit among nitro RC beginners. This seemingly minor oversight causes the glow plug’s platinum coil to overheat and burn out, often within just 2-3 sessions. Always remove the glow starter immediately after hearing the engine sustain combustion—set a mental timer if needed until the habit becomes automatic.
Another critical error involves attempting to start your engine with a weak glow starter charge. When the glow plug glows dimly (more red than bright orange), it lacks sufficient heat to ignite the fuel mixture properly, causing repeated failed starts that flood your engine. Test your glow starter’s power level before each session by attaching it to a spare glow plug—replace or recharge immediately if the glow appears weak.
The third most expensive mistake? Using your glow starter to diagnose engine problems. Many beginners leave the glow starter attached while troubleshooting other issues, rapidly burning out both the glow plug and starter. If your engine doesn’t start within three attempts, disconnect the glow starter and let both components cool for 5 minutes before trying again—this simple break prevents $20 in replacement costs after just one session.
Test Glow Starter and Glow Plug Functionality in Under 60 Seconds
When starting problems arise, isolate the faulty component with this quick diagnostic test. Remove the glow plug from your engine using the included hex wrench, then attach it directly to your charged glow starter. A functioning combination will produce an immediate bright orange glow across the entire coil within 3 seconds. If no glow appears, test your glow starter with a known-good glow plug—if it still fails, the starter needs replacement.
For the reverse test, attach your questionable glow plug to a confirmed-working glow starter. A healthy glow plug coil appears uniform and shiny without dark spots or breaks. If the glow is uneven or limited to one section of the coil, replace the glow plug immediately—attempting to start with a compromised plug causes inconsistent ignition and potential engine damage. Keep two spare glow plugs in your toolkit; they typically last 3-5 running sessions before requiring replacement.
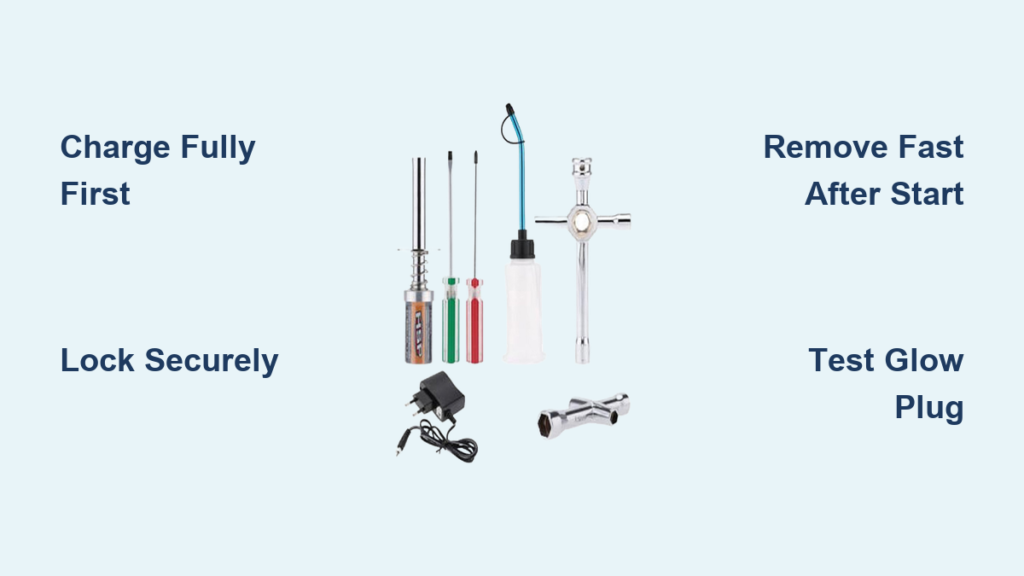
Essential Glow Starter Equipment Checklist for Every Track Day
Before heading to the track, verify these six critical items to avoid ruined sessions:
- Fully charged glow starter (test by attaching to spare glow plug)
- Fresh nitro fuel (less than 30 days old with no visible separation)
- Clean air filter (soaked in nitro oil and properly installed)
- Spare glow plugs (minimum two, pre-tested for proper glow)
- Hex wrench (specific size for your engine’s glow plug)
- Isopropyl alcohol (for cleaning connections before attachment)
Most track-side failures happen because hobbyists skip one of these simple checks. Spend just two minutes verifying each item before your first run—you’ll avoid 95% of preventable starting issues that sideline other nitro RC operators.
Mastering the glow starter technique separates those who enjoy nitro RC cars from those who abandon them after frustrating early experiences. By charging properly, attaching correctly, and removing at precisely the right moment, you’ll achieve reliable ignition every time. When problems do arise, your systematic troubleshooting approach will have you back on the track faster than competitors still guessing at solutions. With these techniques mastered, you’ll spend less time wrestling with stubborn engines and more time experiencing the thrilling performance only nitro RC cars deliver. The next time you hear that satisfying roar of ignition, you’ll know exactly why it happened—and that knowledge makes all the difference.


