
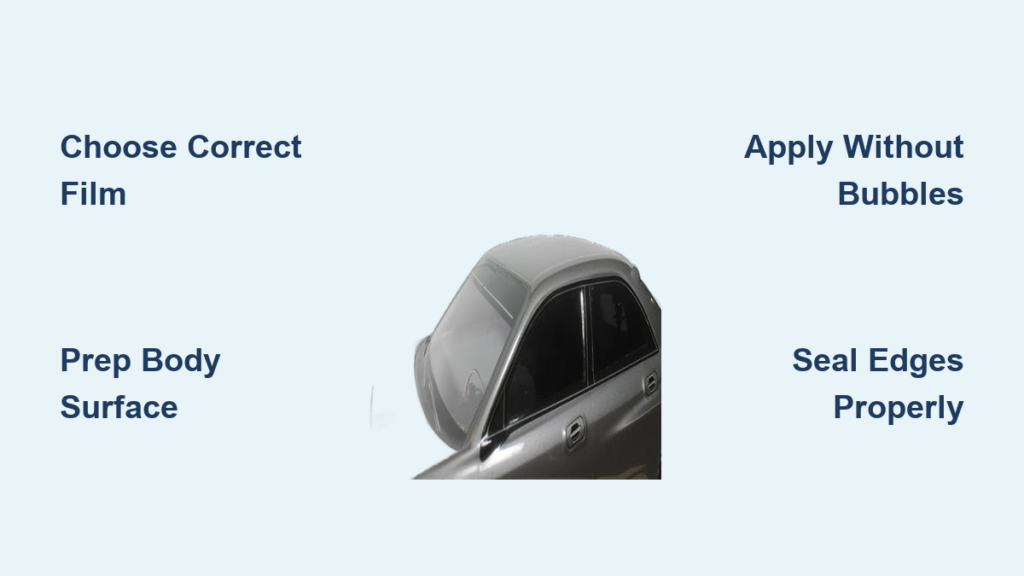
Tinting your RC car windows transforms its appearance from basic to professional-grade scale realism. Unlike full-sized vehicles, RC car window tinting requires specialized techniques due to the miniature scale and unique materials involved. Many hobbyists struggle with bubbles, peeling film, or improper fitment that ruins the aesthetic they’re trying to achieve. This guide provides the exact methods used by experienced RC enthusiasts to get flawless tinted windows that withstand racing conditions and enhance your model’s authenticity. By the end of this article, you’ll know which films work best for different RC scales, how to apply them without bubbles, and techniques to ensure your tint lasts through multiple driving sessions.
Choosing the Right Window Film for Your RC Model
Types of Film Suitable for Scale Models
RC car windows require specialized films that balance thickness, flexibility, and transparency. Standard automotive tint is too thick and won’t conform to the small curved surfaces of RC bodies. Most hobbyists use one of three options: pre-cut RC-specific tint kits, static-cling film, or diluted PVA glue with food coloring. Pre-cut kits work well for popular models like Traxxas or Axial vehicles but limit customization options. Static-cling film offers more flexibility in color choices but requires precise cutting skills. The PVA glue method provides the most authentic look but demands patience during application.
Matching Film to Your RC Scale and Body Material
The scale of your RC vehicle determines which tinting method will work best. 1:10 scale models with Lexan bodies handle traditional tint films better than smaller 1:18 scale models with thinner plastic. Larger scale models (1:8 and above) can accommodate slightly thicker films that provide better durability during crashes. For polycarbonate (Lexan) bodies, static-cling film creates the cleanest appearance without adhesives that might damage the surface. ABS plastic bodies require adhesive-backed films that won’t lift at the edges during operation. Always test your chosen method on a scrap piece of the same material before working on your actual RC car body.
Essential Tools for Professional-Looking RC Window Tint
Must-Have Application Tools
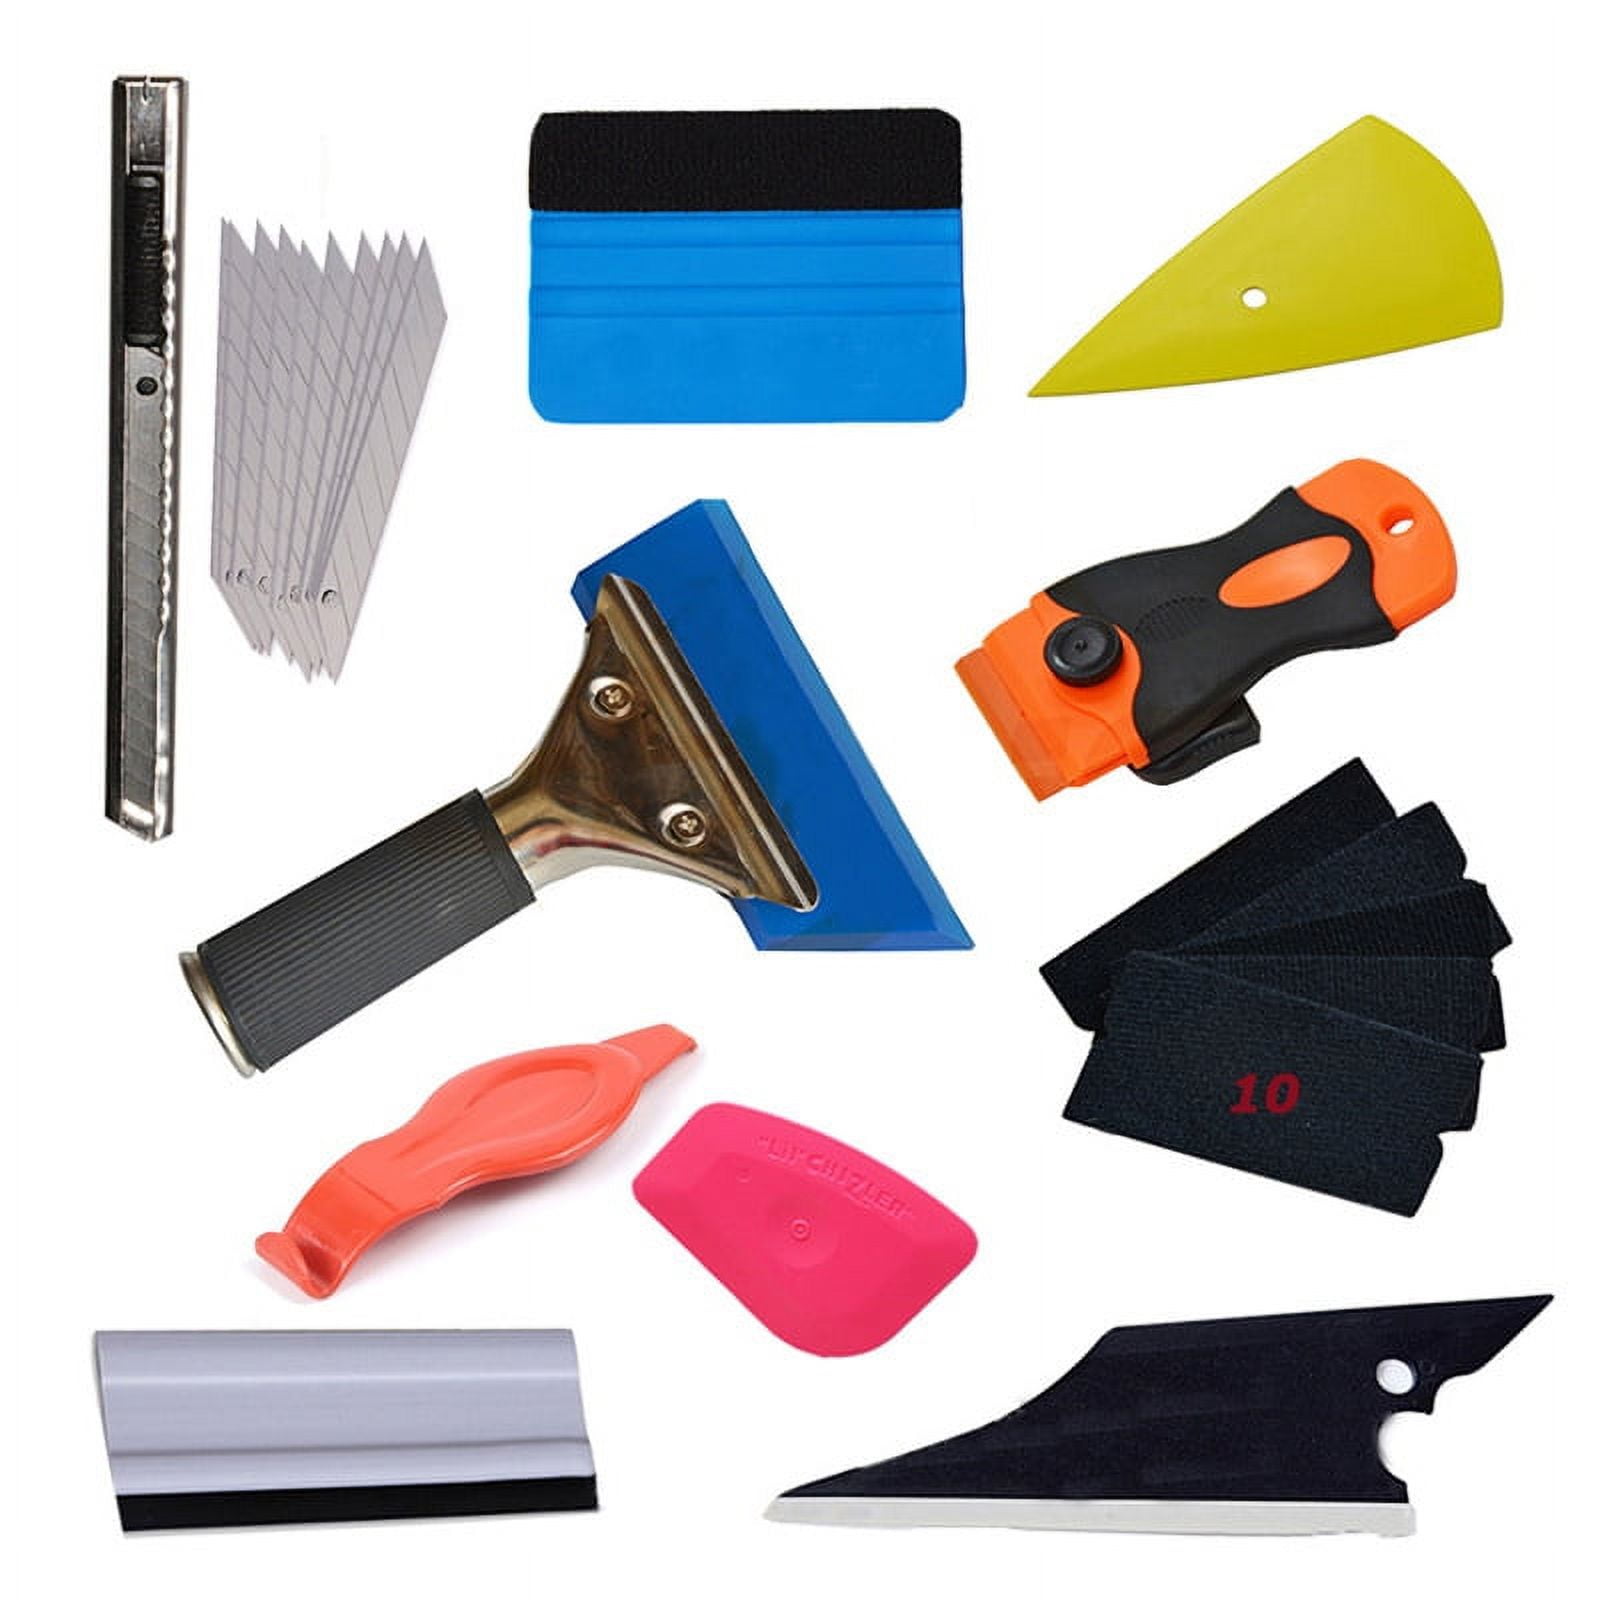
You’ll need specialized tools scaled for miniature work: precision scissors with curved blades, a soft microfiber applicator squeegee (not the rubber kind used on full-size cars), and a heat gun with adjustable low-temperature settings. A magnifying lamp with adjustable arms proves invaluable for seeing tiny bubbles and edges clearly. Small plastic tweezers help position film without leaving fingerprints. For the PVA glue method, a fine artist’s brush (size 0 or smaller) gives you precise control over application thickness. Never use standard household tools—they’re too large and can scratch delicate RC body surfaces.
Preparation Materials That Make the Difference
Before applying tint, you need proper cleaning solutions that won’t damage plastics. Isopropyl alcohol (70% concentration) diluted with distilled water creates the ideal cleaning mixture for RC bodies. A dedicated spray bottle with fine mist setting helps apply the solution without oversaturating surfaces. Microfiber cloths specifically designed for eyewear cleaning work best—they’re lint-free and soft enough for delicate plastics. For the wet application method, a few drops of baby shampoo mixed with distilled water creates the perfect slip solution that allows repositioning before the film sets.
Step-by-Step RC Window Tint Application Process
Preparing Your RC Car Body for Tinting
Begin by completely removing the body from your RC chassis and taking off all existing decals or stickers. Clean the interior surface thoroughly with your isopropyl alcohol solution, ensuring no dust particles remain—these will show through the tint. For best results, work in a dust-free environment with minimal airflow. Lay the body upside down on a soft foam pad to prevent scratches. Use masking tape to create clean window outlines if your body doesn’t have pre-molded window frames. This preparation stage takes 15-20 minutes but prevents most common tinting problems.
Cutting and Applying the Tint Film Correctly
For pre-cut kits, carefully peel the film from its backing using tweezers to avoid fingerprints. For custom cuts, place your body on the film and trace window shapes with a fine-tip marker before cutting. Apply your slip solution to the interior body surface, then position the film with tweezers. Start from the center and work outward with your microfiber squeegee, removing solution and air bubbles as you go. For curved windows, use your heat gun on the lowest setting to soften the film, allowing it to conform to contours without creasing. This application process typically takes 25-40 minutes depending on the number of windows.
Drying and Final Adjustments for Perfect Results
After application, leave the body undisturbed for at least 24 hours in a dust-free environment with consistent temperature. Avoid touching the tinted surface during this critical drying period. Once dry, carefully trim any excess film along window edges with a sharp hobby knife. Inspect for bubbles—small ones will usually disappear over time, but larger ones require lifting the film edge, reapplying slip solution, and resqueegeeing. For the PVA method, multiple thin coats applied 30 minutes apart create the most realistic tint without streaks. The entire drying and finishing process takes 1-2 days but ensures professional results.
Troubleshooting Common RC Window Tint Problems

Fixing Bubbles and Wrinkles Without Starting Over
Small bubbles (under 2mm) typically work themselves out during the drying process. For larger bubbles, use a pin to make a tiny hole at the bubble’s edge, then gently press the air out with your squeegee. If wrinkles appear during application, carefully lift the affected section with tweezers, reapply slip solution, and smooth it down again. Never pull the film completely off once partially applied—this almost always creates permanent creases. For stubborn wrinkles, apply gentle heat with your heat gun while smoothing with the squeegee. This correction process takes 5-15 minutes per problem area.
Preventing Film Peeling and Edge Lifting
Edge lifting occurs when the film doesn’t properly adhere to the body’s contours. To prevent this, ensure your slip solution has completely evaporated before the final drying phase. For problematic edges, apply a tiny amount of specialized RC decal solution (not regular glue) along the lifted edge using a toothpick. Press gently with your squeegee until the edge seals. If using static-cling film, lightly mist the area with distilled water and reposition—never force it down completely dry. For permanent adhesive films, apply minimal heat to activate the adhesive along problem edges. These preventative measures take just 2-5 minutes but save hours of redoing the entire tint job.
Maintaining Your Tinted RC Car Windows

Cleaning Techniques That Won’t Damage Tint
Never use standard glass cleaners on tinted RC windows—they contain ammonia that damages most films. Instead, use a solution of distilled water with a single drop of mild dish soap. Apply with a soft microfiber cloth using light pressure in circular motions. For stubborn marks, dampen a cotton swab with isopropyl alcohol and gently rub the spot. Always dry with a separate clean microfiber cloth. Cleaning should take no more than 5 minutes and should only be done when absolutely necessary, as frequent cleaning reduces tint lifespan.
Repairing Damage Without Replacing the Entire Tint
Small scratches can be treated with a drop of clear nail polish applied with a toothpick—this fills the scratch without being noticeable. For peeling edges, follow the edge sealing technique described earlier. If a section completely detaches, carefully remove it, clean the area, and replace just that section rather than redoing all windows. For the PVA method, a thin touch-up coat often fixes minor damage. Most repairs take 10-20 minutes and preserve the rest of your carefully applied tint job.
Final Note: Properly tinted RC car windows dramatically enhance your model’s realism and give it that custom competition look. The key to success lies in selecting the right film for your specific RC scale, preparing your body meticulously, and applying the tint with patience using miniature-scale tools. Remember that practice makes perfect—your first attempt might not be flawless, but each subsequent tint job will show noticeable improvement. For best results, start with a spare body or less visible windows before tackling your prized RC vehicle’s main windshield. With these techniques, you’ll create professional-quality tinted windows that withstand racing conditions while elevating your RC car’s appearance to show-quality standards.


