
Your RC car body chips after one race. The paint bubbles when you flex the Lexan. You spent hours on that custom design only to see it peel off during your first high-speed turn. This isn’t a paint quality issue—it’s a fundamental misunderstanding of polycarbonate physics. Unlike regular plastic, RC car bodies made from Lexan require specialty painting methods that accommodate their unique flexibility. When standard acrylics or enamels dry rigid, they crack the moment your suspension compresses. The solution lies in using paints formulated for movement, not rigidity. In this guide, you’ll discover the exact Lexan-specific painting sequence that prevents cracking, even under brutal off-road conditions. You’ll learn why 90% of hobbyists fail at step one (cleaning), how to choose paints that move with the body, and the temperature sweet spot for flawless application—all based on proven techniques from professional RC body shops.
Why Standard Paints Destroy RC Car Bodies Within Hours
Polycarbonate RC bodies flex up to 30% during normal operation—that’s why they survive crashes. But standard paints dry into rigid films that can’t stretch beyond 5%. When your car hits a jump, the paint exceeds its breaking point and cracks, creating entry points for moisture and UV damage. Most hobbyists compound this error by using household spray paints containing solvents that actually weaken Lexan over time. The critical mistake? Not using adhesion promoters specifically designed for polycarbonate. These create microscopic anchors that let the paint move with the body instead of against it. Without this step, even “flexible” paints will fail within three runs. You’ll recognize impending failure when paint starts “crazing”—those fine spiderweb cracks that appear around wheel wells after your first race day.
Essential Supplies Checklist: Lexan-Specific Painting Kit
Skip generic craft store supplies—RC body painting demands specialized materials. Your kit must include:
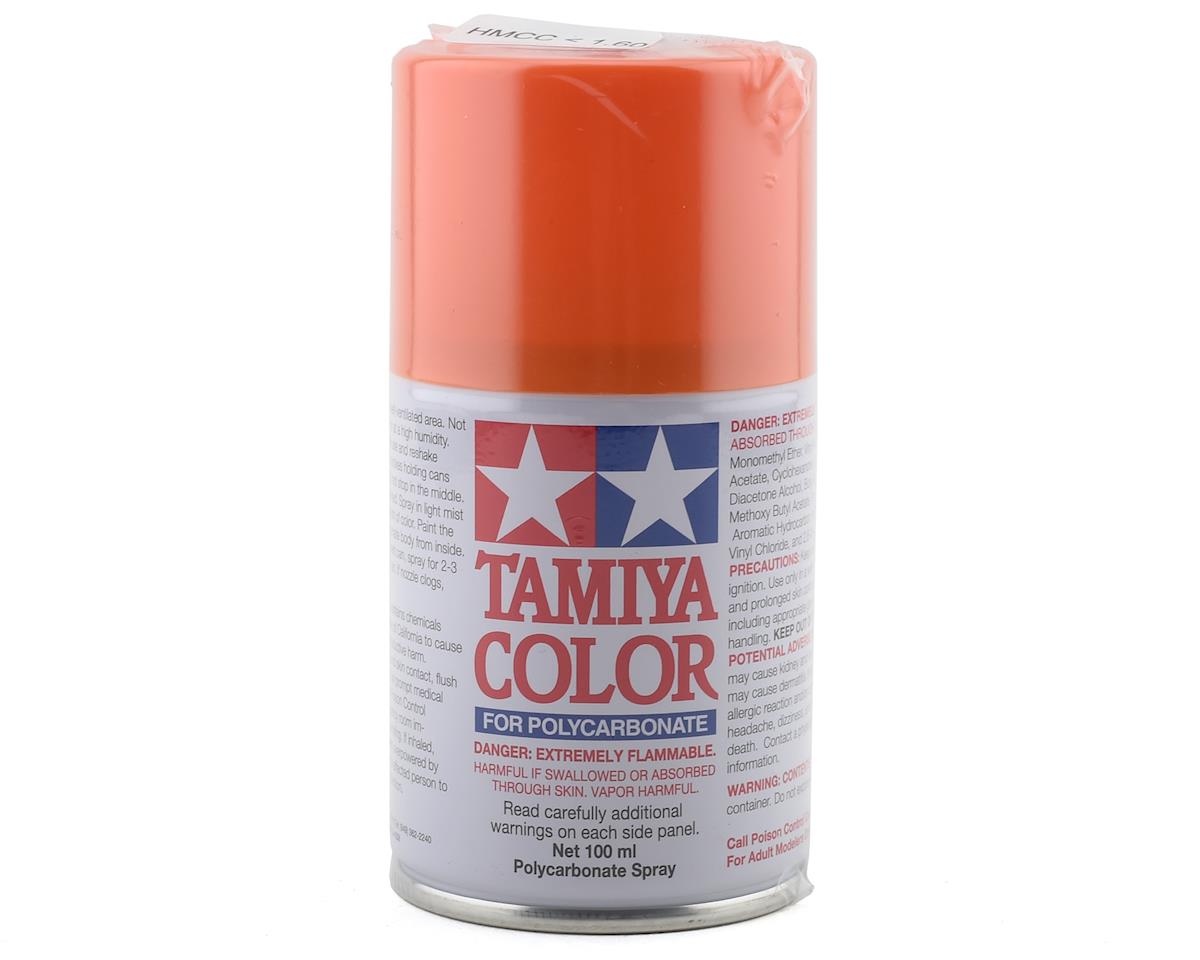
- Lexan-specific paint: Look for “polycarbonate paint” or “Lexan paint” labels (Testors Lexan Paint is the industry standard)
- Polycarbonate adhesion promoter: Not optional—this bonds paint to smooth Lexan (Tamiya PS-77 is reliable)
- Isopropyl alcohol (90%+): For deep cleaning without static (water leaves residues)
- Microfiber cloths: Lint-free only—paper towels scratch
- Low-tack masking tape: 3M Polycarbonate Tape prevents paint lift
- Flexible clear coat: Must stretch with body movement (Mr. Color C311)
- 1500-3000 grit wet/dry sandpaper: For clear coat finishing
Critical warning: Never use acetone, MEK, or lacquer thinners—they dissolve Lexan. A single swipe with acetone wipes can create invisible stress points that cause catastrophic cracking later.
Why Rattle Cans Fail 70% of RC Paint Jobs
Aerosol cans deliver inconsistent pressure that causes orange peel texture on flexible bodies. The propellant chemistry in standard rattle cans also contains petroleum distillates that degrade polycarbonate over time. For professional results, switch to airbrush systems with:
- Water-based Lexan paints: Less volatile solvents prevent body warping
- Dual-action airbrush: Allows precise control of paint flow during curves
- 30-40 PSI pressure: Higher pressure causes blowback on thin Lexan
- 4-6 hour curing time: Rushing this step guarantees cracks
Pros achieve mirror finishes by thinning paints 10-15% with Lexan-specific reducer. Never thin with generic solvents—this disrupts the paint’s molecular flexibility.
Step-by-Step: Preparing Your RC Body for Flawless Paint Adhesion
Removing Decals Without Damaging the Surface
Old decals create uneven surfaces that telegraph through new paint. Use dental floss to slice through adhesive: slide it under the decal edge and saw gently. For stubborn residue, apply isopropyl alcohol to a microfiber cloth and let it dwell for 30 seconds before wiping. Never scrape—Lexan scratches easily. Check for ghosting by holding the body against a bright light; any hazy areas need additional cleaning.
Deep Cleaning Protocol That Prevents Fish-Eyes
Fish-eyes (circular craters in paint) come from invisible oils. Follow this sequence:
- Wash body with dish soap and lukewarm water
- Rinse thoroughly with distilled water
- Wipe with 90% isopropyl alcohol using lint-free cloth
- Immediately apply adhesion promoter with clean cloth
- Let dry 15 minutes before painting
Pro tip: Clean bodies in a static-free environment. Run a dryer sheet over the surface before painting to neutralize static that attracts dust.
Masking Techniques for Razor-Sharp Design Lines
Standard masking tape lifts paint when removed because its adhesive bonds to the paint film. For Lexan bodies:
- Use low-tack polycarbonate tape: Apply with 70% tension
- Seal edges with clear coat: Brush a thin coat along tape lines before painting
- Peel at 180° angle: Start removal immediately after painting dries to touch
For complex designs, apply tape in layers—paint base color, remove first tape layer, apply new tape for secondary colors. Never leave tape on for more than 24 hours; adhesive hardens and damages edges.
Clear Coating: The Critical Step Most Skimp On
Clear coat isn’t optional—it’s the flexible shield that prevents paint cracking. Lexan bodies require at least three clear coats applied differently than paint:
- First coat: 50% reduced for adhesion (15 minutes dry time)
- Second coat: Full strength (20 minutes dry time)
- Final coat: Slightly reduced for gloss (4+ hours dry time)
Critical mistake: Skipping wet sanding between coats. After the second clear coat cures 24 hours, wet-sand with 2000 grit paper until surface is uniformly matte. This creates mechanical adhesion for the final coat. Without this, the top coat will delaminate during flexing.
Temperature Control for Bubble-Free Application
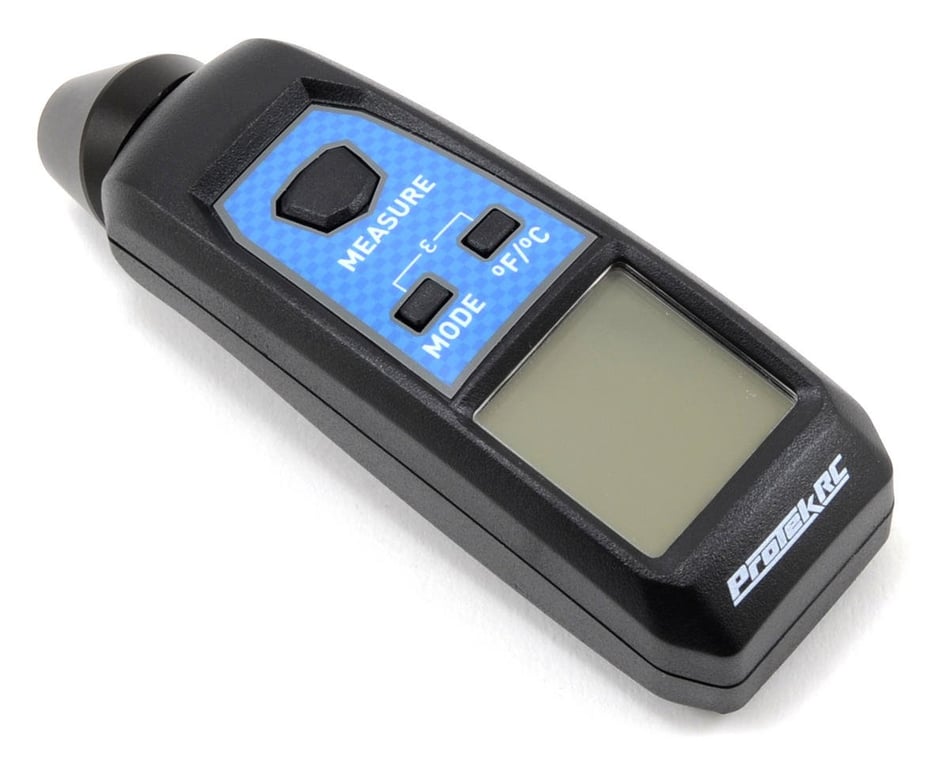
Paint application fails when temperature fluctuates. Lexan expands 0.004″ per °F—uneven expansion causes micro-cracks. Optimal conditions:
- Body temperature: 70-75°F (measure with infrared thermometer)
- Paint temperature: Match body temp exactly
- Humidity: 40-50% (higher causes blushing)
Paint in a climate-controlled space—not your garage where temperature swings 20°F daily. Test surface readiness by spraying a test panel first; if paint feels cool to the touch, it’s too cold.
Cutting Your Painted RC Body Without Damaging the Finish
Cutting destroys paint when blades catch and tear edges. Professional body cutters use:
- Single-edge razor blades: Never reuse blades
- Cutting angle: 20° from vertical
- Cut direction: Away from painted surface
- Speed: Slow and steady (1 inch per 3 seconds)
Mark cut lines with painter’s tape first. As you cut, place your free hand under the body to support flexing. Stop 1/8″ from corners and flip the body to cut from the opposite direction—this prevents corner tearing.
Troubleshooting Cracking Paint Mid-Season
Fixing Developing Cracks Before They Spread
If you notice hairline cracks after a race, immediate action can save the body:
- Clean area with isopropyl alcohol
- Apply adhesion promoter to crack edges
- Mix clear coat with 20% Lexan cement
- Capillary-action fill cracks with fine brush
- Let cure 48 hours before use
This creates a flexible bridge that moves with the body. Never apply standard clear coat—it will just crack again.
Repairing Orange Peel Texture Without Sanding
Orange peel ruins the aerodynamics of your RC body. Fix it without sanding by:
- Heating affected area with hair dryer (120°F max)
- Immediately applying 50% reduced clear coat
- Letting it flow out naturally
The heat temporarily softens the clear coat, allowing it to self-level. Works best on minor texture issues.
Maintaining Your Painted RC Body for Season-Long Durability
Cleaning Products That Won’t Destroy Your Finish
Harsh cleaners strip clear coat within weeks. Safe cleaning protocol:
- Post-race: Rinse with distilled water only
- Deep clean: Use 10% isopropyl alcohol / 90% water mix
- Drying: Pat with microfiber—never rub
- UV protection: Apply Lexan-specific polish monthly
Never use: Glass cleaners (ammonia attacks polycarbonate), wax products (create slippery surfaces), or compressed air (forces dirt into micro-cracks).
Storage Solutions That Prevent Yellowing
Lexan yellows from UV exposure even when stored. Protect bodies by:
- Wrapping in anti-static foam (never plastic bags)
- Storing in dark containers
- Adding UV inhibitor sheets inside storage boxes
- Hanging bodies vertically to prevent warping
Check stored bodies monthly for stress cracks—early detection prevents total failure.
Professional RC painters achieve race-season durability through three non-negotiables: using only Lexan-specific paints, maintaining precise temperature control during application, and applying flexible clear coats with wet-sanding between layers. Your first step today should be verifying your current paint is actually formulated for polycarbonate—check the label for “Lexan” or “polycarbonate” specifically. If it just says “plastic,” replace it immediately. For your next project, focus on perfecting the cleaning and adhesion promoter steps; 80% of paint failures originate here. Remember that patience pays off—a properly painted RC body will survive an entire racing season without touch-ups, while rushed jobs fail in weeks. When you get the temperature and materials right, you’ll feel the difference as your car handles jumps with confidence, knowing that custom paint job isn’t hiding time bombs beneath the surface.


